 experience9 years
Ruslan Ts.
Washing machine and refrigerator repair technician
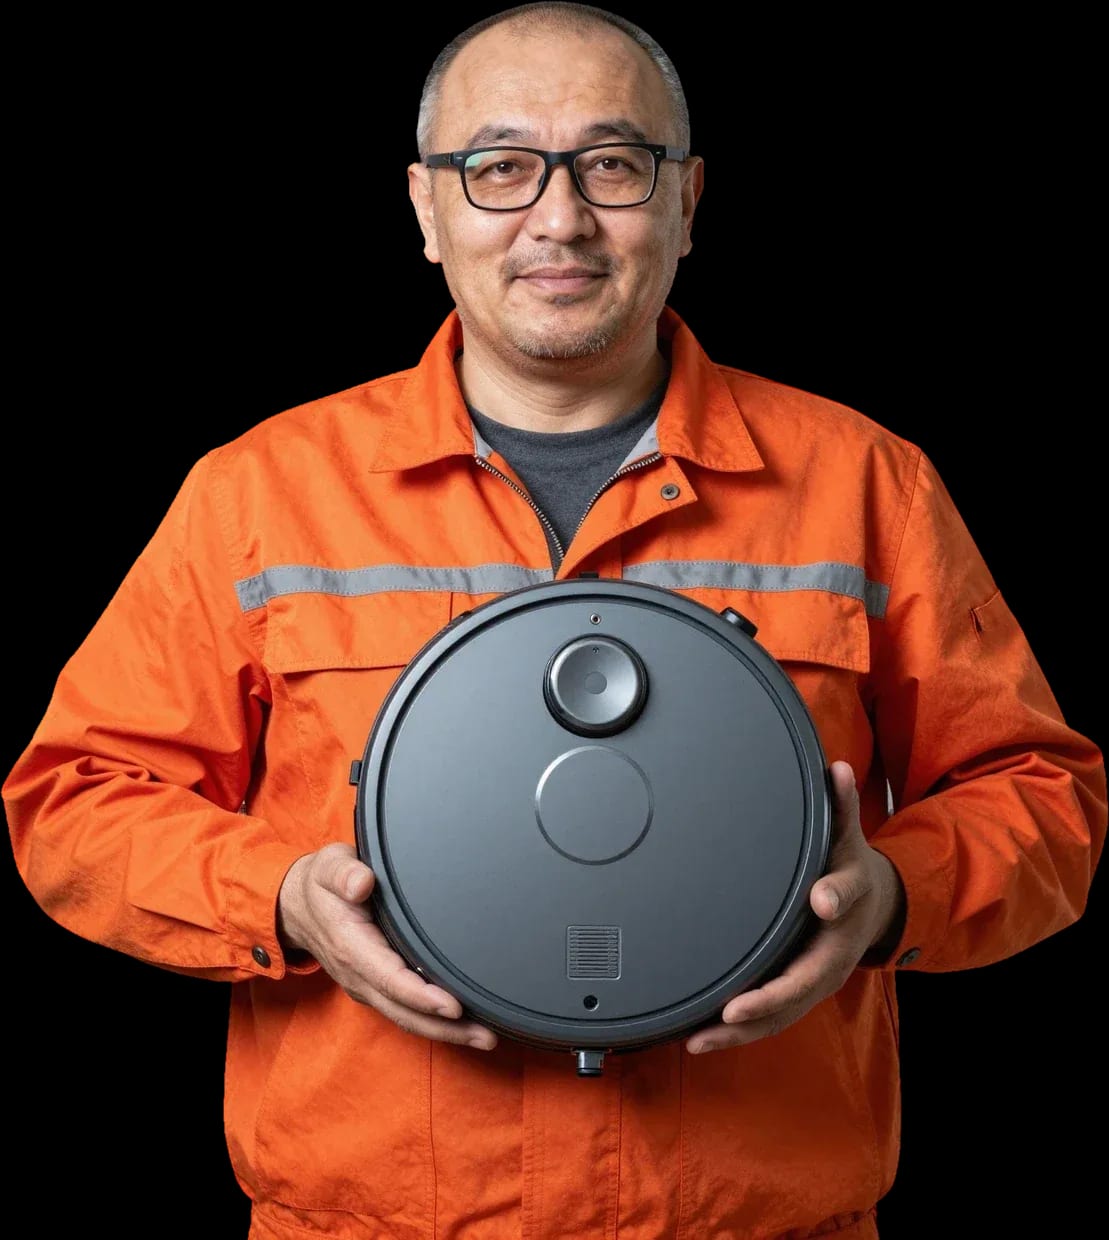
We'll get your robot vacuum working again. A technician arrives within 60 minutes anywhere in the city.
Our own technicians4 to 20 years of experience




Repair prices
Below are the typical symptoms owners come to us with. The technician will pinpoint the exact cause on site.
discharged battery, oxidized contacts
from9 500 ₸
faulty base, dirty contacts
from9 500 ₸
worn brushes, clogged filter, sensor failure
from1 500 ₸
weak battery, clogged sensors
from9 000 ₸
worn bearing, deformed brushes
from2 500 ₸
sensor failure, faulty base
from9 000 ₸
the code points to a specific component
from7 000 ₸
debris stuck, worn gearbox
from7 500 ₸
1–3 business daystime
from 8 000 ₸cost
 BeforeAfter

From request to check-up — five steps, free diagnostics.
Leave a request, the technician will agree on a convenient time and come over.
The technician arrives with their own tools and inspects the device on site.
The technician explains which component failed and what the options are.
The technician confirms the final list of work before starting the repair.
The technician tests the device, and you get a 1-year warranty on labor and parts.
The home appliance repair department in Almaty has 8 technicians with 8 to 12 years of experience.
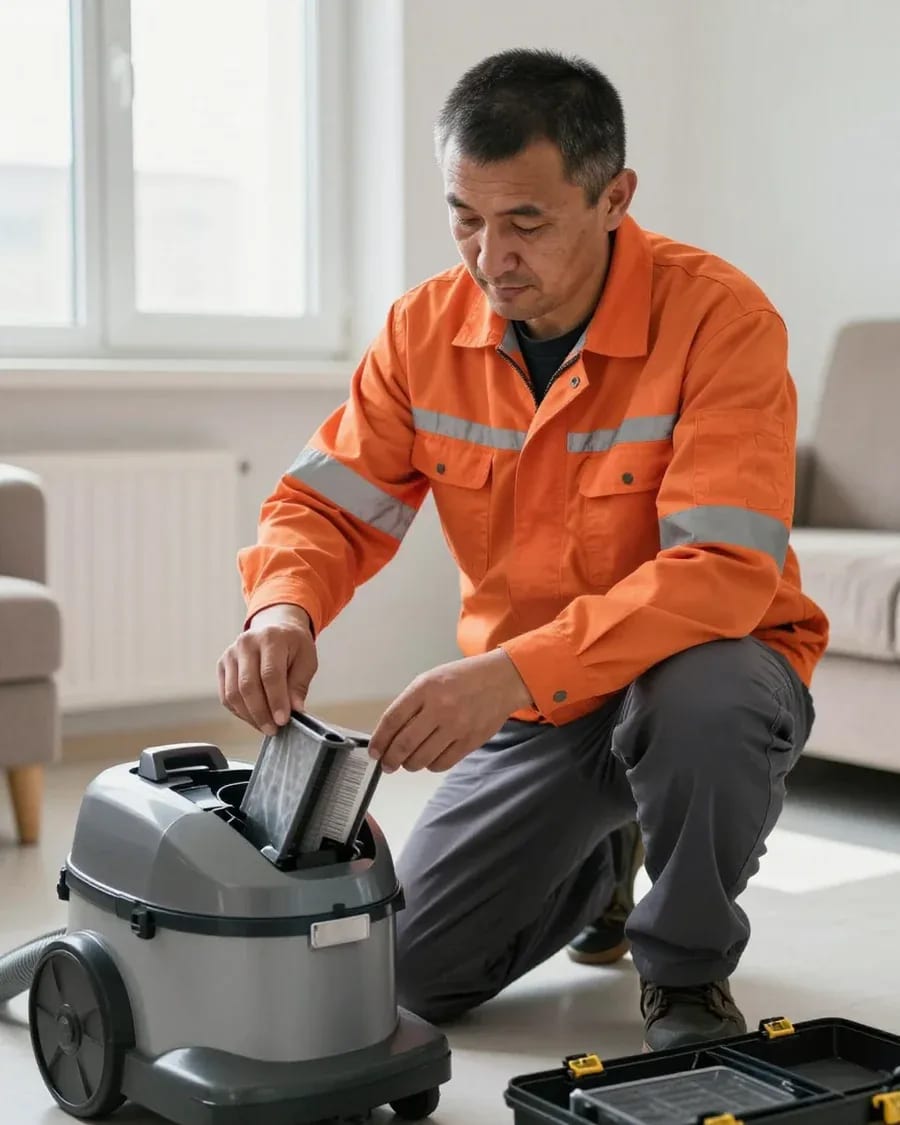
The department has 8 specializations — they are listed on the technicians' cards.
experience9 yearsWashing machine and refrigerator repair technician
 experience12 years
General household appliance repair technician
 experience10 years
Field technician for washing machine and refrigerator repair
 experience8 years
Expert washing machine repair technician
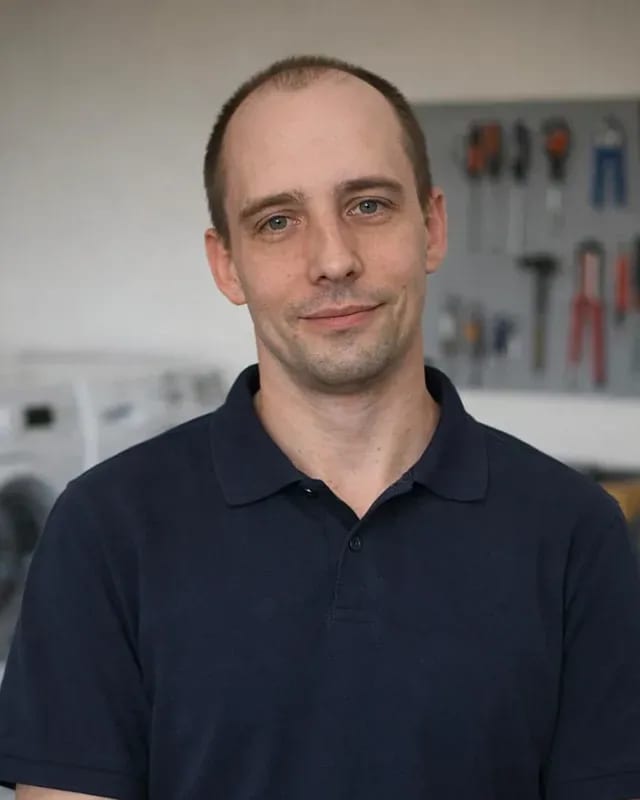 experience8 years
Field refrigerator repair technician
 experience8 years
Senior washing machine repair technician
 experience11 years
Dishwasher repair technician
 experience9 years
Washing machine repair technician
We reply during working hours
Describe the symptom and leave your contact details — the technician will arrive within 60 minutes anywhere in the city and find the cause of the problem.

Warranty question? Call us
+7 (778) 021 13 16Tech Service repairs iRobot Roomba and Braava robot vacuums in Almaty: our technician comes to your home within 60 minutes or accepts the device at the service center. Diagnostics are free, we agree on the work after them, and there's a 1-year warranty on labor and parts. The technician gives you the price after diagnostics.
A single symptom on an iRobot rarely points to one part: "spins in place" can be caused by a sensor, a drive, or a brush. Here's how a technician goes from complaint to cause and why you can't skip testing each component one by one.
When an iRobot spins in place, our technician first checks the navigation sensors, wheel drives, and brush module—most often one of these three is to blame. Navigation sensors tell the board where walls and obstacles are; if they're dirty or one fails, the robot loses its bearings and starts spinning. We test the wheel drives one at a time: a worn gearbox or a jammed wheel produces the same effect as a sensor failure. A brush module with tangled hair overloads the motor, and the unit stops in place with an error. A clogged brush module gives the same symptom as a sensor failure, so without testing each component individually, replacing the wheels won't solve the problem—we first remove the brush and test each unit separately, and only then name the cause.
Chaotic movement and loss of the map on an iRobot are most often linked to the lidar, obstacle sensors, or dirty sensors, and we check them one by one during free diagnostics. The lidar is responsible for mapping the room: when its glass is dusty or the rotation motor sticks, the robot "loses" the room and moves randomly. Obstacle sensors and cliff sensors work together with the lidar—a dirty sensor gives false signals, and the unit turns around in front of an empty space. During diagnostics, we take readings from each sensor and compare them to the reference to avoid replacing a working component. If the robot "goes blind" only in one room, it could be due to mirrors and dark surfaces rather than a breakdown—this is worth checking before disassembling the body.
When an iRobot doesn't pick up debris with a clean filter, we check the brush module, gearbox, and brush motor—these are most often responsible for the loss of suction. The main and side brushes collect hair and threads, the shaft jams, and the motor goes into protection mode. The gearbox transfers rotation from the motor to the brush: worn gears cause slipping, and the brush spins in jerks or stops. We check the dustbin and filters for clogs—a clogged filter reduces airflow even with a working motor, and the brush may still spin. Replacing just one motor without checking the gearbox often leads to the same breakdown again within weeks, so we replace the whole unit when wear is paired, and during free diagnostics the technician first quotes the cost of work.
When an iRobot won't turn on after water exposure, we disassemble the body, dry the board, and test it during diagnostics—restoring the device is often possible if it wasn't turned on while wet. Moisture on the control board shorts the traces and starts contact corrosion; the longer the unit sits with water inside, the deeper the oxidation. During free diagnostics, the technician opens the body, assesses the board's condition, and quotes the repair cost. Powering a wet board causes contact corrosion, so the chance of recovery is higher when the robot is turned off immediately after water contact and hasn't been started. Don't try to turn it on before the technician arrives—this way you preserve the chance of restoring the board and don't make the trace damage worse.
A code on the screen or in the app is a hint, not a ready diagnosis. Here's what the signal means, which components it affects, and what the technician checks for each code.
| Signal | What it means | What the technician checks |
|---|---|---|
| Red indicator | General startup error | Battery, contacts, control board |
| Charging error | Power supply issue | Battery, dock, contacts |
| Navigation error | Map and lidar failure | Lidar, sensors, wheels |
| Brush error | Clog and drive wear | Brush module, gearbox |
| No app connection | Wi-Fi failure | Control board, radio module |
If your iRobot won't connect to the app, we check the radio module and control board — this is a fixable fault, not a reason to replace the robot. First we rule out external causes: router on a different frequency, weak signal in a far room, outdated iRobot Home version on your phone. Then we inspect the radio module itself and the board traces — oxidation after wet cleaning produces the same "no connection" picture. In our experience, pairing issues are often solved by repairing the radio module rather than replacing the whole unit. Before disassembly, it's worth resetting the network settings in the app: some "lost" connections turn out to be a pairing glitch, not a board failure. We provide free diagnostics for this signal so we don't replace a working component at random.
With iRobot, navigation, brushes, and power are tied into one system, so a failure in one component masquerades as a breakdown in another and requires checking the whole chain, not just a single part. A robot with lidar builds a map and relies on it for every cleaning: if the sensor is off, the device spins in place even though the brushes and motor are fine. Power here is also linked to logic — a voltage drop in the battery triggers a navigation error, not a battery message. Mechanics suffer secondarily: a worn brush gearbox overloads the motor, and the board goes into protection. Because of this interconnectedness, the technician first reads error codes and checks navigation, and only then moves to mechanics — otherwise it's easy to replace a working component.
It discharges quickly and can't find the dock — different complaints, but the causes often overlap. We break down both scenarios separately and show what the technician actually checks.
Fast discharge and refusal to charge on an iRobot are most often related to the battery and contacts, and we check them during free diagnostics. We measure cell capacity under load: wear doesn't show up immediately but in the last third of the charge, when the robot suddenly stops in the middle of the room. We inspect the contact plates on the body and on the charging dock for oxidation and dirt — a thin film causes poor contact, and charging proceeds in fits and starts. At the same time, we observe how the control board behaves when connected to a power source: voltage spikes at the input indicate a fault in the charging circuit, not in the cell itself. If the battery was replaced recently and fast discharge has returned, the cause may be in the dock or the board — replacing the battery again without checking is pointless. A Tech Service technician takes readings first, then suggests replacing the component.
When an iRobot can't find the dock, our technician checks the dock contacts, its location, and the robot's navigation sensors — the cause is almost always in one of these three places. First we inspect the area: contact plates should be clean, and the device should stand on a level surface with clear access. Then we look at the sensors on the body — dust and fine lint on the lenses disrupt the return route. A charger behind furniture or near a mirror confuses navigation, and the robot can't see it even with fully working hardware. Moving the dock to an open spot is the first thing to try before calling a technician. In our experience, such requests are often resolved simply by repositioning, without opening the body.
The two lines are built differently, so they break in different ways. Here's what owners of each should look at so the technician arrives prepared and can quickly pinpoint the cause.
| Line | Common failures | What we check |
|---|---|---|
| Roomba | Battery, brushes, lidar | Power, drives, navigation |
| Braava | Water supply drives, wheels | Pump, wheels, sensors |
| Older Roomba series | Mechanical wear | Moving parts, battery |
| Both lines | Board, Wi-Fi module | Electronics, app connection |
We accept iRobot robots of different generations, including earlier Roomba series, and during diagnostics we explain which parts can be restored and which are not worth replacing. Our technician opens the housing, inspects the drivetrain and the board, and then explains to the owner which parts are worn and why. In older devices, mechanical components tend to suffer more than electronics, so restoration depends on parts availability rather than the complexity of the work. iRobot vacuum repair in Almaty does not depend on the age of the device — we accept any series the same way. We repair iRobot vacuums in Almaty for all generations of the line. In my view, servicing an old iRobot makes sense when the housing and motor are intact and only consumables and drives need replacing. Diagnostics are free, and the warranty is 1 year on labor and parts.
The path from request to warranty is short: a technician visit, free diagnostics, approval of the work, and the repair itself at your home or in the service center. Let's go through each step.
A Tech Service technician arrives at your home within 60 minutes anywhere in the city, or you can bring the iRobot to the service center — either way, diagnostics are free. The on-site technician inspects the housing, checks brush rotation, sensor operation, and charging contacts, then reads the error log through the app. On-site disassembly isn't always possible — some board and motor faults only show up during a detailed check at the service center, so the technician takes complex cases with them. During diagnostics, they show you the failed component and only then approve the work — you decide whether to restore it now or later. iRobot vacuum repair in Almaty works exactly like this: first inspection, then approval. In our experience, the cause is usually a single component rather than several at once, so the inspection rarely takes long. Before the visit, please specify the model and describe the symptom — this shortens the time needed to find the fault on site.
Warranty and payment We provide a 1-year warranty on labor and parts and you can pay via Kaspi QR, Kaspi Red, bank card, cash, or bank transfer for companies, including battery and motor replacement. Component replacement is the most common type of work on iRobot: the battery loses capacity, the brush module wears out, the motor overheats. The same warranty period applies to each such job as to the service itself. The warranty also covers replaced parts, so if you come back with the same issue, we'll fix it at no charge — keep your service report. The technician gives you the price after free diagnostics, once the cause is clear — no one quotes a sum before that. You can pay by card, cash, or bank transfer — whichever is easier for you. Ask for the final amount in advance so you can plan your budget.
Here's what matters most for an iRobot owner: what the diagnosis depends on, where to look for the cause, and which steps are safe to take before inspection.
Tech Service technicians repair other appliances too — with the same 1-year warranty on labour and parts.
 Refrigerator Repair in Almatyfrom 3 000 ₸
 Washing Machine Repair in Almatyfrom 3 000 ₸
 Dishwasher Repair in Almatyfrom 3 500 ₸
 Oven Repair in Almatyfrom 3 000 ₸
 Cooktop Repair in Almatyfrom 3 500 ₸
 Air Conditioner Repair in Almatyfrom 3 500 ₸
 Boiler and Water Heater Repair in Almatyfrom 2 500 ₸
 Freezer Repair in Almatyfrom 6 000 ₸
 Tumble Dryer Repair in Almatyfrom 5 000 ₸
 Coffee Machine Repair in Almatyfrom 2 500 ₸
 Robot Vacuum Cleaner Repair in Almatyfrom 3 500 ₸
 Vacuum Cleaner Repair in Almatyfrom 1 500 ₸
 Microwave Oven Repair in Almatyfrom 2 000 ₸
 Hair Dryer Repair in Almatyfrom 1 500 ₸
 Iron Repair in Almatyfrom 3 000 ₸
 Electric Kettle Repair in Almatyfrom 2 500 ₸
 Mixer Repair in Almatyfrom 2 500 ₸
 Multicooker Repair in Almatyfrom 500 ₸

If your dishwasher won't drain, the most common culprits are a clogged filter or drain hose; less often, it's the pump, impeller…
24 March 2026 · 12 minutes read
A washing machine can hum for many reasons, and the first thing to figure out is when the sound appears.
20 March 2026 · 12 minutes read
If your washing machine isn't filling with water, the most common culprits are a closed valve, a clogged inlet filter screen on the hose…
20 February 2026 · 13 minutes read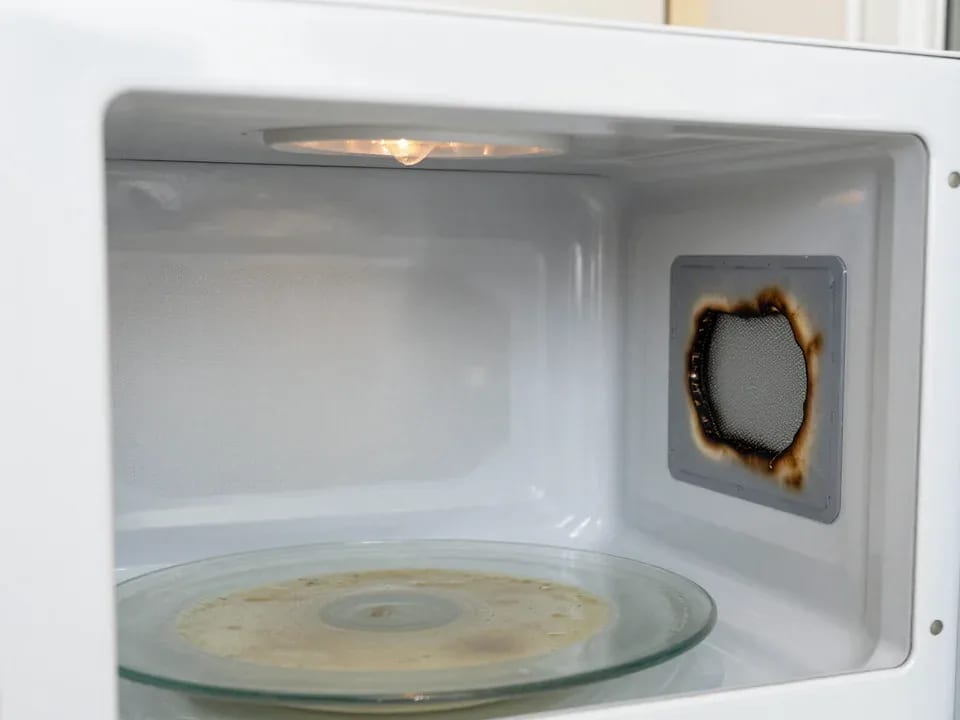
If your microwave isn't heating but the light and turntable still work, the problem is usually one of the high-voltage components — the magnetron, diode…
15 February 2026 · 12 minutes read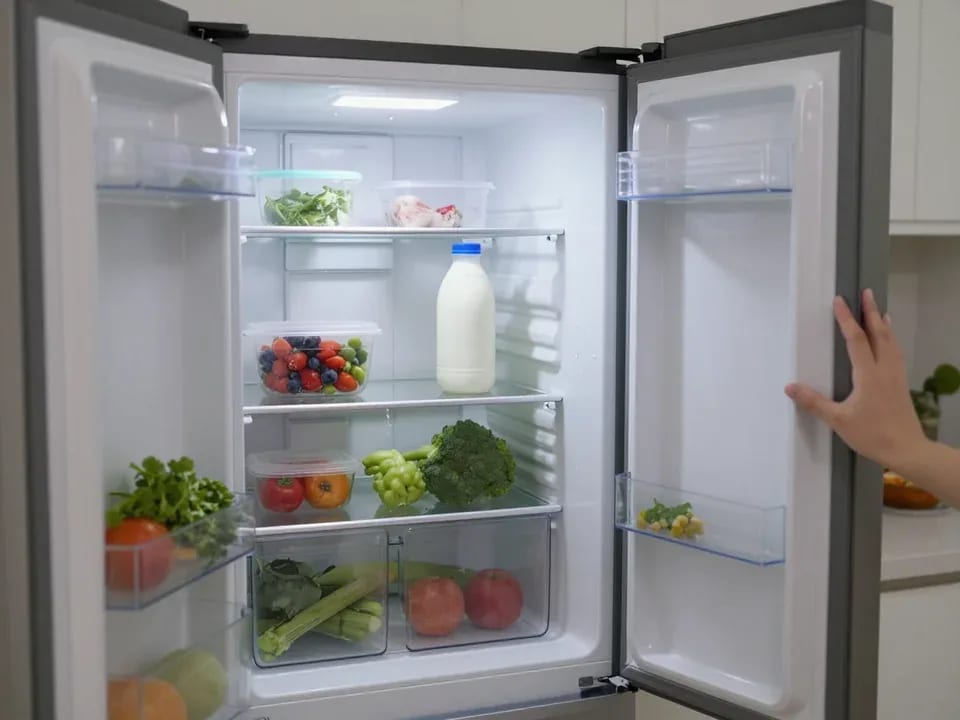
If your refrigerator stops working, first check the outlet, the power cord, and the thermostat setting, and after defrosting let it stand for a while.
4 February 2026 · 12 minutes read
Washing machine error codes are self-diagnostic codes that point to a specific component: drain, water fill, heating, motor, or door lock.
29 January 2026 · 13 minutes read