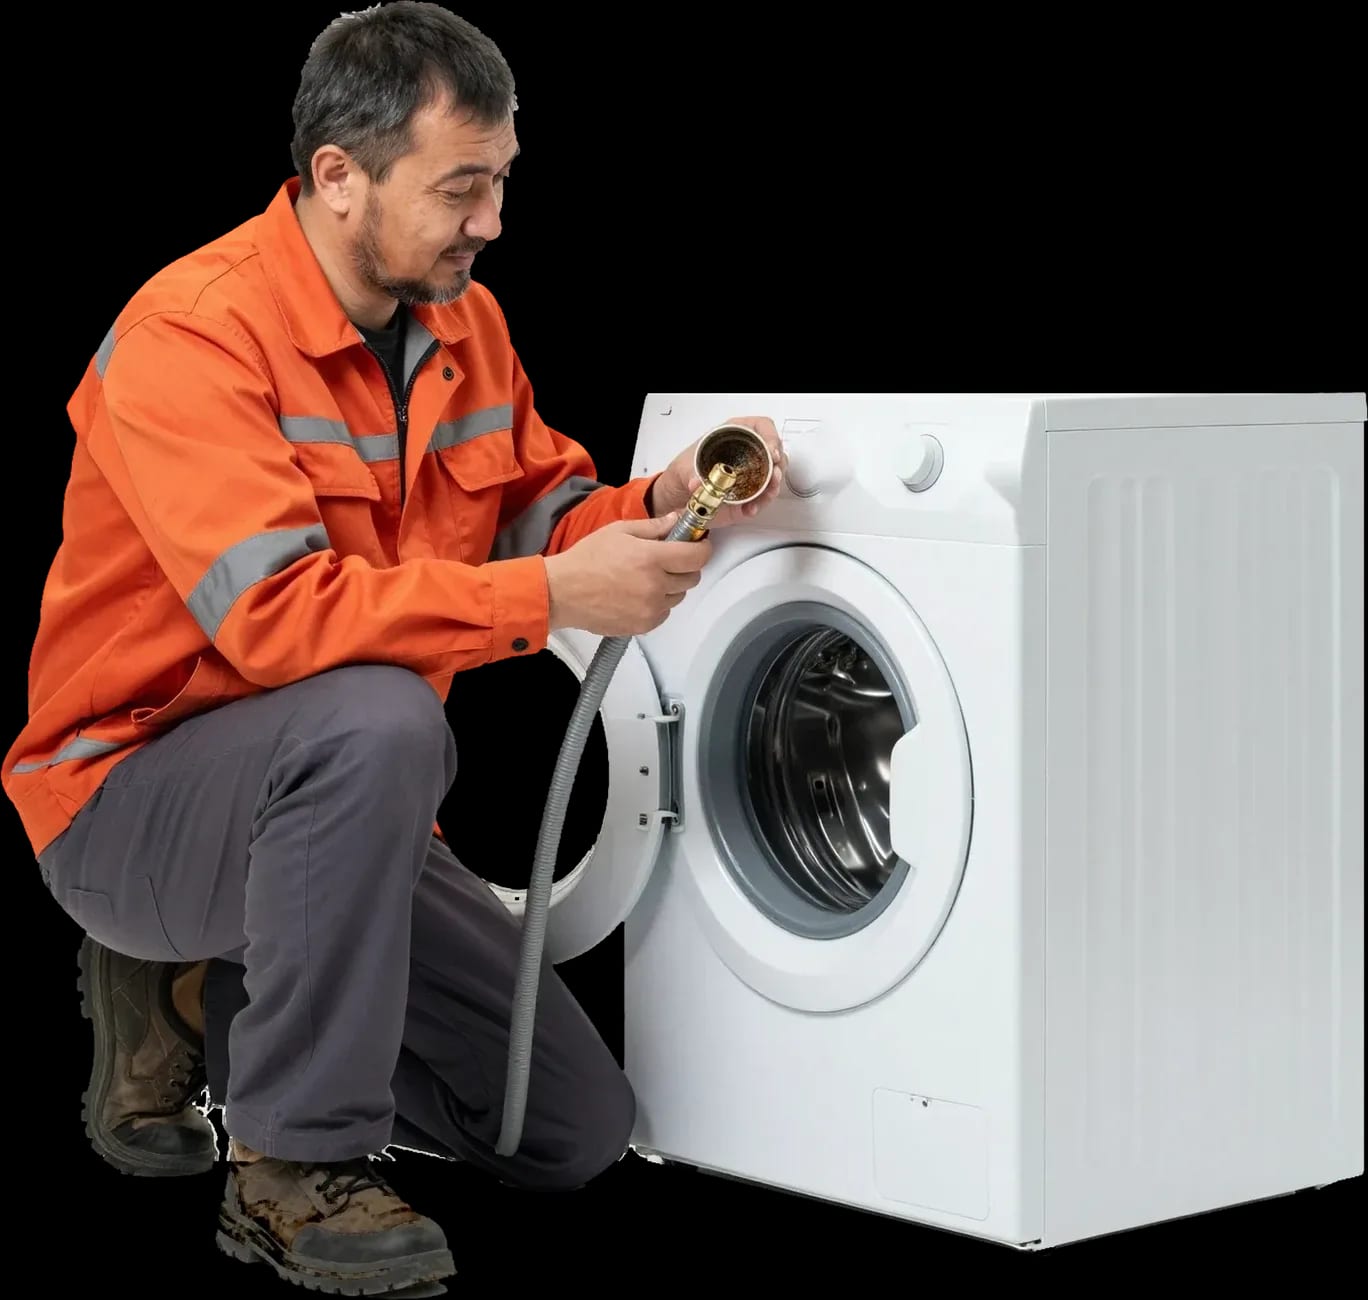

What to Check Yourself Before Calling a Technician
If your washing machine isn't filling with water, the most common culprits are a closed valve, a clogged inlet filter screen on the hose, or a faulty inlet valve. At Tech Service, a technician arrives within 60 minutes anywhere in the city, diagnostics are free, and there's a 1-year warranty on labor and parts. First, check the valve and screen yourself.
Before calling a technician, go through three simple steps: the shut-off valve, the hose, and the screen. This eliminates half of all service calls and clearly shows whether repair is needed.
Check the Shut-Off Valve and Inlet Pressure
The first thing to check is the shut-off valve on the water supply: it should be fully open, not turned a quarter of the way. The shut-off valve is located on the branch from the riser or on a tee before the inlet hose, and it often gets bumped during cleaning or repairs of nearby utilities. The machine interprets low pressure as no water: the level sensor doesn't detect the water rise within the allotted time, and the cycle stops. A partially closed supply gives a thin stream that isn't enough to fill the drum quickly—visually water is flowing, but the program doesn't start. Open the valve fully counterclockwise and check that the flow isn't blocked at another branch if the hose is connected via a tee to a faucet. A partially closed supply gives pressure that the machine can't build up in the allotted time, and it throws a fill error—water is flowing, but the cycle doesn't start.
How to Check and Clean the Inlet Filter Screen on the Hose
- Turn off the water supply: close the inlet valve and unplug the machine from the power outlet before any work with the hose.
- Disconnect the hose: unscrew the nut of the inlet hose from the machine body, placing a container underneath—some water remains inside.
- Remove the screen: carefully take out the flat filter from the inlet opening without pushing it inside.
- Rinse under running water: remove sand and rust with a brush; if heavily clogged, soak in a citric acid solution.
- Put it back: insert the screen with the convex side facing out, screw the hose back on, and open the water supply.
How to Tell If Water Reaches the Valve
If the valve is open and the screen is clean but water doesn't enter the drum, the flow stops at the inlet valve—the unit needs further checking. The inlet valve is located on the back wall where the nut of the inlet hose is attached, and it opens the water supply to the drum on command from the control board. You can distinguish "water doesn't reach" from "valve doesn't open" by sound: a working unit clicks and gives a slight hum of filling, while a faulty one is silent or gives a single click without flow. If you disconnect the hose from the machine and open the supply, water should flow freely—this checks that the clog isn't in the hose or screen itself. The valve coil under voltage should hum slightly; no hum with a working board indicates a broken winding, while a hum without flow indicates a stuck unit. Start with the simplest and cheapest—the valve and screen: fewer than a third of cases involve the valve.
Why the Washing Machine Isn't Filling with Water and Which Part Is to Blame
Four components are responsible for filling with water: the inlet valve, the pressure switch, the control board, and the door lock. Let's look at how each one fails and what signs to look for.
Inlet Valve Doesn't Open or Sticks
The inlet valve opens the water supply on command from the control board, and if it sticks or the coil burns out, water doesn't enter the drum even with the valve open. Inside the housing there are one or two coils with a diaphragm: under voltage, the magnet pulls the rod, the diaphragm lifts, and water flows through the inlet hose into the dispenser. Sticking happens after long periods of disuse, and a broken coil—from power surges. The signs of failure are simple: the machine hums during filling but no water flows, or the cycle starts without filling and immediately throws an error. The screen on the hose inlet may be clean—it's checked separately. A hum without water often indicates the valve is working "idle"—the coil is energized but the diaphragm hasn't opened; this narrows the search to the valve itself, not the board. If the washing machine isn't filling with water, start checking this unit first.
Pressure Switch and Control Board—Who Commands the Fill
The pressure switch tells the control board that the water has filled, and the board controls the valve — a failure in either stops the fill at different stages. The level sensor is connected to the tank by a thin tube: air pressure inside it opens or closes the contacts, and based on that signal the control module decides whether to open or close the valve. Over time, the tube gets clogged with detergent powder or slips off, and the contacts oxidize — then the machine doesn't see the water or thinks the tank is full when it's empty. The board fails less often: traces burn out after a voltage spike or moisture ingress. If the machine fills with water and immediately drains it or stops with a full tank, the pressure switch is more likely to blame; if no water comes in at all, look for the valve and the circuit leading to it.
Door lock and wiring — why the cycle won't start even with water
The door lock device blocks the cycle if the water fill isn't confirmed, and a break in the wiring between the board and the valve prevents the command from reaching the unit. The door lock triggers on a signal from the board and physically holds the lock until the end of the wash — if the lock or its circuit is faulty, the drum won't start spinning even though there's already water in the tank. The wiring suffers from vibration during the spin cycle: connectors on the valve and control module come loose, contacts turn green from moisture. Externally it looks like 'the machine filled with water and went silent' — no washing, no error on the display. The wiring and contacts are tested with a multimeter — this is the only way to distinguish a broken circuit from a faulty valve without replacing parts at random.
Error codes by brand and what they mean
The signal on the display hints at which unit to check for a fault, but the interpretation depends on the model. Below are the designations by brand and what to do about them.
Water fill codes for Bosch and Siemens
For Bosch and Siemens, the designation E17 or F17 means that liquid doesn't come in within the allotted time, and on some models d02 carries the same meaning as the second one. For current Serie 2, 4, 6, and 8 series, the manufacturer displays an E symbol on the screen, while older Maxx, Classixx, Logixx, and Avantixx lines show F17. Behind such a signal is a chain of components: inlet valve, mesh filter on the hose, pressure switch, less often the control board. On a service call, we first check whether the tap is open and the mesh isn't clogged: these two causes account for a significant portion of calls, and often it doesn't come to disassembling the machine. On older series, the symbols are displayed on the screen, and on models without a display they are shown by indicators — so the same fault looks different, and it must be checked against the table for the specific series.
Fill and drain codes for Samsung, Electrolux, Indesit
For Samsung, 5E (SE, E2) indicates a problem with fill or drain; for Electrolux E20 and Indesit/Hotpoint F05 — also about liquid. The 4E designation on Samsung is not always about intake — it can also mean drainage, so the technician first checks it against the table for your model rather than replacing the valve right away. The difference is fundamental: with a fill fault, the machine stands without liquid, while with a drain problem the tank remains full, and the cycle must not be restarted. For Electrolux E20 and Indesit/Hotpoint F05 the logic is the same — the manufacturer packs several scenarios into one symbol, from a clogged filter to a faulty pump. In such cases, we don't guess from the display but test the circuit and check whether the pump impeller rotates freely. The interpretation depends on the model, and the same symbol on different series may point to different components — the table below gives a guide, not a final diagnosis.
Table of water fill codes by brand
| Brand or series | Code | What it means |
|---|---|---|
| Bosch, Siemens (current) | E17 or F17 | Water does not fill within the allotted time |
| Bosch, Siemens (Maxx, Classixx, Logixx, Avantixx) | F17 | Water fill |
| Samsung | 5E (SE, E2) | Problem with water fill or drain |
| Electrolux | E20 | Water problem |
| Indesit, Hotpoint | F05 | Water problem |
Low water pressure, water outages, and hard water in Almaty
Sometimes the machine is fine, but the water just doesn't come in the right volume. Let's look at three situations common in the city: low pressure, outages, and hard water.
Low mains pressure and fill error
When pressure is low, the machine can't fill with water within the allotted time and shows a fill error, even though the tap is open and the components are working. The logic is simple: the valve opens on a command from the control board, but the pressure in the pipe doesn't push the flow through the mesh and inlet hose, and the level sensor doesn't see the required volume. This most often happens on upper floors and during peak hours when neighbors open taps at the same time, as well as in old buildings with narrow risers. You can check the pressure by filling a bucket from the same tap: if the stream is weak, the problem is in the mains, not the machine, and repair won't help here—you should call a plumber or run the wash at a different time of day.
Why the machine stopped filling after a water outage
After a scheduled outage, air and rust get into the hose and mesh, and the machine won't fill until the airlock clears. When supply returns, the pressure pushes accumulated sediment out of the pipes, and the first portion goes straight into the inlet hose and filter mesh. The airlock compresses, the valve clicks, but no flow comes through, and rust clogs the mesh cells. The first run after an outage should be done without laundry: this way you'll drain the cloudy water and not ruin your clothes, and also check if filling has recovered. If after two or three runs it still doesn't fill, remove the hose and rinse the mesh—sediment after outages washes off with a regular stream from the tap.
Hard water in Almaty and mesh clogging
Hard water in Almaty speeds up clogging of the inlet filter mesh, so it's checked more often than in regions with soft water. Calcium and magnesium salts settle on the fine mesh cells, rust and sand from the pipes cling on top, and the passage gradually narrows—the machine starts filling slower and at some point shows a fill error. Our technicians have seen over years of work in the city: the inlet mesh is the first thing to inspect with such a complaint, even before talking about the valve and pressure switch. Scale itself isn't related to drain pump wear—don't replace the pump if the machine won't fill: the cause is almost always at the inlet, not the drain. If the mesh is clogged with a dense limescale deposit, soaking in a citric acid solution softens the buildup better than a dry brush, and after cleaning the mesh is put back without misalignment—otherwise it lets sand through to the valve.
Water left in the drum—how to drain it safely
If the cycle stopped at the fill stage, liquid remains in the drum. You can drain it yourself, but follow a strict order—otherwise it'll end up on the floor, or even on the wiring.
Unplug the machine before draining
Before doing anything with the contents of the drum, unplug the machine—liquid and electricity don't mix, and this is the first rule of emergency draining. Pull the plug from the socket, not just press the power button: the control module remains energized as long as the cord is plugged in. Then lay down a towel and place a flat basin nearby—the flow will be by gravity, the pressure is low, but the volume in the drum can be several liters. Don't unscrew the drain filter 'on the fly' and don't take the pump apart: under pressure the contents will go on the floor, and hot leftovers from the drum can burn you. Unplugging takes half a minute and removes the main risk—accidental program start while your hands are near the open cover.
Emergency drain hose behind the service cover
- Remove the cover: pry off the service panel at the bottom front; behind it you'll see the filter and a thin emergency drain tube.
- Prepare a container: place a flat basin under the tube and put a second towel nearby—the flow may come out in a rush.
- Pull out the hose: remove the plug from the tube, point the end into the basin, and open the cap—the liquid will flow by gravity.
- Drain in portions: fill the container, close the cap, pour out, and repeat until the flow stops.
- Put everything back: close the tube with the plug, reinstall the panel, and wipe the floor under the machine dry.
What to do after draining and when to call a technician
After draining, don't start another wash cycle until you've found the cause: if the fill didn't happen because of a valve or control board, the cycle will stop at the same point again. Check the shut-off valve, water pressure, and the mesh filter at the hose inlet — this takes a couple of minutes and rules out the most common causes. If the valve is open, the mesh is clean, but no water flows, the issue is with the inlet valve, pressure switch, or control module — that requires diagnostics. We send our technician to your home or accept the appliance at our service center; diagnostics are free, and we arrive within 60 minutes anywhere in the city. Restarting without checking is a common reason the drum stays full a second time, so it's better to inspect the valve and mesh first, and if that doesn't help, call a specialist: our warranty on labor and parts is 1 year.
When you need a technician and how Tech Service works
Some causes the owner can fix themselves, others require a specialist. Let's look at where the line is and how our work is organized if a repair is still needed.
Where DIY ends and the technician begins
- Shut-off valve and pressure: the owner can open the inlet valve and check if water flows from the hose into a bucket in a couple of minutes.
- Mesh filter: unscrew the hose, rinse the mesh from sand and scale, put it back — no tools and no risk to components.
- Inlet valve and pressure switch: this is a specialist's job — the valve is replaced by part number, the level sensor is checked with instruments, not by eye.
- Control module and door lock: the board and door lock are checked according to the diagram; you can't do without a multimeter and a model-specific table here.
- Wiring and connectors: oxidized contacts and damaged wires are found by continuity testing along the circuit from the valve to the board.
Technician at home or repair at the service center
Tech Service is a direct provider: our employee comes to your home or the appliance is repaired at our service center, without intermediaries or aggregators. A home visit covers most water fill issues: the mesh and inlet valve are replaced on site, the pressure switch and sensor tube are also checked on site. Repair at the service center is needed when the drum has to be disassembled — for example, with a jammed pump or damaged hose inside the housing. Our specialists work with various brands, so the part is selected by part number or model code: for Bosch, it's the E-Nr on the label inside the door. In my opinion, there's no point taking the appliance to the service center just for a clogged mesh — that's a job for home. If after checking the valve and mesh water still doesn't flow, the visiting technician will determine whether an on-site repair is enough or the appliance will have to be taken in.
Diagnostics, warranty, and payment
- Free diagnostics: the cause is found and the cost of work is quoted before repair begins; you don't pay for the inspection.
- Arrival within 60 minutes: a specialist reaches you anywhere in the city within an hour after your request.
- 1-year warranty: covers both labor and the parts installed by our employee.
- Payment methods: you can pay in cash or by card, whichever is more convenient.
- 4 to 20 years of experience: our specialists work with various brands and generations, including older Bosch series.
Understanding washing machine water supply issues
Let's put the check into one route: from simple to complex, from the shut-off valve to internal parts. The five points below are the order that helps avoid taking the appliance apart for nothing.
- First the shut-off valve and mesh: check the valve and mesh filter at the hose inlet — these are the most common and simple causes of no water fill.
- Then the components: if the valve is open and the mesh is clean but no water flows, the cause is in the inlet valve, pressure switch, control board, or wiring.
- The code is a guide, not a diagnosis: the error value depends on the model; check it against the table for your machine, not a generic online decoder.
- Almaty specifics: hard water speeds up mesh clogging, and low pressure and outages cause false fill errors — after a utility failure, check the pressure first.
- Water in the drum: unplug the appliance and drain it through the emergency drain hose behind the service panel at the bottom front, placing a towel underneath.