 experience9 years
Ruslan Ts.
Washing machine and refrigerator repair technician
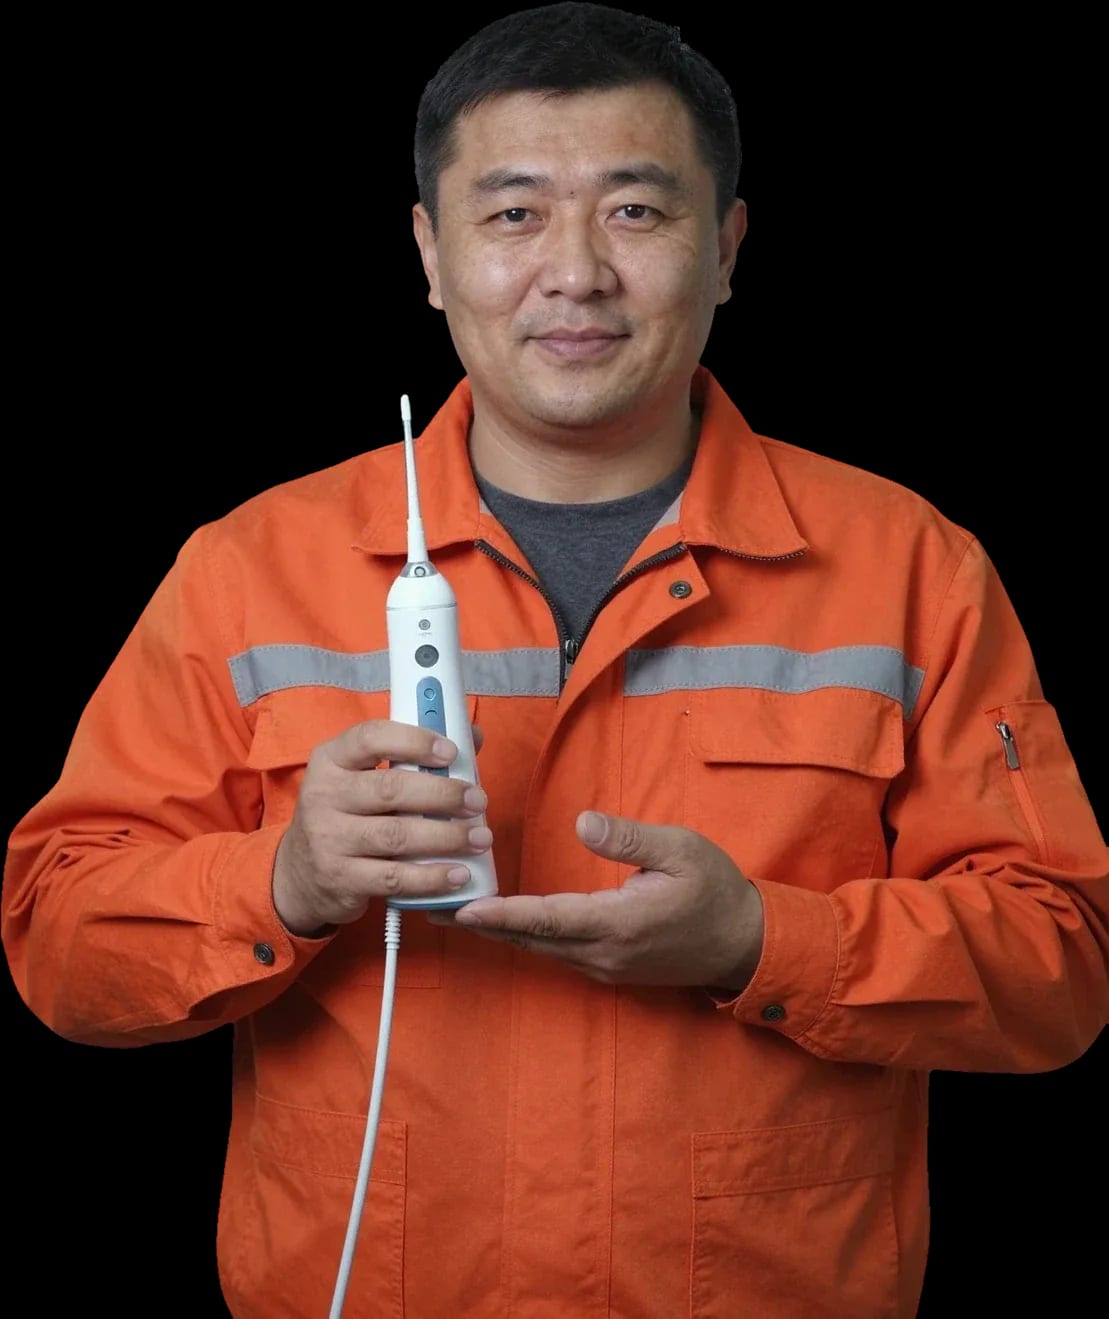
We restore working pressure and a watertight seal. Free diagnostics, a technician arrives within 60 minutes anywhere in the city.
Our own technicians4 to 20 years of experience



Repair prices
Below are common symptoms and their likely causes. The technician identifies the exact fault after diagnostics.
tank valve, seal, pump
from2 000 ₸
clogged tip, air in the system, pump
from3 500 ₸
tank seal, cracked body, hose
from2 000 ₸
battery, contacts, button
from2 500 ₸
pump wear, loose diaphragm, vibration
from2 000 ₸
battery, overheating, circuit board
from4 000 ₸
button, circuit board, clogged valve
from2 500 ₸
button seal, cracked body
from2 500 ₸
1–2 hourstime
from 2,000 ₸cost
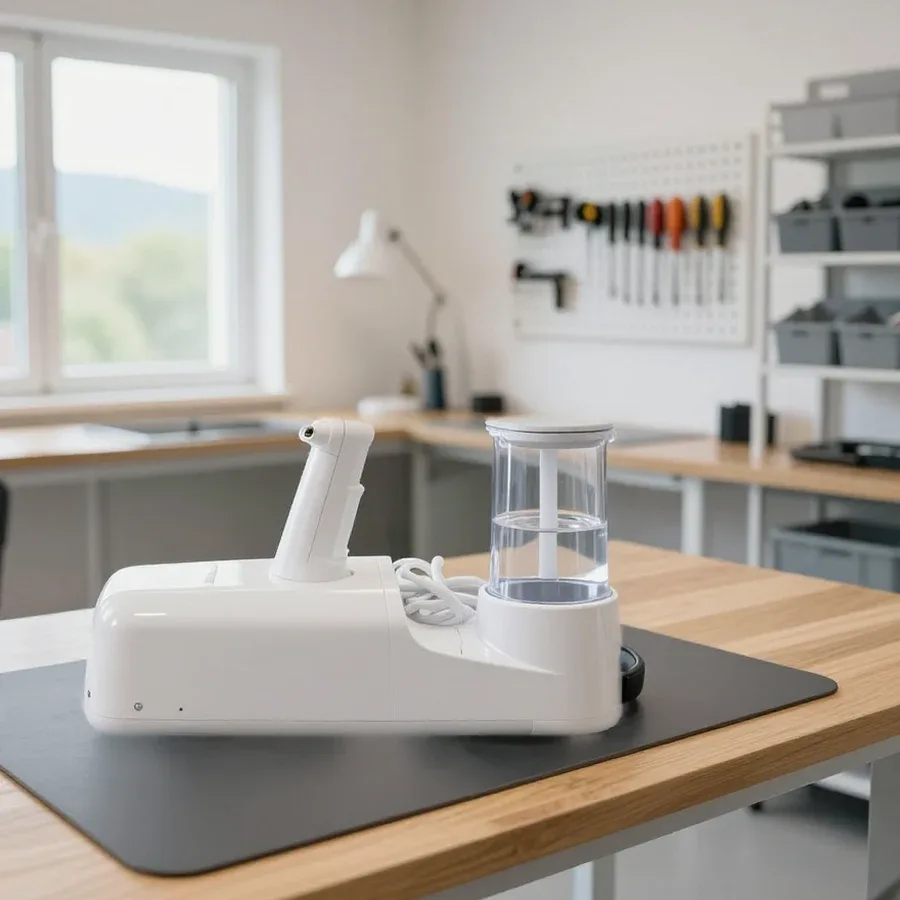 BeforeAfter

Five steps from request to a working check of the device.
Describe the symptom and model so the technician can prepare for the visit.
The technician arrives at the agreed time and asks how the device behaves in use.
The technician names the cause of the fault and the repair cost.
You approve the scope of work, and the technician restores the device.
After reassembly, the technician checks pressure, modes and watertightness together with the owner.
The home appliance repair department in Almaty has 8 technicians with 8 to 12 years of experience.
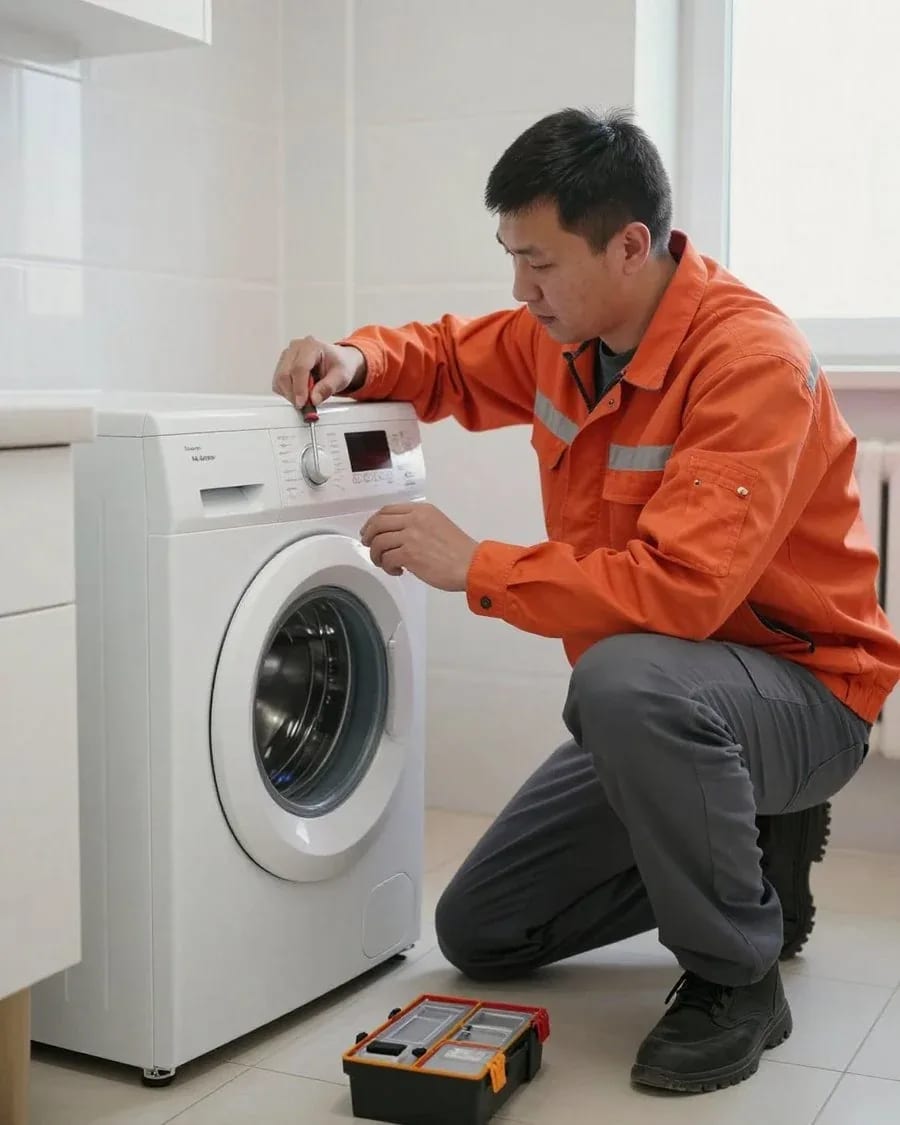
The department has 8 specializations — they are listed on the technicians' cards.
experience9 yearsWashing machine and refrigerator repair technician
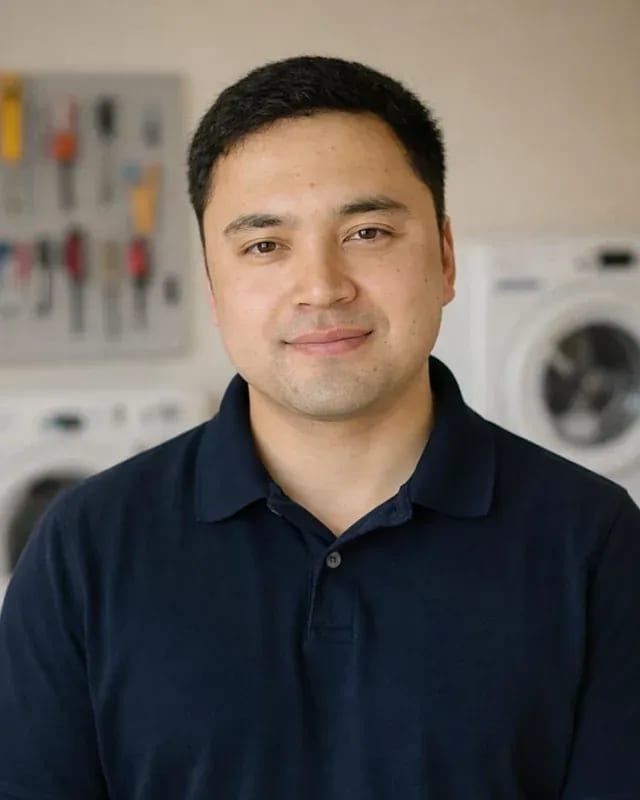 experience12 years
General household appliance repair technician
 experience10 years
Field technician for washing machine and refrigerator repair
 experience8 years
Expert washing machine repair technician
 experience8 years
Field refrigerator repair technician
 experience8 years
Senior washing machine repair technician
 experience11 years
Dishwasher repair technician
 experience9 years
Washing machine repair technician
We reply during working hours
Describe the symptom and the device model so the technician knows in advance which component to check. You can pay via Kaspi QR, Kaspi Red, bank card, cash, or bank transfer for companies.

Warranty question? Call us
+7 (778) 046 88 53Oral irrigator repair at Tech Service starts with free diagnostics: a technician arrives within 60 minutes anywhere in the city or accepts the device at the service center. We fix portable and countertop models and replace pumps, valves, seals and batteries. We give a 1-year warranty on labor and parts and accept payment via Kaspi QR, Kaspi Red, card, cash, or bank transfer for companies.
The design of a device defines its weak spots. A battery model and a corded unit with a separate reservoir fail in different ways, so first we look at how each type is built and where it tends to give out.
A portable oral irrigator is built into a single water-resistant housing: the tank, pump, motor, lithium-ion battery and circuit board sit right next to each other, so with these models we most often see battery wear, a clogged valve and leaks along the tank joint. Compactness comes at a price — any drop that gets past a seal lands straight on the electronics. The brand hardly changes the picture: Waterpik, Oral-B, B.Well, Revyline and AquaPulsar share a similar component layout, differing only in the shape of the latches and the charging method (a socket or an induction base). We open these housings along the seam so the fasteners stay intact, and we inspect every rubber ring before reassembly. The main rule after opening is to reseal the housing along its entire perimeter, otherwise water will reach the board within a few sessions.
A countertop oral irrigator runs from a wall outlet, so it has no charging problems, and its weak spots shift to the plumbing outside the housing — the hose, the handle and the seal of the removable reservoir. The motor here is larger than in a cordless model and fails less often, but it does not tolerate long runs without breaks. The handle with its pause button and tip holder is constantly in a wet palm, and its internal valve eventually starts to drip. The reservoir is removed and refitted every day, so the seal in its seat wears out and a puddle forms under the base. The power cord suffers from tension when the unit stands far from the outlet. The hose cracks where it is constantly bent during storage, so coil it loosely and do not wrap it tightly around the body.
| Component | Portable model | Countertop model |
|---|---|---|
| Pump and piston | wear after running dry | wear from long sessions |
| Valves | clogging with limescale | scale, dripping in the handle |
| Power | battery, socket, induction base | power cord, adapter |
| External plumbing | joint between tank and body | hose, handle, reservoir seat |
| Electronics | board close to water | buttons and mode switch |
| Housing | cracks after drops | reservoir cracks |
Every owner complaint points to a specific part. Below is the water path in order, from the motor that drives the piston to the last sealing ring at the water outlet.
If the motor hums but there is no jet, we first check the pump piston and the drive gear that turns it. The pump creates a pulsating jet: the piston draws water from the tank through a check valve and pushes it to the tip. When the piston cup wears down, pressure drops while the sound stays the same, so the owner thinks the device is working, yet almost no water comes out. A plastic gear with worn teeth produces cracking and jerks. The electric motor itself fails less often, and we test it separately, disconnected from the pump, so as not to replace a working part. During free diagnostics the technician shows the owner which element is worn. Running dry quickly destroys the piston cup, so never switch the device on with an empty tank, not even to check the sound.
Pressure that weakens week by week most often means that scale from hard water has clogged the intake filter and the valves. Tap water with a high mineral content leaves limescale on every part it passes through: the mesh at the end of the intake tube, the pump check valve and the narrow channel of the tip. A scaled valve does not close tightly, part of the water flows back into the tank, and the jet becomes weak and uneven. The filter is visible right away and easy to remove and rinse, while the valve is hidden inside and cannot be reached without disassembly. Additives in the tank — salt, herbal infusions, mouthwashes not approved by the manufacturer — speed up clogging and corrode the rubber parts. Warm clean water in the tank and rinsing the device with clean water after every session noticeably extend valve life.
Below is how a direct contractor works, from the request to a control run with water, and which jobs are done on site and which are better moved to the service center.
Our technician arrives within 60 minutes anywhere in the city and runs diagnostics free of charge, finding out on site which component has failed and only then quoting the cost of the work. The inspection covers water pressure, motor sound, button response and the charge indicator, and if a leak is suspected, the tank joints, tip socket and housing seam. We look at both compact travel models and family units with several tips. If the owner agrees to the proposed work, the technician gets on with it; if not, the decision stays with the owner. So that an oral irrigator repair does not start with a long search for the cause, write down before the visit how the fault shows itself: when the jet disappears, where exactly it drips, how many minutes the charge lasts — such notes help the technician check the right component straight away.
The technician cleans the filter and replaces the tip, seals and hose at your home, while opening the housing to solder the board or replace the battery is more convenient at the service center. A portable model is held together by latches and a glued seam along the entire perimeter, and after disassembly this seam must be resealed and the sealant given time to set. Soldering battery contacts requires a clean workspace, good lighting and an unhurried check, which is awkward and risky on a kitchen table. In a countertop unit the pump also sits deep inside, and replacing it requires full disassembly of the base. We tell you in advance what work lies ahead and where it is best done, so the owner does not have to guess. After soldering, a water-resistant housing is always tested for watertightness with water before the device is returned, a check that is hard to do at home.
| Job | Where we do it | Check afterwards |
|---|---|---|
| Descaling the filter and channels | at home | pressure with water |
| Replacing the tip and seals | at home | dry joints after a run |
| Replacing the hose and handle | at home | pause button operation |
| Replacing valves | at the service center | even jet in all modes |
| Replacing the pump | at the service center | pressure and motor sound |
| Replacing the battery | at the service center | full charging cycle |
| Restoring the board and buttons | at the service center | mode switching |
If the device stays silent or dies mid-session, the cause is in the power circuit. We look at the battery, the charging part and the control board separately, as each has its own signs of failure.
A lithium-ion battery loses capacity over time, and the device starts switching off mid-session or weakening towards the end of cleaning. Every charging cycle wears the cell a little, and daily use drains its life faster than it seems. A swollen battery is dangerous: it pushes the housing apart from inside, breaks the latches and opens a path for water. The sign that the cell is worn rather than the board is that the indicator shows a full charge, yet after a couple of minutes of use the pressure drops and the motor stops. Replacing the battery in a portable model is a routine job: the cell is matched by capacity and size, the contacts are soldered and the housing is resealed. A battery of a different size may not fit the original slot. Storing a fully discharged device for months speeds up wear, so charge it to about half before a long break.
When the indicator does not light up on charge, the adapter and contacts are checked first and the battery only after that, so a working cell does not get replaced. In models with a socket, the cause is often corroded or loose socket contacts: the plug goes in, but charging is intermittent. An induction base transfers energy without direct contact, and here the culprits are a damaged coil in the base, a cracked base housing or an unsuitable adapter with a different output current. A broken wire near the plug is easy to spot by eye, at a kink or exposed braid. A third-party power supply with excess current overheats the charging circuit and shortens battery life. Moisture on the base contacts corrodes them, so do not put the device on charge while wet; wipe the handle and bottom dry first.
Modes switching by themselves, a dead button and an indicator blinking for no reason are signs of a control board problem, and we check it after opening the housing. The board sits next to the tank, so the main enemy of the electronics here is water that has entered through a worn seal or a crack. Corroded traces cause false presses: the device switches between massage and cleaning modes on its own or turns off when touched. The button under its rubber membrane wears out from daily presses, and the contact stops responding. We clean the board, restore the traces and replace the buttons, and if the board has burnt out, we find a replacement. Corrosion from water can often be removed by cleaning if you act at once and do not switch the wet device on again, as every new start deepens the damage.
The decision depends on the condition of the components, not the age of the device. Below are the signs for both options and the risks of opening the housing yourself.
A new device is the wiser choice if the pump and electronics are damaged at the same time or the housing has cracked along the seam at the base of the tank. Water that has stood inside for a long time corrodes the board contacts and eats away the traces, while a worn pump needs its own replacement as well, so the work goes in two directions at once. Cracked plastic holds sealant poorly, and the leak may come back. An oral irrigator repair also loses its point when most of the key parts need replacing — the pump, board and battery together. A separate case is a swollen battery that has deformed the housing: even after it is replaced, the latches may not close and the seam will stop holding water. One simple question helps with the comparison — how many key components need replacing: one means restore, two or more means first compare the cost of the work with the price of a new device.
The latches and glued seam of a water-resistant housing are easy to damage with a screwdriver, and without resealing the device will let water in from the very first session. Teardown videos of specific models show a successful result, but not what happens a month later when moisture reaches the board. A lithium-ion cell that is punctured or short-circuited heats up and can catch fire, so soldering it without skill is dangerous. A broken latch alone becomes a reason to replace half of the housing. We open the housing along the seam so the fasteners stay intact, and after reassembly we test it with water in all modes. The only safe things to do yourself are removing and rinsing the intake filter, cleaning the tip and fitting a new one; anything that needs a screwdriver is best left to a technician.
What the owner gets after the work: a warranty, convenient payment and an experienced contractor. We go through each point without promising more than the service actually offers.
Tech Service gives a 1-year warranty on labor and parts, covering both the work done and the installed parts: the pump, valve, battery and seals. For devices that work with water every day this matters a lot, because the quality of sealing and soldering shows not right away but after weeks of use. Within a year of use, hidden assembly defects, a weak contact or a faulty new part have time to show up. Typical signs to watch for after the work are drops along the housing seam, a drop in pressure and fast discharge of a new battery. We test every device with water before returning it so that such problems do not reach the owner. If the fault does come back, describe exactly how it showed itself and after what, so the technician can compare it with the earlier work more quickly.
The technician who comes to you is ours, with 4 to 20 years of experience, not a gig-platform contractor found through an intermediary. Over such a career a technician has worked with small household appliances of many generations, from bulky corded units to compact models with induction charging, and knows where every design hides its latches and weak spots. A direct contractor is responsible for the result: the technician who fitted the part and the service that gave the warranty are one and the same party. Payment is simple too: you can pay via Kaspi QR, Kaspi Red, bank card, cash, or bank transfer for companies, so you can choose whichever suits you. There is nothing to arrange separately with third parties. When you submit a request, name the brand and model of the device, since this lets the technician understand the housing design and how to open it in advance.
A short reminder for owners whose device no longer works as before: what to check yourself, what to leave to a specialist and how to look after the device after restoration.
Tech Service technicians repair other appliances too — with the same 1-year warranty on labour and parts.
 Refrigerator Repair in Almatyfrom 3 000 ₸
 Washing Machine Repair in Almatyfrom 3 000 ₸
 Dishwasher Repair in Almatyfrom 3 500 ₸
 Oven Repair in Almatyfrom 3 000 ₸
 Cooktop Repair in Almatyfrom 3 500 ₸
 Air Conditioner Repair in Almatyfrom 3 500 ₸
 Boiler and Water Heater Repair in Almatyfrom 2 500 ₸
 Freezer Repair in Almatyfrom 6 000 ₸
 Tumble Dryer Repair in Almatyfrom 5 000 ₸
 Coffee Machine Repair in Almatyfrom 2 500 ₸
 Robot Vacuum Cleaner Repair in Almatyfrom 3 500 ₸
 Vacuum Cleaner Repair in Almatyfrom 1 500 ₸
 Microwave Oven Repair in Almatyfrom 2 000 ₸
 Hair Dryer Repair in Almatyfrom 1 500 ₸
 Iron Repair in Almatyfrom 3 000 ₸
 Electric Kettle Repair in Almatyfrom 2 500 ₸
 Mixer Repair in Almatyfrom 2 500 ₸
 Multicooker Repair in Almatyfrom 500 ₸

If your dishwasher won't drain, the most common culprits are a clogged filter or drain hose; less often, it's the pump, impeller…
24 March 2026 · 12 minutes read
A washing machine can hum for many reasons, and the first thing to figure out is when the sound appears.
20 March 2026 · 12 minutes read
If your washing machine isn't filling with water, the most common culprits are a closed valve, a clogged inlet filter screen on the hose…
20 February 2026 · 13 minutes read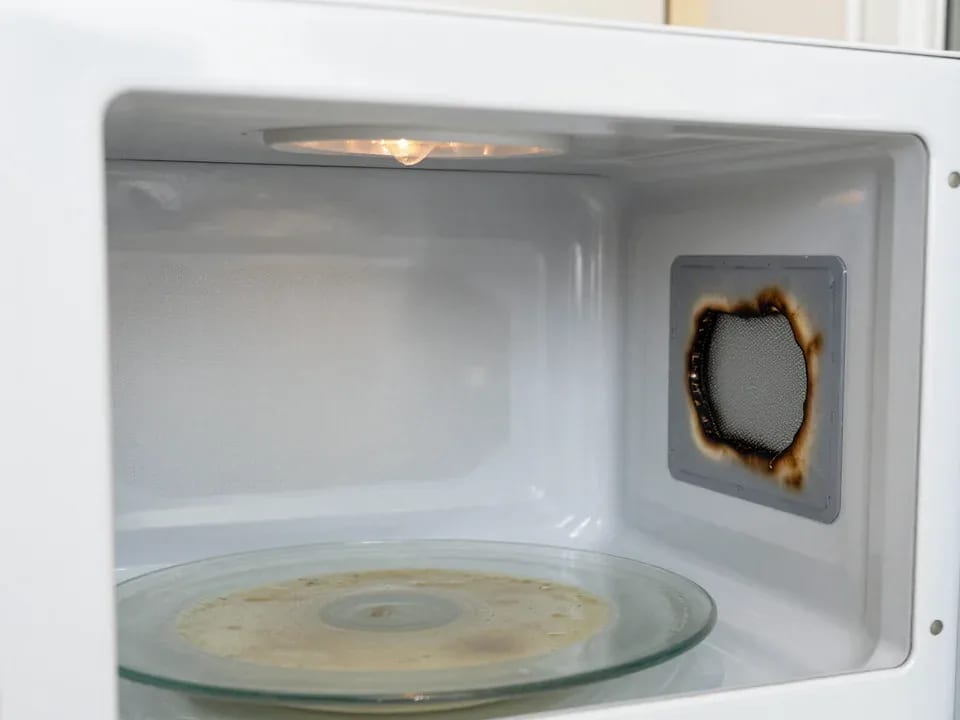
If your microwave isn't heating but the light and turntable still work, the problem is usually one of the high-voltage components — the magnetron, diode…
15 February 2026 · 12 minutes read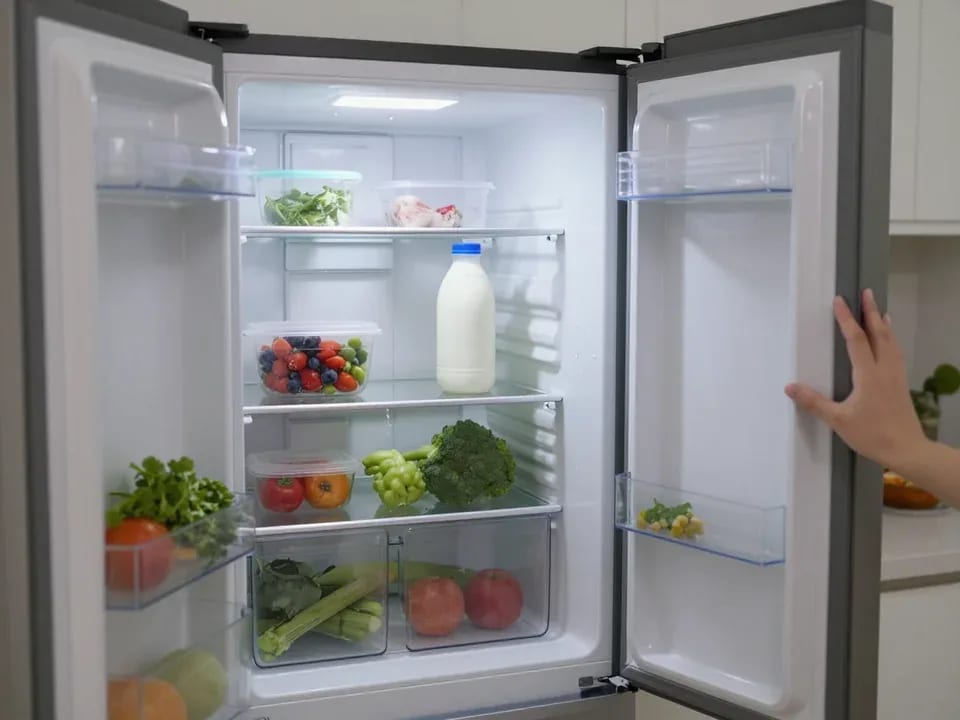
If your refrigerator stops working, first check the outlet, the power cord, and the thermostat setting, and after defrosting let it stand for a while.
4 February 2026 · 12 minutes read
Washing machine error codes are self-diagnostic codes that point to a specific component: drain, water fill, heating, motor, or door lock.
29 January 2026 · 13 minutes read