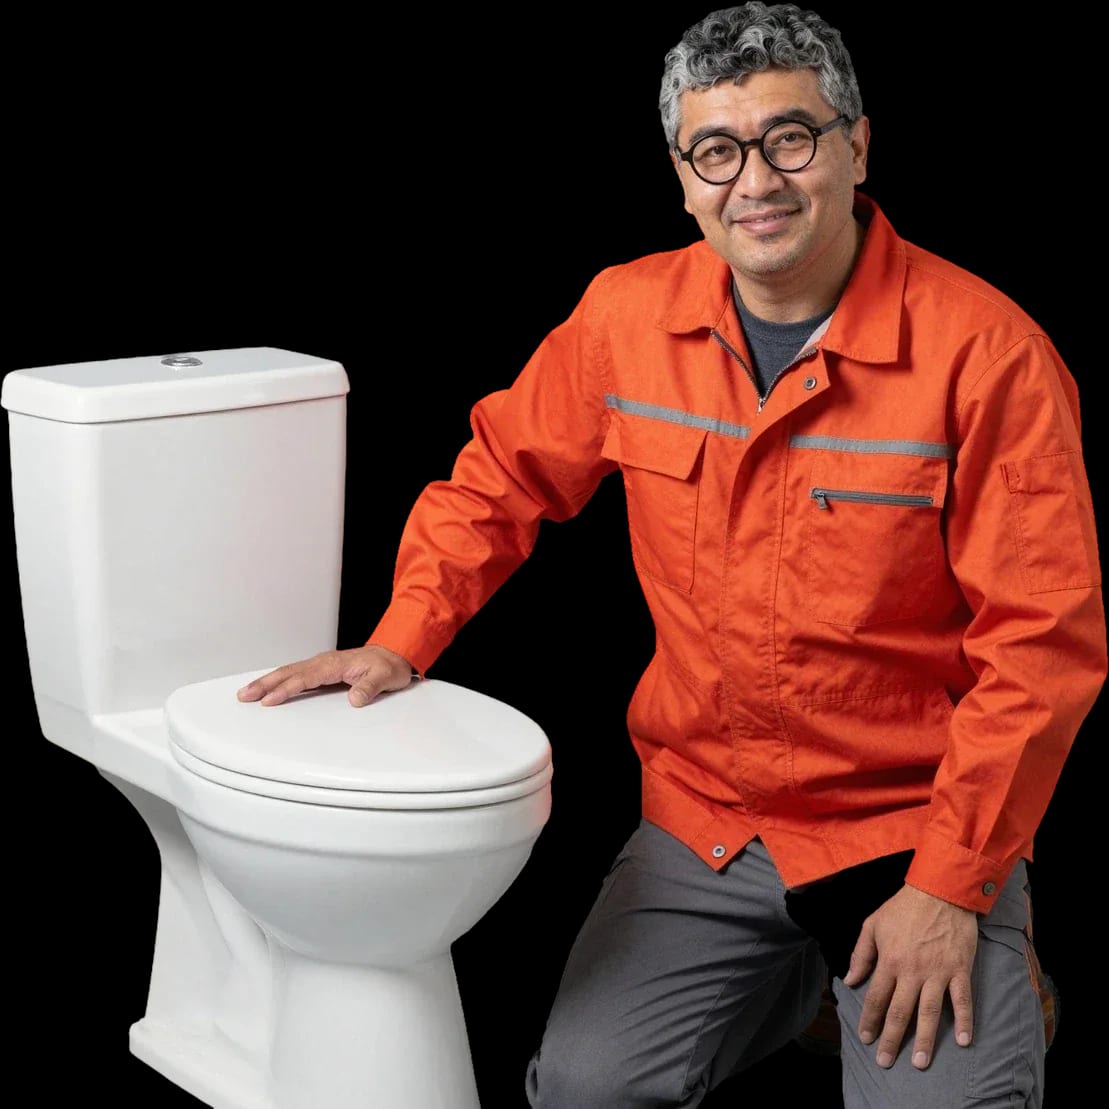
Tech Service installs toilets in Almaty with a technician arriving within 60 minutes anywhere in the city. The technician comes to your home, performs free diagnostics, removes the old toilet, installs a new floor-mounted or wall-hung model with the installation frame, connects it to water and sewage, and checks for leaks. 1-year warranty on labor and parts.
What Toilet Installation Includes and How It Differs from Replacement
Installing a plumbing fixture isn't just about bolting the bowl to the floor. Let's break down what the technician's work actually includes and how a from-scratch installation differs from replacing an old unit.
What the Technician Does During Installation
We start with free diagnostics, then carry out the full cycle: removing the old bowl, installing the new one, connecting it to the water supply and sewer, and checking for leaks. On site, the specialist cleans and levels the area, assembles the unit with the tank fittings, secures it to the floor, and runs the flexible supply line to the water. A separate step is connecting the outlet to the drain socket via the seal—this is what ensures a watertight fit. After hooking everything up, the technician turns on the water, tests the flush, and inspects all connections. If there's no ready drain connection in the stack, the specialist assesses whether one can be set up on site—that's a separate scope of work agreed upon before installation begins, so the estimate doesn't change mid-job. The technician provides the toilet installation price for the work after free diagnostics.
How Installation Differs from Replacement and Relocation
Replacement means removing the old fixture and installing a new one in the same spot, while a from-scratch or relocation scenario requires preparing a drain connection to the sewer and a water supply at the new location. With replacement, the connection points stay the same, and the work boils down to swapping the bowl. Relocating to another part of the bathroom is a bigger job: you need to move the drain connection to the stack and run water to the new wall, and the floor will show marks from the old mounting. Pipes aren't always replaced—during diagnostics, the specialist checks the condition of the supply line and stack and tells you whether the existing ones can stay or need to be replaced. On old cast-iron pipes, the condition of the drain socket matters more than the model of the fixture itself.
How Toilet Installation Goes from Technician Arrival to Leak Check
We walk through the entire process step by step, from the call to the moment the specialist leaves and you're left with a working toilet and no leaks.
From Call to Leak Check, Step by Step
- Arrival: the technician gets there within 60 minutes anywhere in the city and brings tools.
- Diagnostics: free check of the pipes, outlet, and connection point to understand the scope of work.
- Approval: the technician provides the cost after free diagnostics.
- Removal: the old fixture is taken out carefully to avoid damaging the tiles and sewer outlet.
- Installation: the new toilet is set in place, leveled, and secured to the floor or frame.
- Connection: water is hooked up, the seal and gasket are installed, and the base joint is sealed.
- Leak check: water is turned on, flushed several times, and all connections are inspected.
How Long Installation Takes and What to Do If the Toilet Wobbles
The technician gives an exact time after diagnostics, because it depends on the type of fixture and the condition of the plumbing, not on a one-size-fits-all standard. Toilet installation in Almaty on a level floor with a ready outlet goes faster than work in an apartment with old pipes where the sewer outlet needs adjusting first. Three things affect the total duration: how the old fixture comes out, whether the floor mounting holes line up, and the condition of the seal and gasket at the outlet. We don't promise a fixed hour for every job—the technician assesses the scope on site and gives the duration for your specific situation. If the fixture wobbles or leaks at the base after installation, that's a reason to call the specialist right away under warranty—don't try to tighten the mounting yourself, or you might damage the seal. The 1-year warranty on labor and parts covers a return visit and fixing such a defect.
Floor-Mounted or Wall-Hung Toilet and How Installation Goes
The two main installation scenarios differ both in design and in the set of work. Let's figure out which type your fixture is and what parts you'll need to buy in advance.
How Installing a Floor-Mounted vs Wall-Hung Toilet Differs
| Toilet type | Mounts to | Hidden in the wall | Purchased separately |
|---|
| Floor-standing close-coupled | to the floor with fasteners | nothing | seal, flexible supply line |
| Wall-hung with installation frame | to the installation frame | cistern and supply line | installation frame, flush button |
| Wall-hung on brackets | to the load-bearing wall | only the pipe stub | brackets, external cistern |
What to check before installing a wall-hung toilet
Before installing a wall-hung model, we check the wall's load-bearing capacity, whether the sewer outlet matches the installation frame's pipe stub, and the condition of the water supply line. The frame holds the bowl on two studs, while the flush mechanism and pipes go behind drywall or brick — you can only reach them after removing the flush button. The sewer outlet must line up with the frame's pipe stub both vertically and horizontally; otherwise the technician offsets the connection with a corrugated pipe or adapter. If the wall is drywall, the installation frame is reinforced with a backing plate — without it, the fastening will loosen under load and the bowl will start wobbling within a few months. In our experience, installing on an installation frame takes longer than working with a close-coupled toilet: first we level the frame, then connect the water, and only then hang the bowl. The installation frame is usually sold separately from the bowl, so it's bought in advance — the technician will tell you during the free diagnostics which frame suits your model and wall.
Warranty, payment, and trust in the contractor
Warranty and payment terms are what a customer wants to understand before calling. We explain what the warranty covers, how payment works, and when the price is quoted.
What the warranty covers
We provide a 1-year warranty on labor and parts — that covers both the quality of installation and the consumables we install. The warranty covers the seal, flexible supply line, and other parts the specialist installs during the job, not just the fact that the bowl is fastened to the floor. Over seven to twenty years of practice, Tech Service has returned to a site for such claims more than once, and a repeat visit under warranty adds nothing to what the customer already paid for the installation. If a leak occurs during the warranty period due to our fault, the contractor will come and fix it — keep the document confirming the work was done, as it links the specific installation to the warranty obligations. Without that paper, proving the date of work is difficult, so don't tuck it away in a distant drawer.
How toilet installation is paid for
The contractor quotes the price after the free diagnostics, once they see the scope of work, and you can pay via Kaspi QR, Kaspi Red, card, cash or bank transfer. How much it costs to install a toilet depends on the bowl type, the condition of the pipes, and whether the old fixture needs to be removed — the specialist assesses all this on site, not over the phone. There's no fixed price list: the quote is tailored to the specific job, so we don't give a random sum over the phone. Toilet installation in Almaty, with the price based on inspection and agreement, won't spring surprises at the end. Diagnostics are free, so you lose nothing if you decide to postpone the installation after the inspection — you'll know the sum before work starts, not at the end, and can weigh the terms calmly. The specialist arrives within the city in 60 minutes, so the wait doesn't stretch into half a day.
Installation in different types of housing and with old plumbing
A Khrushchev-era apartment, a new build without finishing, and a private house differ in the condition of plumbing and bathroom layout — we explain what changes in the technician's work at each site.
How installation differs in a Khrushchev-era apartment, a new build, and a private house
- Khrushchyovka: the drain outlet is offset and squeezed between risers, so installing a toilet often requires an adapter or adjusting the unit to fit the old plumbing layout.
- New building without finishing: cold and hot water supply along with the sewer outlet are installed from scratch, and connection points are positioned at the height of the future fixture.
- Private house: the type of local sewage system — septic tank, cesspit, central riser — determines the slope of the outlet and the method of sealing the drain.
- Old cast-iron riser: during free diagnostics, the technician checks the joints and decides whether an adapter will suffice or the unit needs rework before installation.
What to do with old pipes and an old toilet
We inspect old cast-iron pipes during free diagnostics and tell you whether a new toilet can be connected to the existing section or if it needs replacement — and the decision is made before installation begins, not after dismantling. We remove the old fixture as part of the job: take off the tank, disconnect the supply, free the outlet, and assess the condition of the socket and mounts. Our technicians have 7 to 20 years of experience with plumbing, so by the look of the cast-iron socket and signs of corrosion they can tell in advance whether the unit will support the new model or crack under its weight. Discuss disposal of the dismantled equipment with the technician in advance — removing and hauling away the old toilet is a separate matter best settled before work starts, so you don't have to figure out where to put the fixture after installation.
Installing a toilet the right way
The result of a toilet installation is determined by four things: the scope of work, the mounting method, the condition of the utilities, and the contractor's warranty obligations. Below are the key points to keep in mind before starting.
- Scope of work: installation covers removal of the old fixture, installation of the new one, connection to water and sewage, and leak testing.
- Mounting method: a floor-mounted compact is fixed to the floor, while a wall-hung model is mounted on an installation frame purchased separately from the bowl.
- Duration: the exact time depends on the plumbing model and the condition of the utilities and is determined after free on-site diagnostics.
- Warranty: one year applies to both installation and parts, so leaks caused by the contractor are fixed free of charge.
- Housing type: in old buildings and new developments, the scope differs due to the condition of the sewage outlet and water supply.