 experience10 years
Maksim S.
Graphics card repair technician
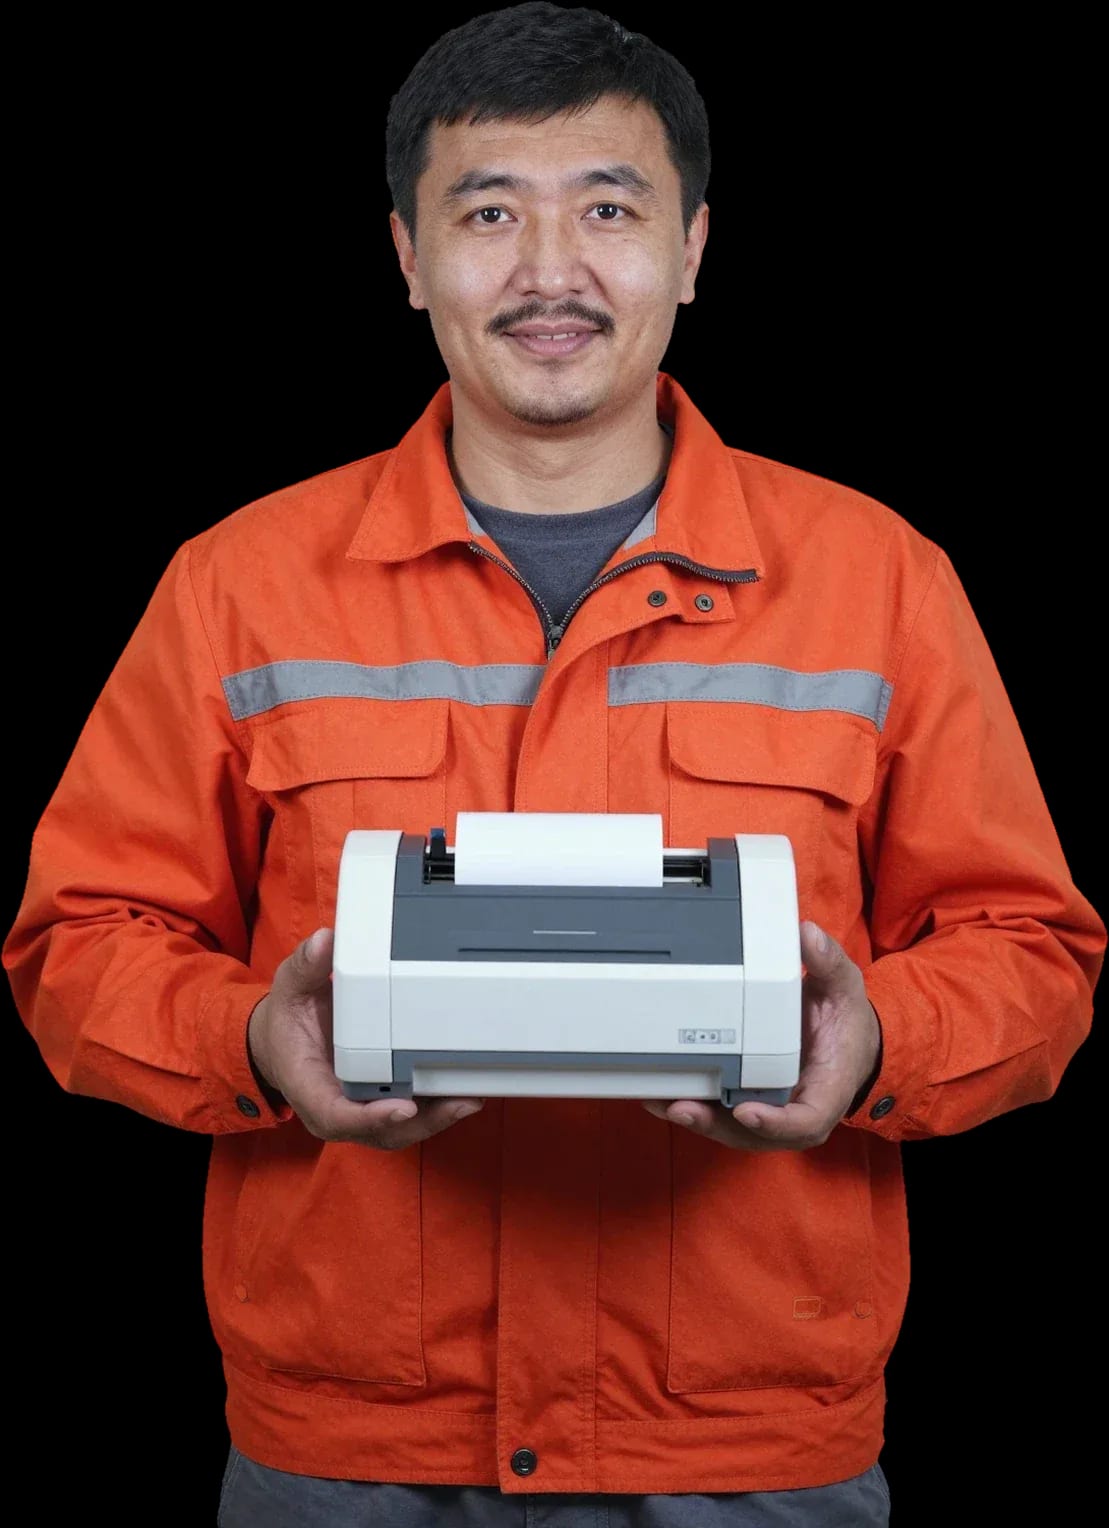
A technician arrives within 60 minutes anywhere in the city. Diagnostics are free.
Our own technicians4 to 20 years of experience




Repair prices
Below are the typical symptoms operators notice before printing stops completely.
Dried printhead or no connection to the PC
from8 500 ₸
Worn rollers or dirty sensors
from8 500 ₸
Low temperature or worn printhead
from8 500 ₸
Cover sensor or calibration failure
from8 500 ₸
Damaged printhead or dirty roller
from8 500 ₸
Loose pressure or dirty guides
from8 500 ₸
Worn gears or loose belt
from8 500 ₸
Blunt blade or clogged mechanism
from8 500 ₸
1 visittime
from 8,500 ₸cost
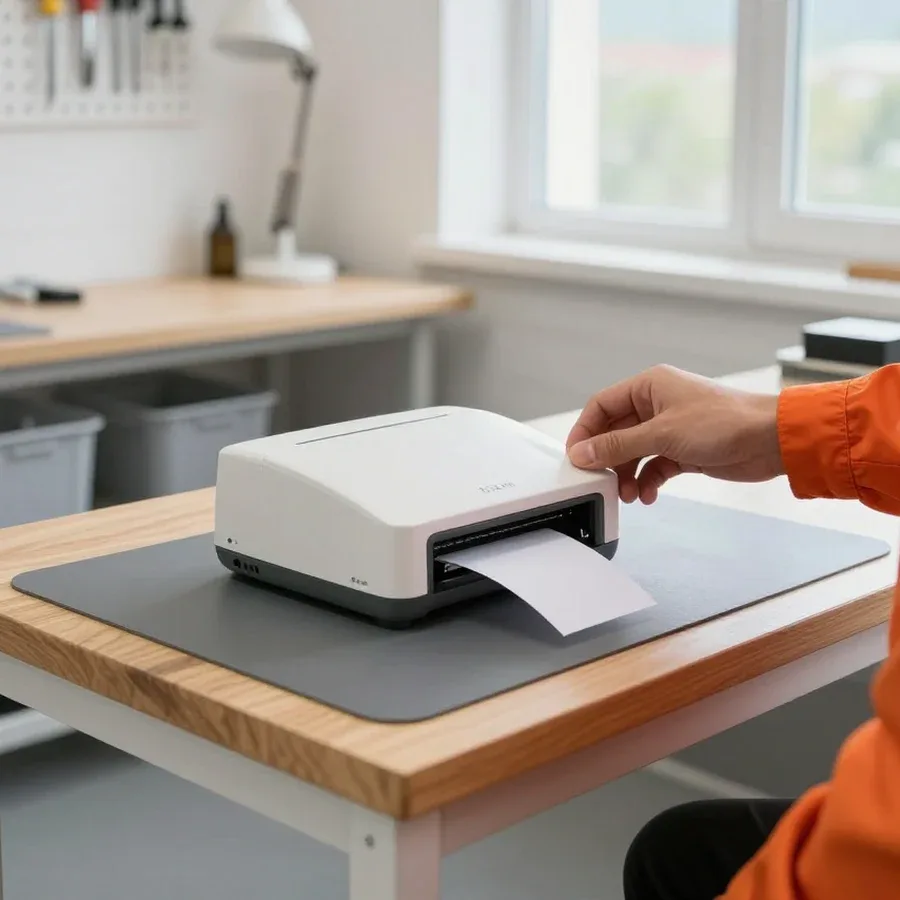 BeforeAfter

Five steps from your request to a print check.
We take the problem description and printer model so the technician brings the right tools.
The technician arrives anywhere in the city within 60 minutes after the request is confirmed.
The technician records the model, symptoms, and error codes in the request and agrees on the work time with you.
During approval we choose parts: original or equivalent, and discuss compatibility and lifespan.
The technician explains driver and consumable settings after the repair so printing stays stable.
The computer and laptop repair department in Almaty has 7 technicians with 6 to 15 years of experience.
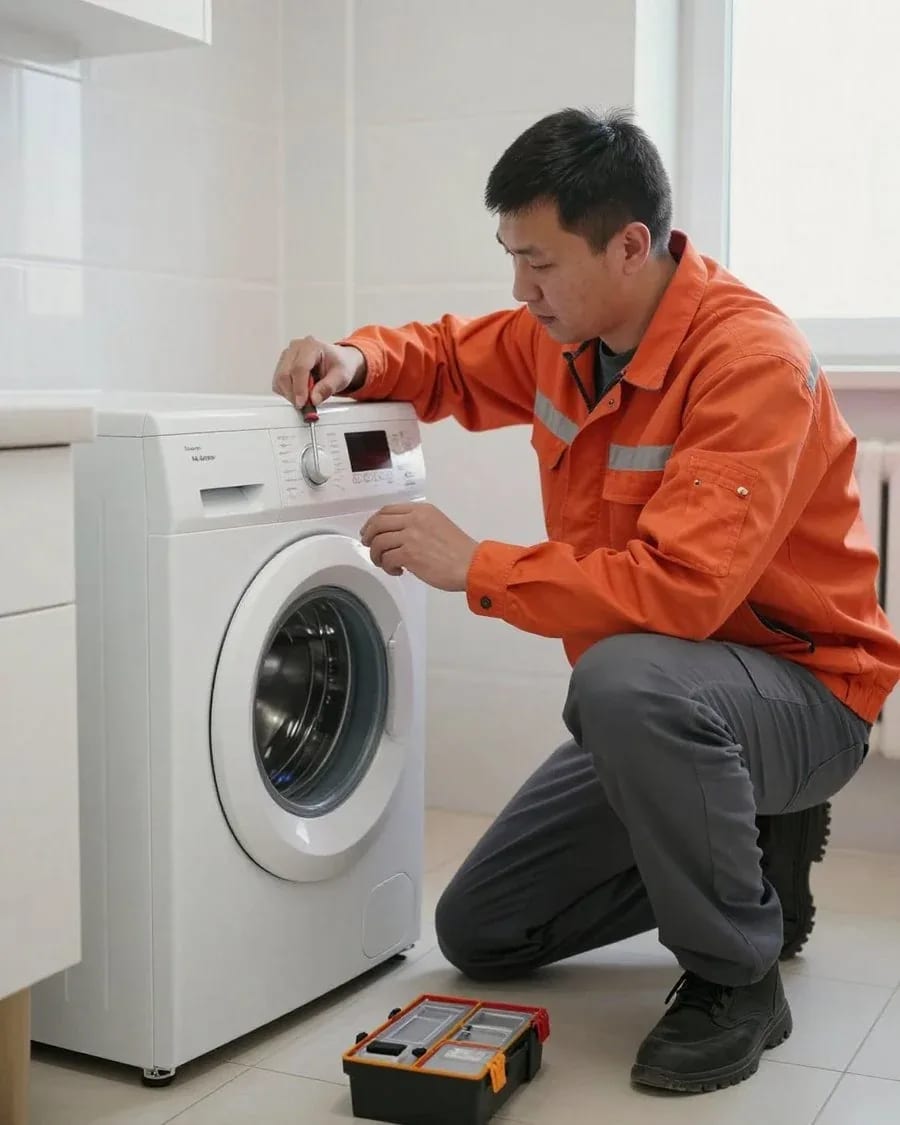
The department has 7 specializations — they are listed on the technicians' cards.
experience10 yearsGraphics card repair technician
 experience6 years
PC and laptop diagnostics technician
 experience8 years
Laptop repair engineer
 experience10 years
Software installation specialist
 experience7 years
PC and laptop repair technician
 experience13 years
Diagnostics and virus removal specialist
 experience15 years
Consultant
We reply during working hours
Describe the fault in the form — the technician will confirm the visit time and give a preliminary cost estimate.

Warranty question? Call us
+7 (778) 096 59 70Tech Service repairs label printers in Almaty: a technician comes to your home or office within 60 minutes anywhere in the city, or you can have your equipment fixed at our service center. Diagnostics are free, we provide a 1-year warranty on labor and parts, and the technician gives you the price after diagnostics.
Label printers fail in a few typical ways, and each symptom points to a specific component—from the printhead to the feed rollers. Let's break down what each symptom means.
When the label feeds but there's no print, the culprit is usually the printhead, the ribbon, or the density settings—not the feed mechanism. The printhead is a row of heating elements that burn dots onto thermal paper or transfer ink from the ribbon; as some elements burn out, white streaks appear on the label, and with severe wear the print disappears entirely. On a thermal transfer model, check the consumable: the ink side must face the paper, otherwise the image won't transfer. Print density in the driver also matters a lot—a low setting gives a faint, almost invisible print even with a healthy printhead. You can check the printhead without disassembling: press a clean sheet of paper against it—a even dark mark during the test means the component is fine, and the cause lies in settings or the consumable.
Jamming in the middle of a label is usually caused by the feed rollers, the platen roller, or the label sensor, which incorrectly detects the gap. Over time, rollers get clogged with adhesive dust and stop gripping the tape evenly—the paper skews and gets stuck in the paper path. The platen roller adds pressure, and if the gap is off, the label slips off the guides. The label sensor is responsible for detecting the gap between labels: when it's dirty or misaligned, it sees the boundary where there isn't one, and the device stops feeding in the middle of the tape. Repeating at the same label length almost always points to the sensor; random jams indicate the rollers. Another common cause is adhesive stuck to the platen roller after using cheap labels: the roller starts pulling the tape unevenly, and it drifts away from the guides.
When a label printer won't turn on, the cause is often the power supply, connectors, or ribbon cables—failure to pick up the ribbon is a separate ribbon sensor issue. The power supply fails due to a voltage spike, and a loose cable between the control board and the printhead breaks the connection, so the device doesn't come out of standby. Another scenario is the ribbon sensor not detecting the roll in thermal transfer printing: the device shows an error and refuses to work, even though power is fine. Check if the panel responds to the power button at least with an indicator—this immediately narrows the search to power or the board. If the indicator lights up but there's no feed, look for the cause in the sensor and cable, not the power supply.
An error on the panel is not a death sentence but a hint about which component to check. We've collected typical label printer signals and their likely causes.
| Panel signal | Likely cause | What the technician checks |
|---|---|---|
| Label calibration error | label sensor, gap, or mark | sensor calibration, label type |
| No ribbon | ribbon sensor, ribbon installation | ribbon feed and seating |
| Overheating or printhead error | printhead, cable | condition of printhead and connectors |
| No power | power supply, connectors | power and control board |
In our experience, calibration errors are most often resolved by calibrating the label sensor for the specific gap or mark type, rather than replacing the unit. The control board receives a signal from the sensor and compares it with the media profile: if the gap between labels is wider or narrower than what is stored in memory, the printer loses the boundary and stops feeding. On roll labels with a mark, the error occurs when the mark contrast is low—the optical sensor cannot distinguish it from the backing. On thermal transfer models, calibration is also thrown off by incorrectly loaded ribbon that covers the sensor window. A Tech Service technician runs an automatic feed test, sets the sensor sensitivity threshold, and saves the parameters in the profile. If the error returns on the same batch of labels after calibration, the problem may be the media itself—an uneven gap or a weak mark confuses the sensor.
If the same error returns after service, we recheck not only the replaced unit but also the print settings and the type of consumables—the cause is often not the part. When the error code reappears on the panel, we log it and compare it with the first call's record: a matching signal at the same print stage narrows down the suspect units. We check the density and print speed settings separately—too high density overloads the printhead and causes false overheating, while too low density masks real wear. We compare the label type with the profile: changing the label supplier without recalibration brings back the same calibration error. A recurring error at the same print stage is a reason to check the label profile in the software, not just the hardware.
Faint print and gaps are the most common complaints, and the printhead is not always to blame. Here's how to tell wear from a settings or consumables issue.
Printhead wear shows up as uniform faintness across the entire print width or as persistent white stripes that cannot be removed by adjusting density. The heating line is a row of microscopic resistors, and over time some of them burn out: a light track appears on the label, repeating from label to label in the same place. At first the gap is 1–2 mm, then it widens, and the barcode stops scanning. Heating becomes uneven: the center still prints, but the edges are already light. Maximum density gives only a temporary effect—the head wears out faster, and the stripes remain. Inspect the head with the printer off: chips, carbon buildup, and scratches on the heating line indicate wear, not settings. Such an inspection takes a couple of minutes and requires no tools.
A density issue produces uniformly faint print across the entire label, while printhead wear causes stripes or gaps in one area. With low density or speed, the image is simply light overall, without distinct white tracks. A damaged ribbon behaves differently: the film tears, folds create smudged spots, and a worn area causes a repeating gap along the entire roll. Low-quality thermal paper darkens unevenly and leaves a gray background but not persistent stripes. Check the density and speed settings first: increase the value by one step and run the same label—if the defect moves with the setting, the cause is not the head. Folds and creases on the ribbon also cause stripes, but they shift across the label width from run to run rather than staying in one place. Before replacing the head, run a test with a known-good ribbon—this separates the consumable from the unit.
We replace the thermal head when wear is confirmed by inspection and a print test, and we provide a 1-year warranty on labor and parts for the replacement. A technician arrives within 60 minutes in the city, inspects the heating line and media path, and checks how the unit maintains pressure against the ribbon. Diagnostics are free, and the specialist quotes the replacement cost after diagnostics — there is no point in disassembling the printer before that. We perform replacements on-site or at the service center and accept payment via Kaspi QR, Kaspi Red, card, cash, or bank transfer for companies. Carbon buildup and dust accelerate burnout of the heating line, so regular cleaning of the head and media path significantly delays replacement — and also reduces ribbon consumption and label waste. Another reason heads are replaced early is operation at excessive density: the manufacturer designs the heating line's lifespan for standard mode, and each step up the scale consumes it faster.
Some checks can be safely done yourself before the specialist arrives, and an accurate description of the problem saves significant diagnostic time. Here's where to start preparing your request.
When you contact us, we need to hear the printer model, the exact symptom, the error code, and when the failure occurs — this way the specialist brings the right tools. State the series and modification of the device: different lines have different locations for label and ribbon sensors, and typical weak points are already known for each model. Describe the printing behavior: the label feeds but the field remains white, the device stops midway, or it throws a code after calibration. Mention whether you changed consumables or settings before the breakdown — a new batch of labels or incorrect density often explains the symptom without disassembly. Specify how long ago the problem appeared and whether it repeats on every label or only on part of the print run: this determines where the technician starts. If printing is intermittent, say so right away — an intermittent fault requires different diagnostics than a constant one.
On-site, we typically handle settings, calibration, cleaning, and some replacements, while complex work on the board or power supply is done at the service center. A technician arrives within 60 minutes in the city, performs free diagnostics, and immediately identifies which unit failed — the label sensor, thermal head, or feed mechanism. Calibrating label sensors, cleaning the thermal head, and replacing consumables fit the on-site format: they don't require disassembling the case down to the board. The control board and power supply are checked at the service center, so such equipment is taken there. If the fault requires board-level repair, it can't be properly done on-site — soldering and testing components require stable conditions and re-testing under load.
Label printer repair follows clear stages — from request and free diagnostics to approval of work and print verification. Let's break down each step.
During diagnostics, we first check the power supply and error code, then the printhead, label and ribbon sensors, and only after that the feed mechanism. The power supply rules out voltage-related failures, the error code on the panel narrows the search to a specific unit, and inspecting the head shows whether there are burnt-out dots. We check the label sensor and ribbon sensor separately — they often cause the device to "not see" the consumable and throw a calibration error. We look at the feed mechanism last: jams and roller slipping show up during the print test. We also assess the printout itself — evenness of fill, clarity of small text and barcodes — because it shows whether the head is pressing properly or the issue is in density settings. This order eliminates the most common causes in minimal time — often it doesn't even come to disassembly, and the fault is fixed by adjustment or cleaning. This inspection is the first step in label printer repair in Almaty; after that, the technician agrees on the work with you.
For on-site visits, a technician arrives within 60 minutes anywhere in the city and performs diagnostics and whatever repairs are possible on the spot, while complex cases are taken to the shop. The visiting technician handles settings, calibration, cleaning the paper path, and replacing consumables — tasks that don't require disassembling the case. If board soldering, printhead replacement, or feed mechanism restoration is needed, the device is transported to the workshop for precise work with small components. Free diagnostics are provided in both cases: first the specialist names the cause, then you decide whether to proceed. The technician quotes the price after free diagnostics — by then you already understand which unit is broken and what work lies ahead. There is a 1-year warranty on labor and parts, so after the repair you're not left alone with the problem.
The timeframe depends on the unit: we handle settings and calibration on site, while printhead replacement or board restoration is agreed separately after diagnostics. Calibrating the label sensors takes just minutes and often solves the feed failure. The printhead is a part that must match the model, so the exact printer number matters here. The control board requires circuit testing and post-installation checks, and the feed mechanism requires disassembly and evaluation of the rollers. The overall timeframe is also affected by how quickly you approve the work: the approval pause is the only thing that really drags out the process. The technician gives the exact timeframe after diagnostics along with the cost — so you're not guessing but deciding based on facts. If a unit needs replacement, the technician explains in advance what work is required and what determines the order.
Warranty, preventive maintenance, and knowing who will actually show up with tools — that's what sets direct service apart from a middleman. Let's go through each point in order.
We provide a 1-year warranty on labor and parts, including printhead replacement. Our technicians have been working with label printers for 4 to 20 years, so typical failures of printheads, sensors, and feed mechanisms on Zebra, TSC, and Godex models are routine for them. The warranty period is the same for on-site repairs and in-shop work: no matter where the part was replaced, the quality commitment remains. If the defect reappears after repair, just let us know — the technician will return and address the cause again, without arguing about where the work was done. The warranty covers the work performed and the installed part — if the fault returns, the technician handles it under warranty. Ask in advance for the list of work and parts covered by warranty — that makes it easier to claim it without disputes if printing fails again.
A direct provider sends their own technician and handles the warranty themselves, while a middleman just passes the request along and doesn't control the repair. With us, a technician arrives in the city within 60 minutes, and it's the same specialist who will later service your label printer — not a third-party contractor with unclear obligations. We accept payment via Kaspi QR, Kaspi Red (instalments), bank card, cash, or bank transfer for companies, and the technician gives you the price after free diagnostics, so there are no surprise charges. Ask for the technician's name and who provides the warranty — if the answer is vague, you're probably dealing with an aggregator. Another sign of a direct service is their willingness to name the technician and explain the warranty process before the visit; vague phrases about “our specialists” usually mean they're reselling your request.
When you put the symptoms together, a clear picture emerges: you can guess which component is at fault in advance, which means you can prepare for the technician's visit and ask the right questions. This kind of analysis saves time for both you and the specialist.
Tech Service technicians repair other appliances too — with the same 1-year warranty on labour and parts.
 Refrigerator Repair in Almatyfrom 3 000 ₸
 Washing Machine Repair in Almatyfrom 3 000 ₸
 Dishwasher Repair in Almatyfrom 3 500 ₸
 Oven Repair in Almatyfrom 3 000 ₸
 Cooktop Repair in Almatyfrom 3 500 ₸
 Air Conditioner Repair in Almatyfrom 3 500 ₸
 Boiler and Water Heater Repair in Almatyfrom 2 500 ₸
 Freezer Repair in Almatyfrom 6 000 ₸
 Tumble Dryer Repair in Almatyfrom 5 000 ₸
 Coffee Machine Repair in Almatyfrom 2 500 ₸
 Robot Vacuum Cleaner Repair in Almatyfrom 3 500 ₸
 Vacuum Cleaner Repair in Almatyfrom 1 500 ₸
 Microwave Oven Repair in Almatyfrom 2 000 ₸
 Hair Dryer Repair in Almatyfrom 1 500 ₸
 Iron Repair in Almatyfrom 3 000 ₸
 Electric Kettle Repair in Almatyfrom 2 500 ₸
 Mixer Repair in Almatyfrom 2 500 ₸
 Multicooker Repair in Almatyfrom 500 ₸
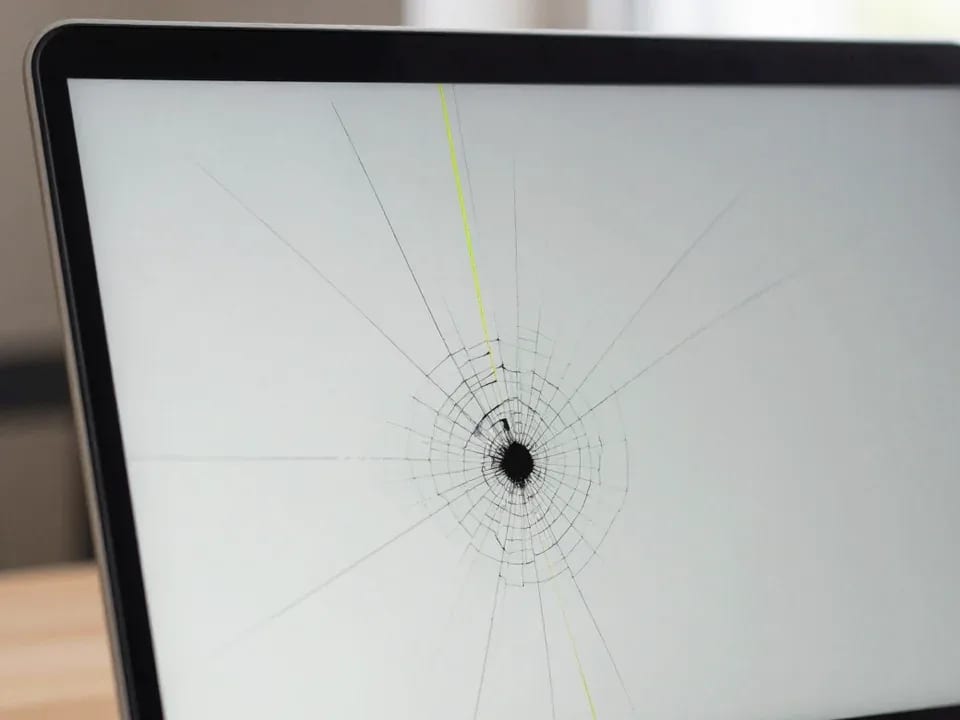
If your laptop screen is broken, turn the device off first, don't press on the display, and check the picture through an external monitor.
12 March 2026 · 11 minutes read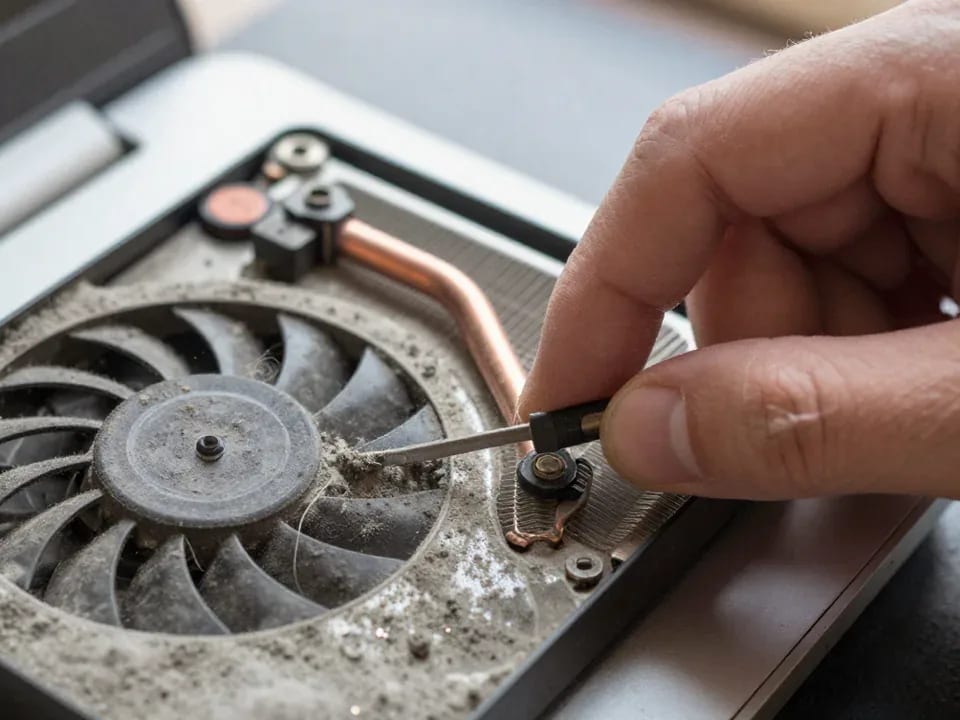
If your laptop freezes, the first thing to do is restart it and check Task Manager to see what's loading the CPU and memory.
25 January 2026 · 12 minutes read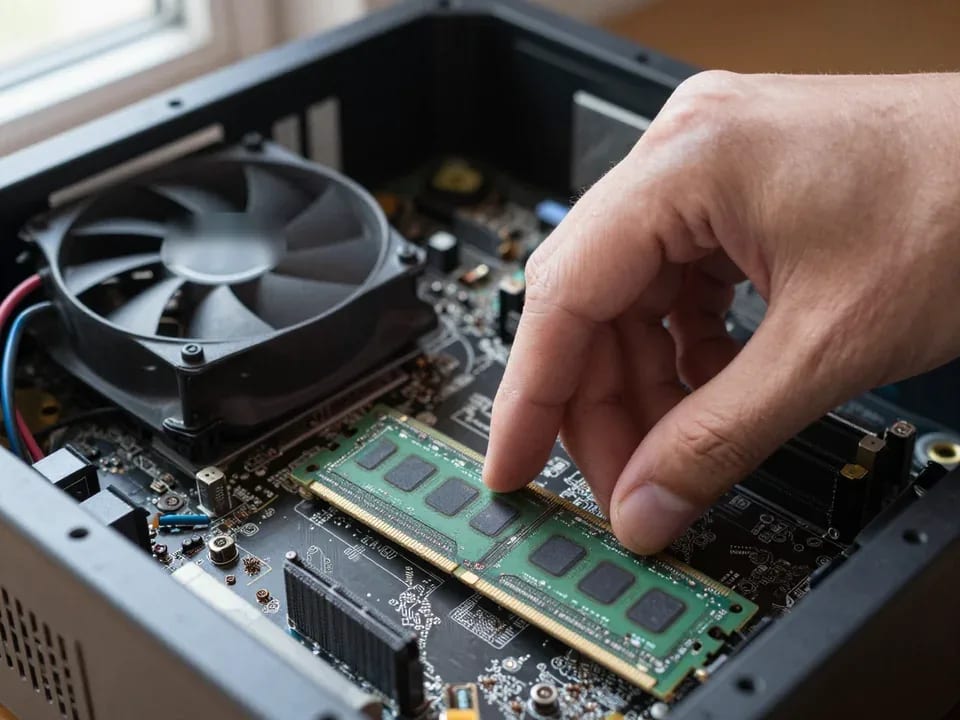
If your computer won't turn on, start simple: check the outlet, power cable, switch on the power supply, and the power button.
19 January 2026 · 13 minutes read
If your laptop won't boot, first determine which of two states you're in: the device doesn't respond to the power button at all…
13 December 2025 · 12 minutes read