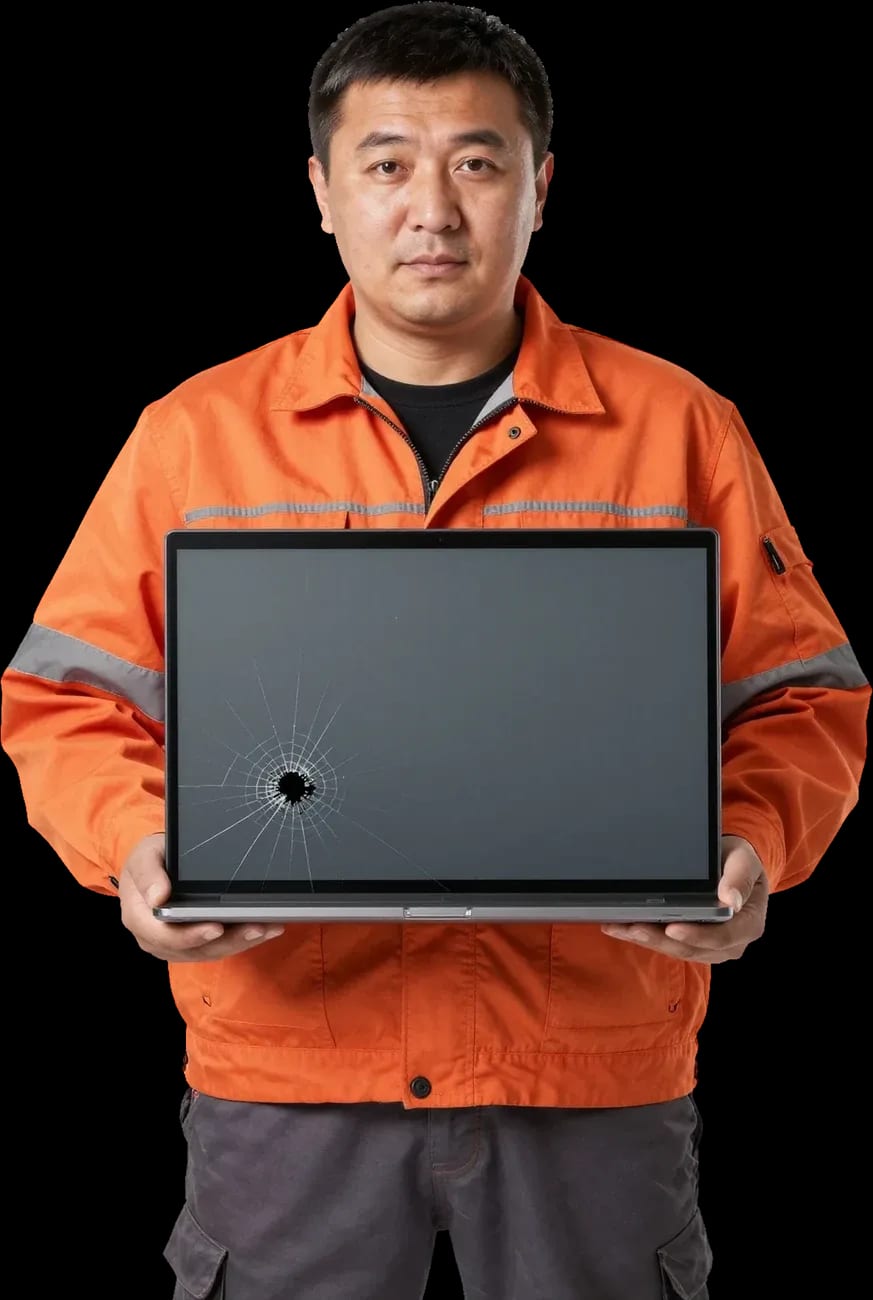

Signs that your laptop screen is broken
If your laptop screen is broken, turn the device off first, don't press on the display, and check the picture through an external monitor. Tech Service offers free diagnostics, a technician arrives within 60 minutes anywhere in the city, and you get a 1-year warranty on labor and parts.
Laptop screens fail in different ways, and what you see determines whether the panel needs replacing or just the cable, backlight, or connector needs fixing.
Lines, spots, and flickering on the screen
Vertical and horizontal lines, dark spots, and flickering usually point to damage to the panel itself or its cable, not a system glitch. When the laptop screen is mechanically broken, the lines stay in one place and don't go away after a reboot. A defect that "floats," appearing and disappearing as you move the lid, points to the screen cable: the contact in the connector is loose or worn from frequent opening. A dark spot with a sharp edge usually means a crushed layer of liquid crystals, while uniform darkening across the whole area indicates backlight degradation. Flickering at low brightness is often related to the driver or inverter, not the LCD/LED panel. If the lines change when you tilt the lid, the cause is almost always the cable or connector, and this defect can be fixed without replacing the panel.
Screen is black but the laptop is running
A black screen on a working laptop can mean a backlight failure, a loose cable, a faulty connector, or a video chip issue, and only diagnostics will show what exactly failed. Check how it responds to an external monitor: if the picture appears there, the video chip and system are fine, and the problem is in the panel, cable, or connector. A dim, barely visible screen with the power indicator on often indicates a backlight failure rather than a completely dead panel. A video chip shows artifacts and lines before it fails completely, while a screen connector causes the image to disappear at the slightest movement of the lid. Shine a flashlight at an angle on the screen: if you see a faint image, the backlight is out, but the panel itself may be intact.
Cracked glass and distorted colors after a drop
A crack in the protective cover and damage to the panel itself look similar, but distorted colors and "rainbow" streaks mean the screen matrix is damaged, not just the glass. The protective layer cracks from impact, but the image stays sharp and even in color. When colors shift after a drop and green or purple areas appear, the liquid crystal layer under the glass is damaged. A crack with a dark "spiderweb" spreading from it almost always means the panel is no longer sealed and entire sectors have failed. The damage also affects the substrate: even if you only see a small chip, the pixels in that area stop responding to the signal. If colors are distorted only on part of the screen, the panel can't be restored by polishing or gluing—the liquid crystal layer is destroyed.
What to do right after the screen breaks
The first steps after screen damage affect whether you can save your data and avoid making it worse, so the order of actions matters more than speed.
First steps after damage
- Turn off the laptop: power down the device properly so heat doesn't expand the crack and shards don't shift across the glass.
- Don't press on the damaged area: pressing pushes shards into the lid and damages the backlight.
- Don't wipe or tape it: liquid and glue seep between the protective glass and the display, making cleaning pointless.
- Secure the lid: don't slam the laptop shut or carry it open—shaking makes the crack spread across the entire area.
- Take a photo of the damage: the picture will help show the technician the area and type of damage before disassembly.
How to work temporarily through an external monitor
An external monitor connects via HDMI or through an adapter and lets you save your data and finish urgent tasks while the matrix hasn't been replaced yet. Once connected, switch the video output using a key combination or through the display settings: the desktop will appear on the external panel, and you can turn off the built-in display. This takes the load off the damaged area and keeps you from opening the lid unnecessarily. If the external monitor shows an image but the built-in one doesn't, that confirms the problem is in the display, the ribbon cable, or the backlight, not the video chip. In the opposite case — no image on either screen — the cause is already in the graphics or the system. In my view, an external display gives you the main thing: time to calmly copy files and choose a part without pressing on the cracked glass.
What happens if you put off the repair
If you don't replace the damaged matrix for a long time, the crack expands, stripes and spots take up more and more area, and in advanced cases the ribbon cable suffers too. Constant heat from the backlight and pressure when closing the lid speed this up: a fresh crack in the glass reaches the edge within a few weeks. The matrix ribbon cable wears through at the hinge, the connector oxidizes and stops making contact — and that's already a separate part and a separate stage of work. Delaying the repair doesn't make the replacement cheaper: a damaged ribbon cable or connector is added to the panel itself, and the scope of work grows. Replacing the matrix requires the connector and screen resolution to match, so it's better to choose the part once and by exact marking, not after repeated damage.
Repair or replacement of the matrix
Not every screen failure is solved by installing a new part, and conversely, some damage can't be fixed. Let's break down what counts as repair and what requires replacement, and why not every fault can be fixed on the spot.
When the matrix can be restored
You can restore the ribbon cable, the connection connector, and the backlight, while the panel itself with cracks or burned-out pixels is replaced entirely. The ribbon cable transmits the signal from the board to the screen, and when it bends at the hinge, contact is lost: the image disappears or flickers when the lid is tilted. The connector on the board suffers from oxidation and mechanical wear — it's resoldered if the traces are intact. The backlight consists of lamps and an inverter: if they fail, the image remains but becomes dim or is only visible at an angle. Flickering and loss of image when moving the lid is a typical sign of a ribbon cable problem, and such a repair costs less than installing a new part, so at the first symptoms you check the connection line rather than rushing to buy.
Why cracks aren't glued or filled
Gluing and filling cracks is pointless because it's not the glass that's damaged but the layer of liquid crystals inside the screen, and it can't be restored with sealant. A laptop panel is an LCD or LED screen where the image is formed by crystals between polarizing films; a crack breaks this layer, and the pixels in the damaged area stop being controlled. The protective glass only covers the structure on the outside and doesn't hold the image. Liquid glue or resin seeps under the films, causing iridescent streaks and dark spots on the image. Worse, the compound can get onto the ribbon cable and damage the contacts — after that, you're replacing more than just the screen. Attempts to fill a crack by hand ended with the technician having to disassemble the unit deeper than with the original damage.
Comparison of options for different types of damage
| Damage | What we do | What we check |
|---|---|---|
| Cracked panel | Matrix replacement | Connector and resolution match |
| Stripes when tilting the lid | Ribbon cable repair | Contact in the connector |
| Dim image | Backlight repair | Operation of lamps and inverter |
| No image, black screen | Circuit diagnostics | Matrix, ribbon cable, video chip |
| Distorted colors after a fall | Panel replacement | Integrity of the crystal layer |
Risks of replacing the matrix yourself
Replacing the panel yourself seems like a simple task, but in practice the risk of damaging the cable, connector, or case is higher than it looks. Let's break down what exactly breaks and when it's wiser to take the laptop to a technician.
What you can damage during a DIY replacement
- Matrix cable: the thin wire tears easily if you bend the lid carelessly, and replacing it requires disassembling the case and skill with small connectors.
- Connection connector: contacts bend from a skewed plug, and then the new part won't produce an image even after installation.
- Plastic case latches: the screen bezel cracks when pried with a screwdriver, and restoring the lid's geometry afterwards is difficult.
- Hinges and mounts: incorrect screw torque leads to misalignment, which over time causes the screen to crack at the corners.
- The new part itself: placed without protection, it gets scratches and creases on the glass, and the laptop panel is then definitively broken.
How to choose the right part when buying
A screen from another laptop model will only fit if the diagonal, resolution, connector, and mounting locations match; otherwise, no image will appear. Even screens of the same size from different batches differ in connector and pinout, so the part is selected by the exact laptop model, not by appearance. Four parameters are checked: diagonal in inches, resolution and panel type, number of connector contacts and its exit side, and mounting points at the corners. An error in at least one point means the purchase will have to be returned, and disassembly will start over. In my opinion, it's more reliable to compare the marking with the old part—it's stamped on the back and unambiguously indicates a compatible option.
When it's better to trust a technician with the replacement
We recommend trusting a technician with the matrix replacement if the laptop is under warranty, the screen is touch-sensitive, or the case already has damage. In such cases, DIY disassembly voids the manufacturer's warranty, and the touch layer and cracked bezel are easy to ruin completely without experience. Our technician comes to your home or repairs in the service center, and after replacement checks the image and gives a 1-year warranty on labor and parts. Diagnostics are free, and we arrive within 60 minutes in the city; you can pay via Kaspi QR, Kaspi Red, bank card, cash or bank transfer for companies. The technician quotes the price after diagnostics, when it's clear whether the panel needs replacing or the cable can be fixed. From experience, it's precisely on touch models and devices with cracked cases that saving on a technician results in repeated disassembly and a second part purchase.
How to match a matrix to your laptop model
For the new part to fit without surprises, several parameters must match, not just the screen diagonal. Let's break down what exactly is checked before purchase and why panels that look identical turn out to be incompatible.
Parameters used to select a panel
- Diagonal: measured by the visible area, not the case—a discrepancy of even an inch will prevent the part from fitting into the lid bezel.
- Resolution: the number of horizontal and vertical pixels must match the previous one, otherwise the image will stretch or a black bar will appear at the edge.
- Connector: the cable can have a different number of contacts and pitch, so a visually identical part may not fit your model.
- Mounting locations: screw holes and bezel tabs are offset in different series, and the screen simply won't secure in the lid.
- Surface type: glossy and anti-glare behave differently in light, and this parameter is also part of the selection.
- Marking: compare the number with the old part in full, not just by laptop name—one case was released with several screen variants.
- Cable included: some panels have it soldered on, others have it separate, and this affects whether the part fits the board connector.
Panel type and screen coating
Screens differ in viewing angles, color reproduction, and coating, and when replacing one, it's important to keep the familiar picture rather than just install any compatible part. A basic TN panel offers moderate angles and average color reproduction: when viewed from the side, the image fades and inverts. IPS-like options maintain wide viewing angles and high color reproduction, so they are more often used in models for graphics and video work. The surface is also considered separately: a glossy coating gives richer colors but reflects more, while a matte finish is more comfortable in bright light from a window. The panel type also affects power consumption and brightness—given equal compatibility, the choice is made for the user's tasks. For office documents, a matte basic panel is sufficient; for photos and editing, an IPS-like panel with high color coverage is needed.
Comparison of panel types when choosing
| Panel type | Viewing angles | Color reproduction | Coating |
|---|---|---|---|
| Basic TN | Moderate | Average | Matte or glossy |
| IPS-like | Wide | High | More often glossy |
| Matte | Wide | High | Anti-glare |
| Glossy | Wide | Rich | Reflects light |
How matrix replacement works at Tech Service
We work as a direct contractor, so you communicate with our own specialist, not an intermediary, and every step of the replacement is visible.
Diagnostics and approval of work
We start with free diagnostics, during which we identify the source of the problem and agree on the work before repairs begin. The specialist checks the screen, cable, and backlight separately to avoid replacing the panel where adjusting the contact is enough. Approval happens before disassembling the case: the owner knows in advance which components will be involved and what exactly is being replaced. The technician quotes the price after free diagnostics, when it's clear whether a panel replacement is needed or restoring the contact or resoldering the backlight is sufficient. In our practice, about half of the requests with image complaints end not with installing a new part but with repairing the cable—that's why the check comes first, not after disassembly. This order saves the budget: the person doesn't pay for a component they don't need.
Technician visit and on-site replacement
Our technician arrives at your home within 60 minutes anywhere in the city or repairs at the service center, and the owner chooses the convenient format. The visit covers all districts of Almaty, including remote residential areas where couriers and aggregators usually don't go. On site, the specialist brings the right panel for the laptop model, removes the old screen, installs the new one, and checks the image before leaving. We are a direct contractor, not an aggregator, so the same person who arrived and performed diagnostics is responsible for the work. If the part with the required size and connector doesn't fit, they don't leave the laptop disassembled—they record the parameters and bring the panel on the next visit. For the owner, this means they won't have to look for another contractor.
Post-replacement check and warranty
After replacement, we check the image, backlight operation, and connector contact, and we provide a 1-year warranty on labor and parts. The check is done in the owner's presence: the specialist runs test fills of different colors, checks backlight uniformity, and makes sure the cable is seated firmly and not pinched when the lid closes. You can pay via Kaspi QR, Kaspi Red (instalments), bank card, cash, or bank transfer for companies, and technicians with 4 to 20 years of experience select the panel for the laptop model so the replacement doesn't require a second visit. The 1-year warranty covers both the part itself and the labor for its installation—if the image starts flickering again in a month, we'll handle it, not the owner. Before closing the lid, check that the cable doesn't catch on the hinge—this is the most common cause of repeated flickering.
Key points on laptop screen damage
Here's the key things to keep in mind when your laptop display starts showing signs of failure, from the first symptoms to deciding whether to replace the panel.
- Symptoms: lines, spots, and flickering usually point to the panel or the cable, while a black screen on a laptop that's still running calls for circuit diagnostics.
- First steps: after damage, don't press on the glass or glue it, and back up your data temporarily through an external monitor.
- Repair or replace: the cable, connector, and backlight can be restored, but a cracked or burned-out panel is replaced as a whole.
- DIY replacement: risks damaging the cable and connector, so the part has to be matched to the exact laptop model.
- The decision: judge repair after diagnostics, not by the description of symptoms — diagnostics show exactly what has failed.