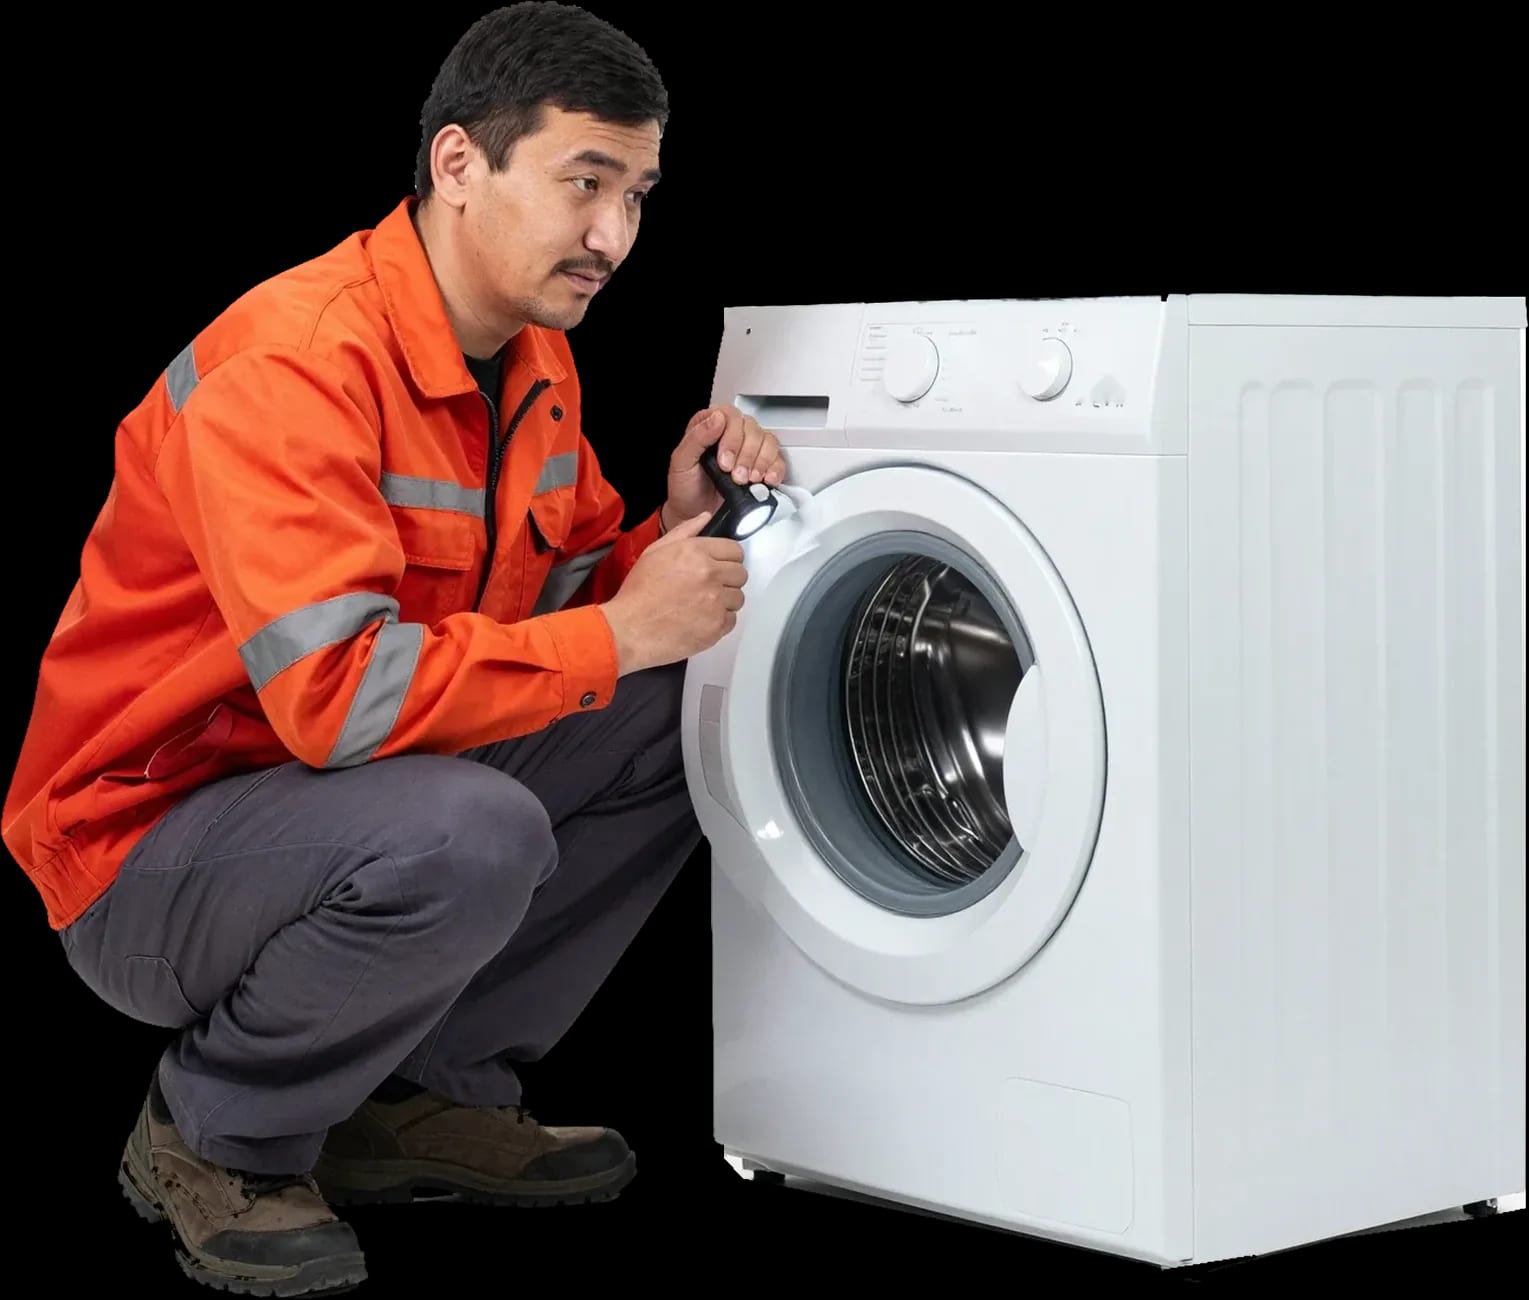

What to do in the first minutes if your washing machine starts leaking
If your washing machine is leaking, first unplug it, shut off the water supply valve, and drain the water through the emergency hose behind the service panel at the bottom front, with a towel underneath. Tech Service sends a technician within 60 minutes anywhere in the city, diagnostics are free, and there's a 1-year warranty on labor and parts.
Water on the floor means you need to act fast and safely. The order of steps matters more than finding the cause: first cut the power and stop the water supply, then figure out where it's coming from.
How to cut power and stop the water without risk
- Unplugging: pull the plug from the outlet with dry hands, without stepping in the puddle and standing on a dry part of the floor.
- Shutting off the valve: close the supply valve at the inlet — usually it's on the wall behind the machine or on a tee near the sink.
- Main breaker panel: if the inlet breaker isn't labeled, cut power to the whole apartment at the panel — that's safer than searching for the right switch with wet hands.
- Checking the flow: after shutting off, open the hatch and make sure no more water is filling the tub or seeping from the hoses.
- Power going forward: don't turn the machine on until a technician inspects it — restarting with wet contacts is dangerous for both the wiring and the control board.
How to safely drain water through the emergency hose
We drain the remaining water through the emergency drain hose behind the service panel at the bottom front, with a towel underneath. First unplug the machine, then open the service panel and pull out the thin tube next to the drain filter — it comes with most front-loading models. If the washing machine is leaking, this method helps remove water from the tub without disassembling the body. Point its end into a basin or onto a rag, remove the cap: the contents will flow by gravity, without unscrewing the filter itself. Keep the container near the stream and replace it as it fills — machines with a large tub can hold a noticeable amount, and some will soak the towel. Don't unscrew the filter while it's running and don't take apart the pump: water remains behind the panel and will spill onto the floor. The liquid from the tub can be hot — don't put your hands under the stream right away, let it drain onto the cloth, and only then place the basin.
What to do if water has already flooded the neighbors and the floor
- Leak area: photograph the leak spot and the puddle before cleaning up — the pictures will be useful when sorting things out with neighbors and the technician.
- Neighbors downstairs: warn them as soon as you notice the leak — that way they can move their belongings and appliances away from their ceilings and furniture.
- Collecting moisture: remove the puddle by blotting from the edge toward the center, not by spreading it — laminate swells at the edges and seams from standing liquid.
- Ventilation: open windows and lift rugs so the flooring underneath dries, otherwise you'll be left with a musty smell and stains on the floor.
Where exactly the water is leaking from by machine zone
The leak location narrows down the causes faster than any list of components. A leak at the back, at the front under the door, and from the middle of the body points to different parts, and they need to be checked differently.
At the back near the connection hoses
A leak at the back almost always comes from the inlet or drain hose and where they're attached. The inlet hose is under constant water pressure, so a loose nut on the inlet valve can produce a thin stream even before the cycle starts. The drain hose lets water through at the joints with the body and the drain, especially if it's kinked or the machine is pushed against the wall. Rubber ages: microcracks appear on the hose right at the connection, and water seeps along the threads. Check not only the hose itself but also the tightness of the nut on the valve — a loose clamp can cause a thin stream that's only visible during filling. Tighten the connection by hand without tools, and replace a cracked hose entirely rather than wrapping it with tape.
At the front bottom under the door
- Door seal: the rubber gasket loses its elasticity over time, and water seeps through the lower fold during the spin cycle.
- Clothes caught in the door: the edge of a sheet or a sleeve gets trapped in the seal, and water runs along the fabric to the outside during the wash.
- Too much foam: too much detergent creates foam that pushes out through the seal and the detergent drawer.
- Debris in the fold: lint, hair, and threads prevent the seal from fitting snugly against the glass, causing a thin leak.
- Cracked seal: a tear isn't always visible—run your finger along the inner fold of the seal, where lint collects and a tear can hide.
From underneath, in the middle of the machine
When we see a leak from the middle of the body, it points to hoses, the pump, or connections inside. The hoses connect the tub, pump, and dispenser, and a loose clamp at any joint causes drips right under the center of the body. The drain pump sits at the bottom; its housing can crack due to debris and vibration, and the impeller gets jammed by coins and lint. Hoses inside the body rub against the edge of the tub during strong vibration at high spin speeds—usually 800–1600 rpm depending on the model. Place a sheet of light-colored paper under the machine overnight—the stain will show which side it's leaking from, even before disassembly. That trace immediately tells you whether to remove the front panel or look from the bottom, and the technician arrives with the right part.
Leaks during fill, drain, spin, and when the machine is off
The phase of the cycle when moisture appears points to a specific component faster than checking all possible causes one by one. Fill, drain, spin, and idle time between washes each suggest a different set of suspects.
Water appears during the fill
A leak during fill points to the inlet valve, filter screen, or fill hose. Inspect the fill hose along its entire length: cracks near the nut, bulging rubber, and wet marks on the floor behind the machine indicate a broken seal at the connection. The filter screen sits at the valve inlet and gets clogged with rust and sand from the water supply—then the mechanism can't hold pressure and lets water through even when closed. The unit itself is a coil with a diaphragm: over time the rubber loses elasticity, and the flow seeps through the housing in a thin stream. The fill happens under line pressure, so a puddle in this phase appears quickly and noticeably, sometimes within the first minutes of the cycle. Check the hose clamps and the valve seat along with the rubber: a loose clamp causes drips that are easily mistaken for a crack. The screen on the valve can be cleaned without disassembling the machine, but if the unit itself leaks, cleaning won't help—it needs replacement.
Water appears during the drain
We check a leak during drain by looking at the drain filter, hoses, and pump. The drain filter is at the bottom front, behind the service flap; unscrew it only after draining the water through the emergency hose—otherwise the remaining water will spill onto the floor. The hoses from the tub to the pump crack over time and from vibration, and the clamps loosen after hundreds of cycles; moisture then runs along the pump housing and collects under the machine. Check that the drain pump impeller spins freely: a stuck coin or clump of lint jams it, the housing overfills, and a leak appears. Debris—coins, lint, small items from pockets—is the main cause of pump failures, so clean the filter regularly, not just when it's already leaking. The drain pump doesn't run during fill—if moisture appears specifically during drain, the list of causes narrows to the pump, hose, and filter.
Water under the machine when it's off
A puddle under a switched-off machine usually remains from the previous wash or comes from a leaking valve. Residual water in the tub and drain system gradually seeps down—the puddle shows up a few hours after the cycle, not immediately. The inlet valve under water line pressure lets water through even when closed if the diaphragm is worn, and then the machine takes in water without a program command. Less often, the culprit is the fill hose with a microcrack near the nut: drop by drop overnight creates a noticeable puddle. Keep in mind the emergency drain hose behind the service flap: if its plug wasn't inserted tightly after draining, water escapes on its own, without any washing. If a puddle appears without washing, shut off the water tap overnight—if the moisture disappears, it points to the valve, not the tub.
Error codes that appear along with a leak
A signal on the display narrows down the fault, but its meaning depends on the model and generation. Below are the codes most often seen with a leak.
Drain codes E18 or F18 and other brands
- E18 or F18 (d02 on some models): a drain problem — water doesn't leave the tub within the allotted time.
- Samsung 5E (SE, E2): the same pump-out failure, indicated by lights or on the screen depending on the series.
- Electrolux E20: pump-out not completed, often due to a clogged filter or a kinked hose.
- Indesit and Hotpoint F05: draining interrupted, check the pump and the water path to the drain.
- Model note: check the meaning against the table for your specific machine — the same number means different things on different series.
F23 code on Bosch and water in the base
On Bosch, F23 is read as water in the base and Aquastop tripping. The protection sensor is at the bottom of the housing: as soon as water collects there, the electronics block the start and this signal appears on the screen. The cause is a leak inside: a hose, a pump connection, a seal. With this error the machine may deliberately not start — the protection has already tripped, and restarting without fixing the cause will flood the base again. On models without a display, lights indicate the same signal, and on older Maxx, Classixx and Logixx series it's shown as F-codes. We start with free diagnostics: we find the source of the water rather than just drying the base, otherwise the signal returns after the first cycle.
E17 or F17 code and why the model number matters
E17 or F17 means water isn't filling within the allotted time, and the meaning depends on the model. The machine opens the valve, waits the set minutes, doesn't see the required level — and stops the program. Check the supply: the tap, the inlet hose mesh, the inlet valve. A leak doesn't always appear with this, but a wet floor by the inlet hose together with E17 points to a connection or the valve. On Bosch, the model number E-Nr is on the rating plate behind the door — we use it to select the part without taking the machine apart blindly. On older Maxx, Classixx and Logixx series the code is shown by lights rather than a display, so the owner often doesn't see it at all. The technician checks the signal against the table for your machine and only then names the cause.
What you can do yourself and when you need a technician
Some tasks are safe and doable for the owner, others require disassembly and tools. The line is drawn by components, not by how difficult it sounds: an open lid is not a reason to reach inside.
What you can realistically do yourself
- Drain filter: unscrew it at the bottom front behind the service flap, only after draining water through the emergency hose and putting down a towel.
- Connection hoses: check for kinks, wear and loose clamps, tighten connections gently so you don't strip the threads.
- Door seal: wipe the folds of the seal, remove lint and small debris, check for cuts and creases all the way around.
- Detergent drawer: rinse out powder residue, otherwise the supply channels clog and a leak appears along the body.
- Floor under the machine: wipe dry and place a towel to see where water comes from next time.
Where you need a technician and why
We consider replacing the seal, pump, valve and any work on the tub as technician jobs. The seal is replaced when it's cut or creased, the pump when the impeller doesn't turn freely by hand, the valve when the mesh is clogged or the housing is cracked. Tub work starts where a bearing is needed: on a sealed tub it isn't replaced separately, and bearing replacement is the longest job because the tub and drum have to be removed. The part is selected by part number or model code — on Bosch it's the E-Nr on the rating plate behind the door. Our technician arrives at your home in the city within 60 minutes, diagnostics are free, and there's a 1-year warranty on labor and parts.
Table of jobs and what we check
| Work | What we check | Who does it |
|---|---|---|
| Door seal replacement | seal folds, cuts, creases | technician |
| Drain filter cleaning | debris, coins, lint | owner |
| Drain pump replacement | free rotation of the impeller | technician |
| Inlet valve replacement | mesh, valve body | technician |
| Hose replacement | cracks, clamps | technician |
| Bearing replacement | whether the tub can be disassembled | technician |
How leaks differ between front-load and top-load machines and how to prevent them
The load type changes where water comes from, and regular maintenance reduces the risk of leaks in both designs. Here's what's different and how to inspect the components.
Front-load vs top-load: what's the difference
On a front-load machine, water more often comes from under the door; on a top-load machine, it runs down the sides of the cabinet and from the bottom. Front-loaders have a door seal that collects lint, loses elasticity, and lets water through onto the floor under the door. Top-loaders have the door on top and no seal, but liquid runs through the hoses inside the cabinet and comes out at the bottom near the base. Start looking in the area that matches the design: on a front-loader, check the seal fold and the glass fit; on a top-loader, check the hose connections and the drain pump. The direction of the flow tells you where to look: drops at the front mean the seal or door; a puddle at the bottom center means hoses, pump, or lines. A top-loader has no door with a seal, so looking for a leak at the front makes no sense—check the hoses and pump.
Preventing leaks by component
- Drain filter: unscrew it at the bottom front behind the service flap and remove lint, coins, and small items before they clog the pump.
- Valve mesh: take it off the inlet hose and rinse away sand and rust, otherwise filling is slower and the valve works under strain.
- Door seal: wipe the fold after every wash and check for cracks—trapped lint speeds up rubber wear.
- Hoses and connections: inspect the inlet hose along its entire length and tighten the clamps if drops appear at the joints.
- Pump and hoses: at the first signs of moisture at the bottom, check that the impeller spins freely—debris in the chamber keeps it from turning.
When it's definitely time to call a technician
People call our technicians when water runs constantly, an error code won't clear, or a leak comes back after a DIY cleaning. A single drop after the spin cycle isn't a reason yet, but a recurring puddle under the machine points to the seal, hose, or pump, which you can't check by hand. If moisture appears again after you've wiped the floor and tightened the connections, don't take the component apart yourself: terminals and wiring stay under the wet cabinet, and a clamp seated wrong causes a worse leak than before. A specialist matches the error code to the table for your model, checks the component, and gives you the price after free diagnostics. We arrive within 60 minutes anywhere in the city, offer a 1-year warranty on labor and parts, and accept payment via Kaspi QR, Kaspi Red, card, cash, or bank transfer for companies. Diagnostics are free, and a technician arrives within 60 minutes anywhere in the city—if water is already on the floor, there's no point waiting until the weekend.
Tracing a washing machine leak
Water on the floor under the machine is scary, but the steps are simple: cut the power, shut off the water, find the spot. Here's a quick summary that saves you from rereading the whole article.
- Safety before searching: first pull the plug from the outlet and close the supply valve, and only then inspect the machine.
- The leak location narrows things down: a leak at the hoses in the back, from under the door in front, and from the middle underneath points to different components.
- The cycle phase points to the part: a leak during fill, drain, or spin points to the valve, pump, or hoses respectively.
- The error code helps, with a caveat: a value like E18 or F18 should be checked against the table for your specific model, not interpreted from memory.
- Disassembly sets the limit of what you can do: the filter and hose are accessible to the owner, while replacing the pump, heating element, or bearing requires a technician.