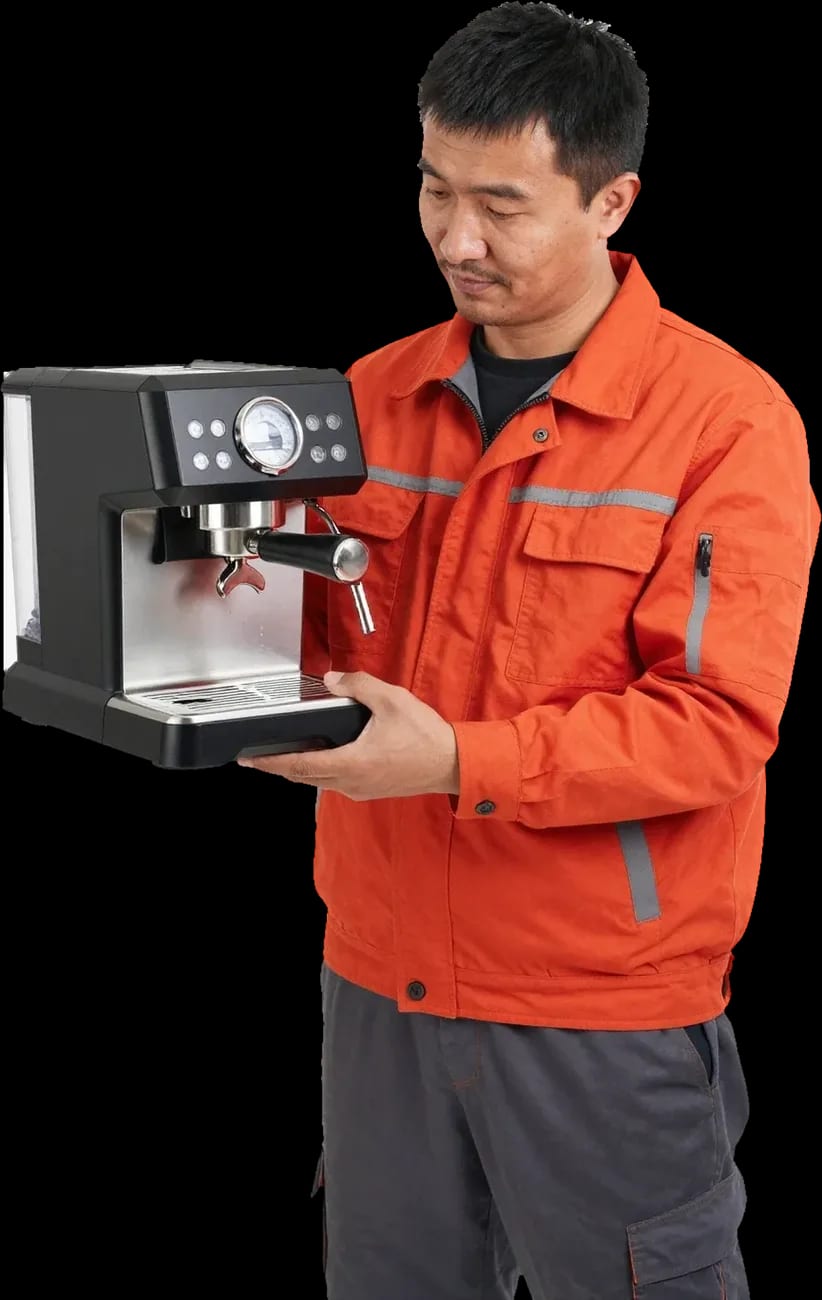

What to do in the first minutes if your coffee machine starts leaking
If your coffee machine is leaking, first unplug it, drain the water tank and wipe the drip tray, then don't turn it on until you find the cause. Tech Service in Almaty identifies the source of the leak during free diagnostics, a technician arrives within 60 minutes, and you get a 1-year warranty on labor and parts.
A leak is first and foremost a risk to the electronics and the floor, so the order of actions matters more than finding the guilty part. Let's go over what to do right away and what can wait until diagnostics.
Why you shouldn't delay unplugging
Water and electricity inside the housing don't mix, so you can't leave a leaking machine plugged in even 'for one cycle.' While the appliance is powered, liquid travels through the tray's capillaries to the control board, where the traces and connectors are concentrated. It takes just a small trickle for moisture to settle on the contacts and start oxidation — the process goes on without external signs and shows up weeks later as buttons, sensors or the pump failing. If your coffee machine is leaking, every minute counts: the longer the appliance stays plugged in, the higher the risk that moisture reaches the electronics. There's another reason not to use a leaking machine: each cycle adds more water that goes outside the housing and soaks into the furniture. Even a small trickle onto the control board leads to contact oxidation, and then the leak is compounded by electronics failure — repairs become more expensive and take longer.
Step-by-step actions before the technician arrives
- Unplug it: pull the plug from the socket without touching wet parts of the housing with your hands.
- Drain the tank: remove the water tank and pour the rest into the sink so you don't add more volume.
- Clean up the puddle: blot the floor and drip tray with a cloth without tilting the appliance on its side.
- Move the appliance: if water has reached the cabinet, move it away and dry the furniture.
- Don't turn it on: don't run any cycle until diagnostics, even if the housing looks dry on the outside.
When a leak during brewing is normal
A couple of drops in the drip tray after a cycle is residual drainage liquid, not a breakdown, and it's too early to raise the alarm. The drainage system dumps excess into the tray under the brew unit, so after a few cups there's always a small amount of water there — that's normal operation, not a leak. Condensation settles on the inner walls when temperatures change and also drips down without going beyond the tray. A real leak is marked by consistency: if moisture appears when the machine is idle or spreads beyond the tray, that's a faulty component, not normal drainage. Check the level in the tray once a week — a sharp increase in volume with the same number of cups signals a problem before water reaches the floor.
Where exactly it's leaking from and what that means
The place where moisture comes out narrows down the suspect components: a technician can often determine the cause from it even before disassembling the housing, and sometimes before the first screw.
Map of symptoms and likely components
| Symptom | Likely component | What to check |
|---|---|---|
| Moisture in the drip tray | Brew unit or valve | How tightly the unit sits |
| Coffee leaking from under the spout | Group seal | Cleanliness and wear of the ring |
| Wet near the back wall | Hoses or boiler | Connections and fittings |
| Leak from under the tank | Valve or crack in the tank | Valve and tank walls |
| Wet coffee grounds | Brew unit piston | Sealing rings |
Water gets into the coffee grounds compartment
If water collects in the grounds container instead of the cup, the cause is a worn piston or the brew group seal. The upper and lower pistons move in the sleeve during each cycle, and over time the rings lose their elasticity — liquid under pressure bypasses them and ends up in the compartment, missing the coffee spout. At first the grounds just become wet, then a puddle appears at the bottom of the container. A worn ring lets more flow through as the pump pressure increases, so leaks are more noticeable on programs with strong coffee. This symptom almost always progresses: first wet grounds, then a puddle — don't put off replacing the seals, otherwise liquid will reach the sensors and electronics. If the container fills faster than usual and the grounds stay wet even on a short program, this confirms wear of the piston rings.
Leak from the tank or from under the spout
A leak from under the tank is usually a valve or a crack in the tank, while a leak from under the spout indicates a clog or worn group seal. The valve keeps liquid in the tank, and when it gets dirty or loses its seal, it lets water down onto the drip tray. A crack in the tank can be seen when you hold it up to the light with the lid off, and a clogged spout can be checked by running water without coffee — that way you can tell one from the other. The group seal wears out from frequent use and scale: the drink goes down the side of the spout instead of into the cup. If after rinsing without a tablet liquid still seeps along the threads, replace the ring, not the whole spout — this part is a wear item and is replaced separately.
Which parts most often cause leaks
Most leaks are related to a few parts that wear out predictably. These are the first things to check when the machine leaves a puddle on the countertop or moisture in the drip tray.
Seals and rings of the brew group
- Worn rings: this is the most common cause of leaks from under the spout and into the drip tray, as rubber loses its elasticity from heat and scale.
- Brew group gaskets: the seal lets water through, and it goes into the drip tray instead of the cup.
- Dried-out rubber: a ring without lubrication cracks faster, and microcracks become leak paths.
- Scale on the seat: deposits prevent the seal from fitting tightly, and water finds a gap.
- Lubrication during service: when we disassemble the brew group, we lubricate the seals rather than just replace them — this makes the ring last longer.
- Replacement instead of repair: there is no point in restoring a cracked or hardened ring; it is replaced with a new one.
Hoses, fittings and valves
- Hoses: microcracks in the tubes cause drops on the housing and constant moisture in the drip tray even when idle.
- Fittings: loss of sealing at connections shows up as a wet spot where the hose meets the unit.
- Check valve: keeps water in the hydraulic system, and when it sticks, it lets water back into the drip tray.
- Pump: if the pump hums but no water comes and there is a drip somewhere, look for a clog or a valve along the path — the pump itself is often fine.
Boiler and connections after heating
A leak that only appears during brewing points to boiler connections — under pressure and heat, loss of sealing is more pronounced. The boiler heats the water, and any gap in its joints is almost invisible from the outside but produces noticeable dripping during operation. Scale inside accelerates wear of the connections: deposits push against metal and rubber, and gaskets lose their shape. Therefore, preventing scale prolongs the life of not only the heater but also the seals — regular descaling is cheaper than disassembling the unit. When inspecting the machine, pay attention to traces of dried water near the joints: light deposits and stains show where it is already seeping. The earlier such a trace is noticed, the easier it is to get by with tightening the connection without replacing the unit. If the stains have already darkened and there is a musty smell, it is better to show the connection to a technician — tightening only helps in the early stage while the gasket is intact.
What you can do yourself and when you need a technician
Some leaks can be fixed without disassembling the housing, but there are parts where DIY repair risks turning drops into electronics failure and expensive repairs.
What you can actually do without disassembly
- Water tank: remove the tank and check how it sits and the seal at the neck — a misaligned tank lets water leak down the body.
- Drip tray: pull out the tray, look for cracks, and make sure the grate sits level and isn't clogged with coffee grounds.
- Filter: check that the cartridge is screwed in tight and the gasket hasn't shifted — a loose filter lets water bypass it.
- Brew group: take out the unit, rinse it, and insert it strictly along the guides until it clicks, otherwise water goes into the grounds container.
- Bottom line: if moisture remains after these checks, the pressurized water system is next, and that's where you shouldn't take risks.
When you need a technician
We don't recommend removing the casing and getting to the boiler, pump, and fittings without experience — there's pressure, heat, and fragile plastic connections. Replacing the O-rings on the boiler and the high-pressure hoses requires disassembling the housing and releasing pressure, and an overtightened fitting can crack right as you tighten it. Our technician comes to your home or picks up the machine for service and works on components you can't access without taking the casing apart. When gaskets are worn, we replace the whole set, not just one ring — otherwise the leak comes back at the next joint. An incorrectly installed ring or an overtightened fitting will cause moisture again after a few cycles, so it's better to leave this work to a technician who provides a warranty.
How to tell it's time to call a specialist
For us, the signals to call a technician are water outside the drip tray, drops when the machine is idle, and a repeat leak after you've checked things yourself. If the machine drips when the pump is off, water is coming from the boiler or valve by gravity — that's no longer a tank seating issue. A puddle under the body near the electronics is more dangerous than the dripping itself: moisture on the board causes corrosion and control failure, not just a wet floor. A repeat leak after you've adjusted the filter and brew group is also a reason to call a specialist — the symptom points to worn seals inside. The sooner you call a technician, the less often moisture reaches the electronics — and our diagnostics are free, so there's no point in waiting for it to 'go away on its own.'
Why the coffee machine leaked after cleaning and how it relates to scale
A leak after descaling is a common story, and the cause is usually softened deposits or a mistake in the procedure itself. Let's look at where to find the culprit and how to tell ordinary scale from a real breakdown.
Why a leak appeared after descaling
After descaling, calcium deposits soften and can shift toward the valve or seal, and sometimes the solution remains in the water system and eats away at the rubber. The product doesn't work instantly: large flakes of scale come off in pieces and get stuck in narrow spots — the check valve, the mesh, the brew group channel — so the pump pressure looks for a way out. Rubber rings temporarily lose their elasticity when exposed to acid, and the connection stops holding pressure. Another common mistake is a too-concentrated solution or leaving it in too long: the aggressive environment speeds up wear on the seals and gaskets. A third is incomplete rinsing, when residue keeps working inside and softens new areas. If a leak appears right after cleaning, rinse the system with clean water as instructed — often that's enough to get the unit holding again.
How to tell scale from a breakdown
Scale gives itself away gradually — the leak builds up over weeks, while a valve failure or crack shows up suddenly and at once. With deposits, water first seeps drop by drop under the spout or goes into the drip tray, the machine gets louder and takes longer to reach pressure, and the stream from the spout weakens. A gradual worsening of the symptom points to the water system clogging up, not a part rupturing. A sudden flow when you turn it on, water on the floor, or a click followed by the pump stopping are signs of mechanical damage: a cracked boiler, a burst hose, a stuck valve. An indirect sign of deposits is a changed coffee taste and a noisier pump — that's a reason to do maintenance before a leak appears. But if the leak started suddenly after cleaning, not gradually, look for a shifted seal or a stuck flake in the valve, not scale.
How often to clean so it doesn't leak
- Water hardness: the more salts in your tap water, the more often descaling is needed — in soft water the interval between treatments is noticeably longer.
- Usage: with several cups a day, deposits build up faster than in a machine that's turned on once a week.
- Filter: a softening cartridge reduces scale buildup and extends the life of seals and hydraulic system valves.
- Prevention: our guideline for frequency depends on water hardness and the number of cups per day, not on a single universal figure — a Tech Service technician gives it after a free diagnostic.
How to prevent leaks from coming back
A leak rarely returns if you remove its cause — scale, dried-out seals, and operating mistakes. Let's go over habits and signs that help you catch the problem early.
Habits that extend the life of seals
- Rinse when switching beans: run water through the group without coffee so old grounds don't clog the channels and put pressure on the rings.
- Soft water: install a filter or use bottled water — hard tap water speeds up scale buildup on the valves.
- Careful brew unit installation: insert the brew unit until it clicks, without tilting, otherwise the rubber wears against the guides in a couple of weeks.
- Lubricate the seals: apply a thin layer of food-grade lubricant to the brew unit rings — this protects the seals from drying out and cracking.
- No harsh flushing: don't blow out the system under pressure and don't use cheap cleaning products — they damage the rubber, and the savings turn into replacing the rings.
Signs of an impending leak
Wet pucks, drops in the drip tray after each cycle, and a noisy pump are early signals that the unit will soon leak. The puck should come out dry and hold its shape like a tablet: if it crumbles and leaves a puddle on the grate, the brew unit is already letting water bypass. The drip tray stays almost dry after one or two cycles — constant drops mean worn seals or a cracked hose. The pump creates pressure in the hydraulic system, and its hum with a metallic rattle instead of a steady whir indicates that a valve isn't holding and some water is bypassing. Scale on the spout should also raise concern: it narrows the passage and increases pressure on the connections. If you notice such signs, do preventive maintenance in advance — it's cheaper and easier than dealing with the consequences of a leak on the electronics.
Scheduled maintenance instead of emergencies
Our scheduled maintenance includes checking seals, valves, and connections — this way leaks are caught before they flood the kitchen. The technician removes the brew unit, inspects the rings for microcracks, checks hose fitment and the condition of fittings after heating, and also assesses the scale layer on the valves. At Tech Service, worn seals and valves are replaced before a leak appears, not after it happens. Scheduled maintenance is cheaper than an emergency repair, and technicians with 4 to 20 years of experience spot worn components at an early stage. Prevention pays for itself simply by not having to dry the board after a flood. We provide free diagnostics, a 1-year warranty on labor and parts, and a technician arrives within 60 minutes anywhere in the city.
Who can help in Almaty and how the repair goes
Once the cause is clear, all that's left is to choose how to fix it — with a home visit or at the service center — and who will guarantee the result.
Home visit or repair at the service center
We come to your home anywhere in the city within 60 minutes or accept the machine at our service center — you choose, and in both cases we work as a direct contractor with our own specialists. A home visit is convenient when the appliance is built into the kitchen, connected to the water supply, or weighs a lot: removing it and hauling it across town is an extra risk for the hydraulics. At the service center, it's more convenient to disassemble the brew unit and replace seals if access to the boiler is needed. A Tech Service technician comes and checks the unit on site, not from a description. For a leak, a home visit is often more convenient: the specialist sees the machine in operation and immediately checks the water connection and drain, which also affect tightness at home. If the appliance is in a niche against the wall, a home visit saves time on removal and reinstallation.
How diagnostics works and when the cost is quoted
- Free diagnostics: a technician inspects the machine and finds the source of the leak before any work begins.
- Identifying the cause: they distinguish worn seals from a cracked boiler or a loose fitting so you don't replace unnecessary parts.
- Cost after inspection: the price is quoted once the cause of the leak is found and the scope of work is clear.
- Approval: we discuss the scope of work and parts before repairs start so nothing extra is replaced.
- On-site repair: during a visit, the technician works on the unit where it's accessible without disassembling the housing.
- Honest refusal of unnecessary work: if a component is intact, it's left alone and no extra parts are replaced.
Warranty and payment
We provide a 1-year warranty on labor and parts and you can pay via Kaspi QR, Kaspi Red (instalments), bank card, cash, or bank transfer for companies. For leaks, the parts warranty is especially important: if a new ring or hose leaks again, it's covered under warranty, not at your expense. Our technicians have 4 to 20 years of experience, so they can often identify the faulty component from the nature of the leak even before disassembly. You can pay via Kaspi QR, Kaspi Red, bank card, cash, or bank transfer for companies—whatever works for you. The price is quoted after free diagnostics, before repairs begin, so you know what you're paying for. For city visits, the technician arrives within 60 minutes, and there's a 1-year warranty on labor and parts. The warranty covers both labor and parts, so a repeat leak caused by a part is fixed free of charge.
Fixing a leaking coffee machine
A coffee machine leak rarely means a serious breakdown, but you shouldn't ignore it. Below are the key points to remember so you can act calmly and avoid making things worse.
- Unplug and drain the water: at the first sign of a leak, unplug the machine and empty the tank—don't turn it on until you've found the cause.
- Locate the leak: drip tray, spout, tank, or housing—the leak area immediately narrows down the suspect components.
- Check what you can yourself: inspect the water container, drip tray, filter, and brew unit seating—the cause is often here.
- Leave internal pressurized components to a technician: hoses, valves, and the boiler require disassembly, and DIY intervention can make the breakdown worse.
- Keep up with maintenance: regular descaling and checking seals prevent leaks from returning, and turning off early reduces the risk of water reaching the electronics.