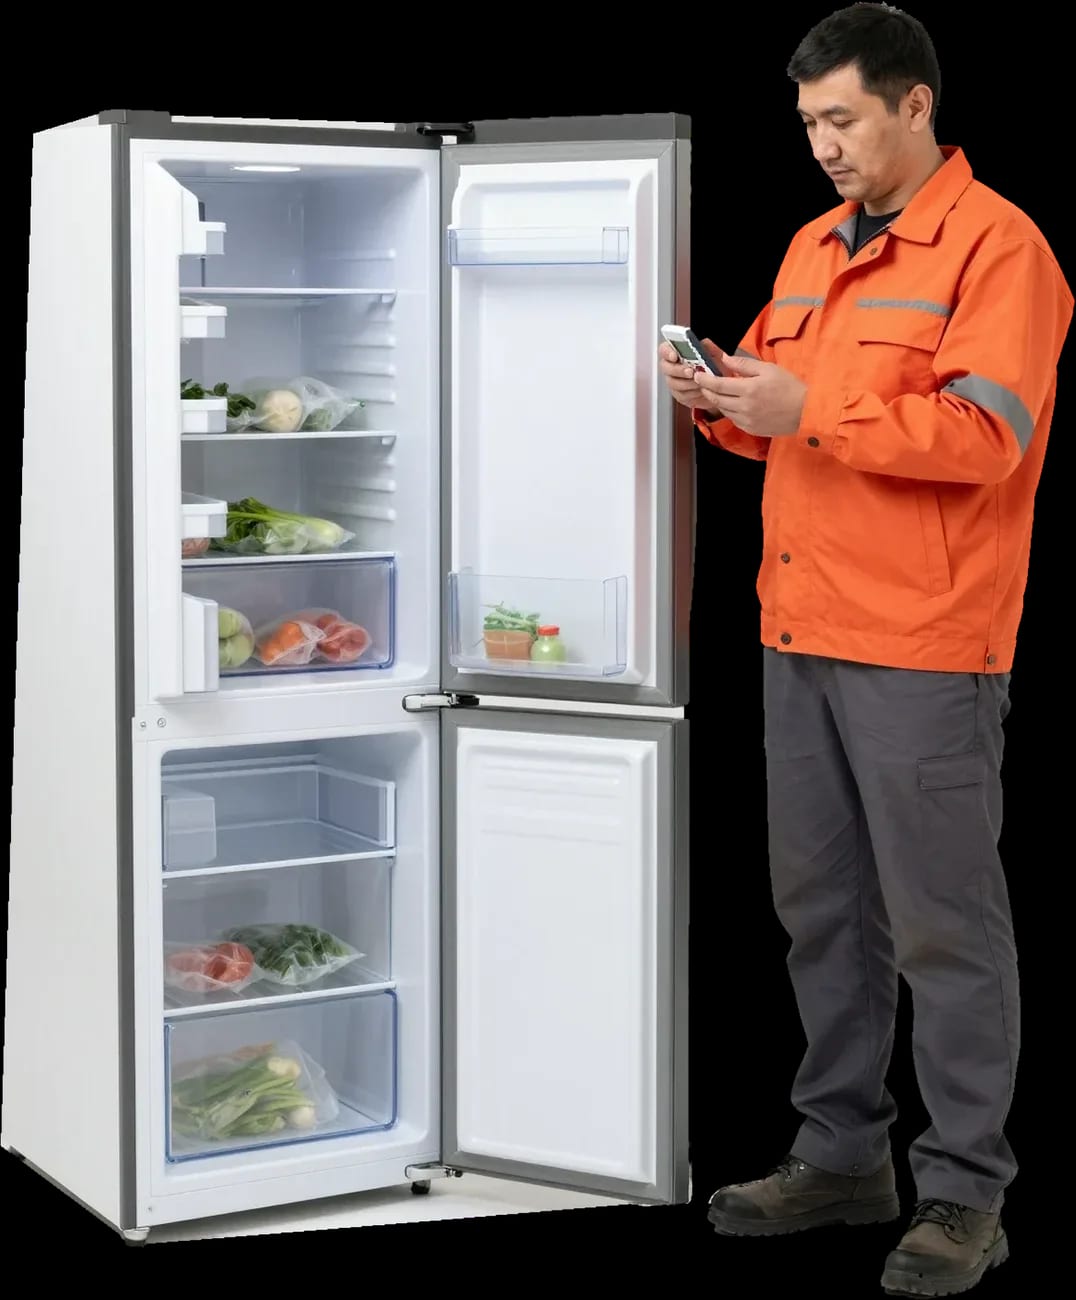

Why the Refrigerator Isn't Cooling Even Though the Light and Compressor Are Working
If your refrigerator isn't cooling but the light is on, the cause is usually one of the components in the cooling circuit: the compressor, thermostat, temperature sensor, refrigerant leak, or a No Frost defrost failure. Tech Service offers free diagnostics, a technician arrives within 60 minutes in Almaty, and you get a 1-year warranty on labor and parts.
The light and the hum of the motor don't mean cooling is happening—the circuit may be running idle. Here's what components the technician checks first.
Compressor Hums but No Cold
We start diagnostics by measuring pressure in the circuit: a humming unit may not create the needed pressure difference if the valves are worn or the start relay is blown. The motor still draws current properly, the housing heats up, but refrigerant isn't pumped through the capillary tube with enough force. The start relay sends a pulse to the winding and disconnects it on overload—if the contacts are blown, the unit either won't start or runs in fits. Valve group wear on models older than 7–10 years is more common than a winding break and shows up as a gradual loss of cooling, not a sudden failure. If the motor starts and immediately stops with a click, it's usually the relay, not the compressor itself—and it can be checked without disassembling the unit.
Refrigerant Leak with the Motor Running
We find refrigerant leaks by oil traces at joints and pressure drop: the motor runs, but there's not enough refrigerant in the circuit to cool. A microleak most often appears on the evaporator of a foamed model, at the joint of the capillary tube with the filter drier, or at soldering points from a previous repair. When refrigerant is low, the unit hums longer than usual and doesn't shut off trying to reach the temperature, while the evaporator stays cold only at the inlet. Recharging without finding the leak gives a temporary effect—the refrigerant will escape again through the same microleak. That's why we first locate the leak point, then replenish the refrigerant and check the circuit for tightness. This order prevents repeated loss of cooling through the same microleak and saves time on a second visit.
Thermostat, Sensor, or Board Failure
- Thermostat: doesn't start the motor if it reads the chamber temperature incorrectly and doesn't send a cooling command.
- Temperature sensor: distorts readings, and the board operates on false data, sending a signal too early or too late.
- Control board: skips cooling and defrost cycles, causing intermittent cooling and the chamber warming up.
- Sign of control failure: the chamber cools intermittently, and the motor either hums or stays silent without a clear pattern.
- Check without disassembly: the technician compares sensor readings with the actual temperature and tests the board contacts.
Freezer Works but the Fridge Compartment Is Warm
When the lower compartment stays cold but the upper one is warm, the cause is almost always cold transfer or control of one of the compartments. Let's break it down by cooling system.
Fan and Air Duct in No Frost
In No Frost, a fan drives cold air from the freezer to the upper compartment: if it stops or the air duct is blocked by food, the lower compartment freezes while the top stays warm. The impeller is behind the back panel and pushes air through the evaporator, where it releases heat and goes through the channel into the fridge compartment. When the blades freeze over or stop, the flow stops, but the compressor keeps running—the motor hums, the freezer stays below zero, and the top shelf is warm. The channel can also be blocked by a tightly pushed-in tray or a bag pressed against the back wall. Our technicians on site first remove the back panel of the upper compartment and check if the impeller spins and if there's an ice plug in the channel. Before calling a specialist, move food away from the back wall—sometimes that's enough to restore cold flow.
One Compressor vs. Two
In dual-compressor models, the compartments are cooled independently, so "the freezer freezes but the top is warm" points to the upper compartment's circuit, while in single-compressor models it points to how cold air is distributed. When there are two motors, each drives its own loop: a failure in the upper branch doesn't affect the freezer, and the technician looks for a leak or a blockage specifically there. In a single-compressor setup, cold is generated in one evaporator and shared between compartments through a damper and air duct—so the damper, fan blade, or icing in the duct is to blame. This difference lets the specialist understand before disassembly whether to look for a leak in a separate loop or to check the damper and airflow. The number of motors is listed in the model's data sheet, and two separate units at the back give it away at a glance.
Table of symptoms by compartment
| Symptom | Likely cause | What to check |
|---|---|---|
| Freezer freezes, top is warm (No Frost) | Fan or air duct | Airflow, ice on the evaporator |
| Freezer freezes, top is warm (drip system) | Upper compartment thermostat | Regulator position, compressor startup |
| Both compartments warm, motor hums | Refrigerant leak | Pressure in the circuit, oil traces |
| Both compartments warm, motor silent | Start relay or compressor | Click on startup, windings |
| Top warms gradually | Door seal | Fit, gaps |
What to check yourself and when you already need a technician
Some checks are safe and require no tools, while some work without experience and equipment only makes the breakdown worse. We separate these areas.
What you can actually check without tools
- Power and outlet: check that the plug sits firmly in the socket and that the breaker in the panel isn't tripped or turned off.
- Temperature control: make sure the dial isn't shifted to a warm setting and is set to an operating mode.
- Door seal: inspect the rubber for cracks and tears around the entire perimeter of the door.
- Loading the compartments: move food away from the back wall and air duct so air can flow freely.
- Ice on the evaporator: check whether there's a thick layer of ice blocking the cold airflow.
- Seal test: clamp a sheet of paper in the door around the perimeter—if it pulls out easily, cold air is escaping through the gap.
What you shouldn't do yourself
- Opening the circuit: we don't recommend depressurizing the system and connecting gauges yourself without experience working with refrigerant.
- Recharging refrigerant: without vacuuming and an exact dose, gas escapes through microcracks and the leak returns.
- Replacing the thermostat: the part turns the compressor on and off based on temperature, and without checking the circuit, a new one may not work.
- Replacing the temperature sensor: the signal often glitches on the control board side rather than in the part itself, so blind replacement doesn't help.
- Repairing the control board: soldering and tracing circuits require experience and equipment, and a mistake can damage neighboring components.
- Trying to defrost with a knife: the blade punctures the evaporator wall and refrigerant escapes.
When to call a technician right away
Our technician arrives within 60 minutes anywhere in the city if the appliance won't turn on at all, clicks and won't start, or both compartments are warm while the motor runs. We provide free diagnostics, and the warranty on labor and parts is 1 year. Our technicians have 4 to 20 years of experience, so they can identify typical thermostat, sensor, and board failures on site. The sooner a technician is called, the less food you'll have to throw out: the compartments stay cold for a limited time after the appliance stops. If the compressor hums continuously without shutting off and the compartments are warm, don't put off the visit—the motor is running itself to death. The technician quotes the price after free diagnostics, and you can pay via Kaspi QR, Kaspi Red, bank card, cash, or bank transfer for companies.
After defrosting and in the first days after switching on
After defrosting and in the first days of operation, the appliance may cool less — but that's not always normal. We explain when to wait and when to look for a fault.
How long it takes to get cold
After defrosting or the first start, the compartments don't reach operating mode instantly: the temperature drops gradually, and you shouldn't load them with food during this time. An empty space cools faster than a full one: the air is cooled by the evaporator, while warm packages give off heat for hours and delay reaching operating mode. In No Frost models, the fan drives cold air through the ducts, so the airflow shouldn't be blocked by packages near the back wall. In drip systems, distribution is slower, and the difference between shelves is more noticeable. If after several hours the compartments are still warm and the motor runs non-stop, that's a reason for diagnostics, not waiting. Before the technician arrives, don't disassemble the unit yourself — just note how long the appliance has been running and how the motor behaves.
Not cooling after defrosting
In this situation, we most often see two scenarios: an air duct flap that isn't fully closed, or a defrost timer failure that causes the evaporator to ice up again. After manual washing, the flap often doesn't sit tightly, and cooled air escapes into the freezer while the refrigerator compartment warms up. The defrost timer starts the evaporator defrost cycle in No Frost; when it sticks, the defrost heater doesn't turn on, ice builds up on the fins and blocks the airflow. In this scenario, the iced-up evaporator is more often to blame than the compressor. We visit such units across the city and check the flap and defrost cycle on site. If cooling appears and then disappears again after a few days, look for the cause of evaporator icing, not another defrost.
New refrigerator not cooling well
- Let it reach mode: the first hours the compartments run without full load until the temperature stabilizes.
- Don't put warm food in: hot items stretch cooling time by hours and make the motor run longer.
- Check clearances: the unit needs space from the wall to release heat, otherwise the condenser overheats.
- Check the manual: models have different first-start procedures and different cooling speeds.
- Evaluate after 24 hours: if cold still hasn't arrived, you need diagnostics, not more waiting.
- Keep the warranty: don't start by disassembling it yourself, so you don't lose the manufacturer's warranty.
How cooling works and why the picture is exactly like this
Understanding the circuit helps link the symptom to a specific component. We explain how cold is produced and why it behaves differently in different systems.
The cooling circuit step by step
The compressor compresses the refrigerant, which passes through the capillary tube into the evaporator, absorbs heat and returns — a failure at any step causes a loss of cooling. Then the gaseous refrigerant enters the condenser on the rear grille, releases excess heat into the room and becomes liquid again, after which the cycle repeats. The capillary tube maintains the pressure difference between the hot and cold sides: when it's clogged, the motor hums but the coil inside the compartment stays warm. The heat exchanger in the compartment is where the refrigerant boils and takes energy from the food; icing or a leak here immediately deprives the compartment of the required mode. So "not cooling" is not one component but a result: it's important to understand where exactly the chain breaks, rather than replacing parts one by one.
No Frost and drip system
- No Frost, fan: airflow doesn't reach the upper compartment when the duct is blocked.
- No Frost, defrost: an iced-up heat exchanger blocks the passages, and air doesn't circulate.
- Drip, thermostat: incorrect motor start gives a weak mode in the compartment.
- Drip, seal: a loose door lets cold escape and causes ice buildup.
Heat and loading as a factor
In hot weather and with a full load, the appliance may cool less effectively: the condenser releases heat poorly, and food blocks the airflow. In summer, the kitchen temperature rises, the difference between the compartment and the air around the grille decreases, and the motor struggles to reach the required mode. When the unit stands flush against the wall or in a niche, heat doesn't escape, and the appliance runs longer without results. Tightly packed shelves near the back wall block circulation, especially in No Frost models where air must flow freely through the channels. If this happens only in summer, check the ventilation around the unit and the gap from the wall — often that's enough without repair. But if cooling is lost even with proper ventilation, the cause is likely in the circuit or the control system.
What to do with food and how not to make the breakdown worse
While you wait for the technician, it's important to save the food and avoid damaging the appliance. A few simple steps reduce losses, speed up future diagnostics, and help the technician find the real cause faster.
How to save the food
- Move perishables: dairy and meat — to the freezer or a cooler bag with ice.
- Open the door less often: each opening releases residual cold and speeds up warming inside.
- Don't load warm food: hot pots and freshly bought groceries accelerate the loss of cold inside.
- Watch the ice: if there's frost on the wall, don't chip it off with a knife — you'll damage the evaporator.
- Note the time: write down when you noticed the problem — it helps understand how long the cold lasts.
What not to do before the technician arrives
We ask you not to remove the back panel, not to chip off ice, and not to try to recharge the refrigerant: this complicates diagnostics and can damage the circuit. A refrigerant leak leads to loss of cooling while the compressor is running, and by external signs it's indistinguishable from a sensor failure — an inspection and pressure measurements are needed. Chipped ice often punctures the evaporator, and then a leak adds to the main breakdown: finding the cause takes longer. Such "do-it-yourself" damage complicates the work, and the technician has to solve two problems instead of one. Don't touch the tubes, don't bend them, and don't remove the motor cover: the thin-walled circuit is easily damaged by a careless move, and any crack in it will require a full system recharge. Haste doesn't help here, and extra disassembly only adds work on site.
How to prepare the refrigerator for the technician's visit
It's easier for our technician to work if you clear access to the back wall and tell us when the symptom appeared and what changed before that. Move the appliance away from the wall, remove jars and boxes from the top, and clear the path to the outlet. Before the specialist arrives, recall and write down the sequence of events: did the cold disappear after defrosting, after a power surge, or gradually over a week, did the motor run non-stop, did frost build up on the back wall. An accurate description — "after defrosting," "after a power surge," "gradually" — helps the technician quickly rule out unnecessary versions. Tech Service provides free diagnostics before repair: a specialist comes to your home and determines the cause on site, and the warranty on labor and parts is 1 year.
Repair or a new refrigerator, and who to trust with the job in Almaty
Once the cause is found, two questions remain: fix the appliance or replace it, and who to trust with the job. Let's look at both calmly and to the point.
Repair or replacement
Repair is usually justified when the breakdown is local — one component has failed or there's a refrigerant leak, while the body, compartments, and seals are intact. Replacement is more appropriate when several components are worn out at once: if the motor-compressor has reached the end of its life and the control system is failing next, the investment in repair becomes comparable to the cost of a new appliance. Consider the age of the unit and how many serious interventions it has already had — a second major repair rarely pays off. Also assess the condition of the body: rust along the seams, cracked plastic, and misaligned doors devalue even a successful electrical fix. The decision should be made after diagnostics, not based on appearance: the same "not cooling" picture can mean replacing a part or the entire appliance.
Why work with the company that does the repair, not a middleman
Tech Service handles the repair itself: our own technician comes to you, not a middleman, so the same specialist does both the diagnostics and the repair. That makes a real difference. With a middleman, one person often looks for the cause and another does the fixing, and some of what was found gets lost along the way. A technician who has tracked down the fault knows exactly where the circuit is leaking and what readings the sensor gave. They don't have to start from scratch, and you don't have to explain the symptoms again. On top of that, the same person is accountable for the result instead of it being spread between a dispatcher and a subcontractor. In my view, that's the deciding factor for home appliances: machines rarely break by the book, and knowing the specific unit saves time for everyone.
Diagnostics, visit, and warranty
- Free diagnostics: the technician finds the cause on site, so you decide whether to go ahead.
- Visit within 60 minutes: the technician comes anywhere in the city.
- 1-year warranty: on labor and parts.
- 4 to 20 years of experience: the technicians who handle home appliance repair.
- Payment methods: we accept Kaspi QR, Kaspi Red, card, cash or bank transfer, and the technician gives you the price after the free diagnostics.
Key points on refrigerator freezing problems
Here's the key things to keep in mind while you figure out why your fridge is running warm: what to start with in diagnostics and where the do-it-yourself checks end.
- Light and hum don't mean cold: a running compressor doesn't guarantee cooling — the refrigerant may have leaked out while the motor keeps humming for nothing.
- The pattern across compartments narrows it down: if the freezer freezes but the top is warm, check the fan, the air damper, or the fridge compartment thermostat.
- The line between DIY and a technician: without tools, you can check the power, the control, the door seal, and the load; the rest is the technician's job.
- Give it time after defrosting: cold builds up gradually, but losing cold again a day later is a reason to have the circuit checked.
- Food and the appliance: open the door less often, don't chip ice with a knife, and don't open the circuit before the specialist arrives.