Original
Manufacturer parts
- Selection
- By part number or machine model
- Compatibility
- Matches the design of the specific model
- Marking
- The number is on the part itself and in the catalog
- Availability
- Confirmed by the technician during inspection

We'll connect the machine to water and drainage, level the unit, and run a test cycle.
Our own technicians4 to 20 years of experience




1 yearwarranty on labor and parts
60 minutestechnician arrival anywhere in the city
Freefree diagnostics
5
Installation is needed in five situations: a new machine, moving to a new place, replacing an old one, relocating to another spot, and connecting after a kitchen renovation. In each case, the appliance isn't connected or the water points have moved, and you can't start a cycle without the work.
New machine
The unit is in the niche, but the hoses aren't connected and the valve isn't installed — you can't start a cycle without hooking it up.
Moving to a new place
The new place has different water and drain points, so the machine is reconnected to the local utilities.
Replacing an old one
The old machine is disconnected and removed, and the new one is put in its place with connections and leveling checked.
Relocating to another spot
When the kitchen layout changes and the water and drain points move, the machine is relocated and reconnected.
After a kitchen renovation
After replacing the countertop or renovating, the water and drain points have moved, so the machine is connected to the new outlets.
Ask the technician on site which specific work is needed in your case.
Describe the symptomsWe reply during working hours
When you request service, specify the machine type (built-in or freestanding), whether you have the parts, and access to water and drain. Ask what the work includes and whether a separate valve is needed.

Warranty question? Call us
+7 (778) 021 11 78 experience11 years
Dishwasher repair technician
 experience8 years
Dishwasher technician
 experience10 years
Senior washing machine technician
 experience11 years
Stove and oven repair technician
 experience11 years
Freezer repair technician
Tech Service installs dishwashers at your home in Astana: we connect them to the water supply, drain, and power, fit them into kitchen units, and run a test cycle to check for leaks. A technician arrives within 60 minutes anywhere in the city, diagnostics are free, and there's a 1-year warranty on labor and parts. The technician gives you the price after diagnostics.
Buyers often wonder if they're being sold a service they don't need. Let's look at situations where you can't do without a technician, and cases where you can realistically handle the installation yourself.
Built-in and freestanding machines require a different set of tasks—from attaching to the countertop to accessing utilities in an assembled kitchen. Let's look at what changes on site.
We fit the machine into existing kitchen units: attach it to the countertop, align the door panel with the neighboring cabinets, and check access to water and drain. Work starts with inspecting the niche—built-in models have no top cover, so the opening height must match the spec, and the cabinet bottom often has to be trimmed for the hoses. We hang the door panel on the model's standard fasteners and adjust the hinges so the gap to the neighboring doors is even top and bottom. If the kitchen is already assembled, utilities are routed through openings in the side panel or plinth—there's no need to drill the countertop unless necessary. A freestanding model can technically be built in, but it lacks standard fasteners and a ventilation gap—the door panel and countertop require separate preparation. In my opinion, building in a freestanding model only makes sense if you have a ready-made furniture kit for it; otherwise, it's easier to leave it freestanding.
Installing a freestanding machine takes fewer steps: we level it, connect the hoses, and check stability without any work on the cabinet front. The unit stands in the open, so access to the inlet and drain hoses, the outlet, and the shut-off valve stays clear — future servicing won't require moving furniture. We level it using the adjustable feet: we place a bubble level on the top panel in two directions, because a front-to-back tilt causes rocking when the drum is loaded. A freestanding machine vibrates more during the spin cycle than a built-in one — an uneven floor or feet that aren't tightened down create play that over time loosens the hose connections. That's why after connecting we run the machine on a short cycle and check whether the body shifts relative to a mark on the floor.
| Machine type | What we do | What we check | Warranty |
|---|---|---|---|
| Built-in | Attaching to the countertop, aligning the cabinet front | Level, ventilation gap, access to utilities | 1-year warranty on labor and parts |
| Freestanding | Connecting hoses, leveling | Stability, no vibration, no leaks | 1-year warranty on labor and parts |
| Compact / countertop | Connecting to the sink, securing | Leak-tight connections, drain operation | 1-year warranty on labor and parts |
Let's go through the steps: how water, drain, and power are handled, and what decisions the technician makes on site — without wall chasing or unnecessary rework.
We connect the machine to an existing water point via an inlet hose with a check valve, and route the drain into the sink siphon or a separate sewer outlet. The inlet hose attaches to a cold-water tee, the drain hose to the siphon with a sealed gasket, so there's no need to chase walls, and the existing pipes stay in place. The check valve prevents dirty water from the machine from being siphoned back into the water supply, and the coarse filter traps sand and rust before they reach the chamber. Our dishwasher installation in Astana avoids pipe replacement in most apartments — the existing outlet under the sink is enough. Without a filter, scale and sand from the water settle on the heater, and the machine heats weaker within a few months.
A few simple steps before the technician arrives save time and reduce the risk of having to reschedule the installation. Preparation takes about twenty minutes.
You can call us to confirm the machine model and installation type — we install appliances bought from other stores and work in rented apartments without modifying utilities. Tell us the brand and dimensions of the unit: this determines whether the model will fit into the niche and whether the hoses are long enough to reach the connection point. If the cabinets are already assembled, let us know in advance which side is more convenient for routing utilities — through the side wall or the plinth — so the technician brings the right adapters. Diagnostics are free, so the technician assesses the condition of the siphon, valve, and outlet on site and quotes the cost of work after inspection. Citywide response time is 60 minutes. If the rented apartment does not allow changing the piping, the technician will find a way to connect to existing points — but it's better to mention this in advance so the right adapters are brought.
Proper acceptance eliminates the main fear: the technician leaves and a day later there's a puddle under the sink. Let's go over which components to check with the technician before they leave and where to look again after 24 hours.
Response speed and warranty are the two criteria that make it easiest to tell a direct contractor from an intermediary. They show who is responsible for the result and what to do if a component fails.
Our technician arrives within 60 minutes anywhere in the city, and the 1-year warranty covers both labor and parts. Installation is done by our own specialist, not a subcontractor from a marketplace — their experience ranges from 4 to 20 years. Diagnostics are free, and the technician quotes the cost of work after the inspection, once they've seen the kitchen, connection points, and the machine itself. So you know the scope of work in advance and don't pay for the inspection if you decide to postpone installation. Separate parts coverage is just as important: if a component we installed fails months later, replacement is covered by the warranty, not at the customer's expense. Therefore, when accepting the work, keep the note with the installation date — the year is counted from it if you need to make a claim.
Let's wrap up dishwasher installation: we've covered the key points that determine the result — from the type of unit to checking connections after a test run.

If your dishwasher won't drain, the most common culprits are a clogged filter or drain hose; less often, it's the pump, impeller…
24 March 2026 · 12 minutes read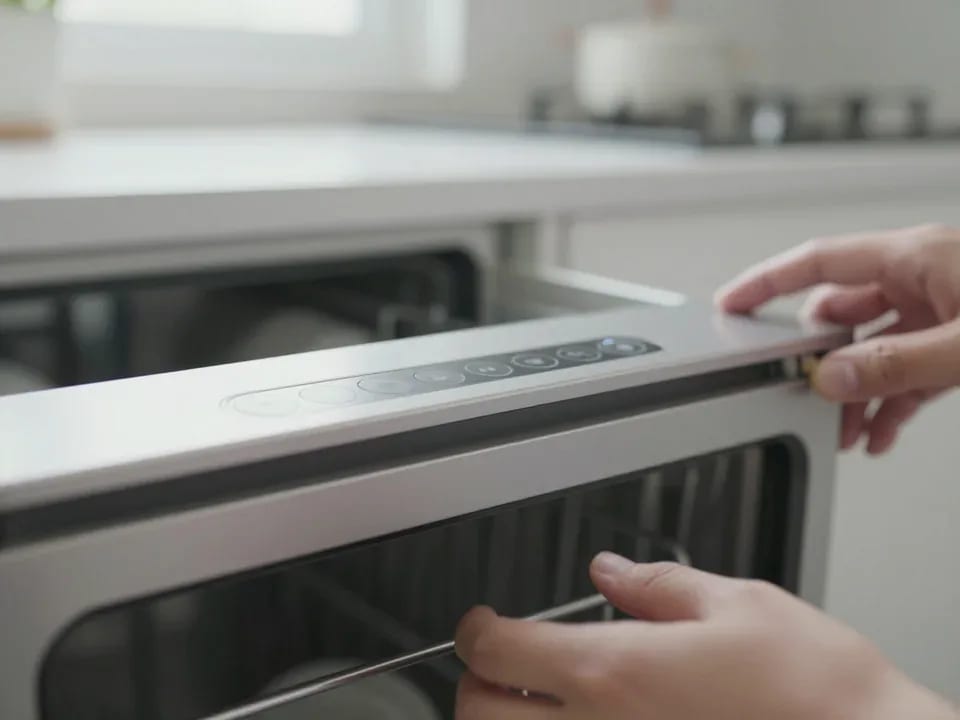
Dishwasher error codes are the codes on the display that point to a specific component: water fill or drain, heating, sensors, or the door.
3 December 2025 · 14 minutes read
A washing machine can hum for many reasons, and the first thing to figure out is when the sound appears.
20 March 2026 · 12 minutes read
If your washing machine isn't filling with water, the most common culprits are a closed valve, a clogged inlet filter screen on the hose…
20 February 2026 · 13 minutes read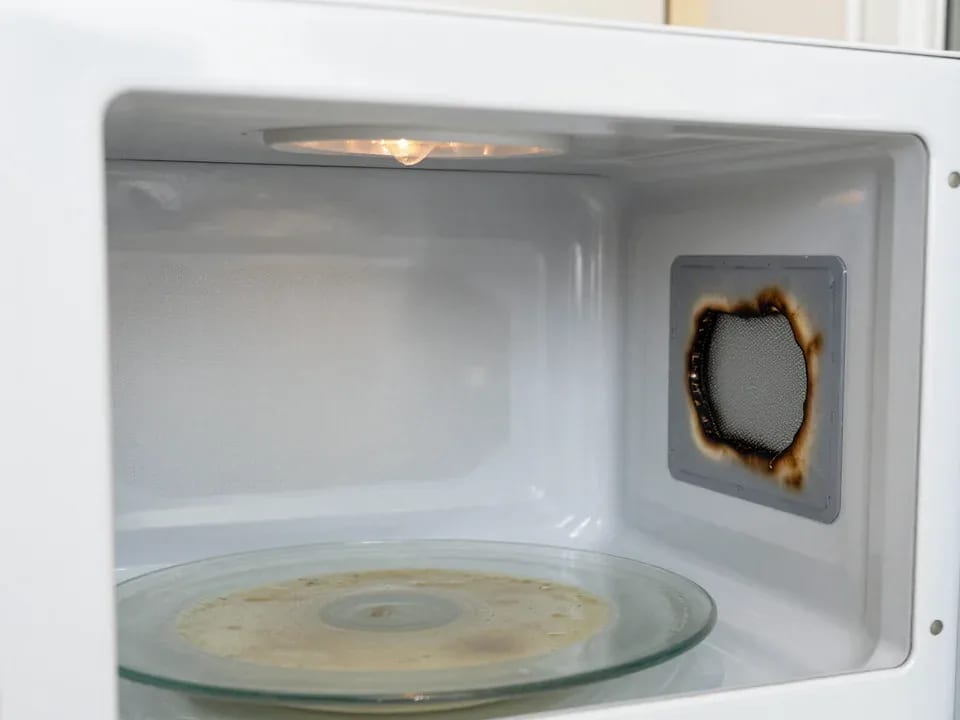
If your microwave isn't heating but the light and turntable still work, the problem is usually one of the high-voltage components — the magnetron, diode…
15 February 2026 · 12 minutes read
If your refrigerator stops working, first check the outlet, the power cord, and the thermostat setting, and after defrosting let it stand for a while.
4 February 2026 · 12 minutes read