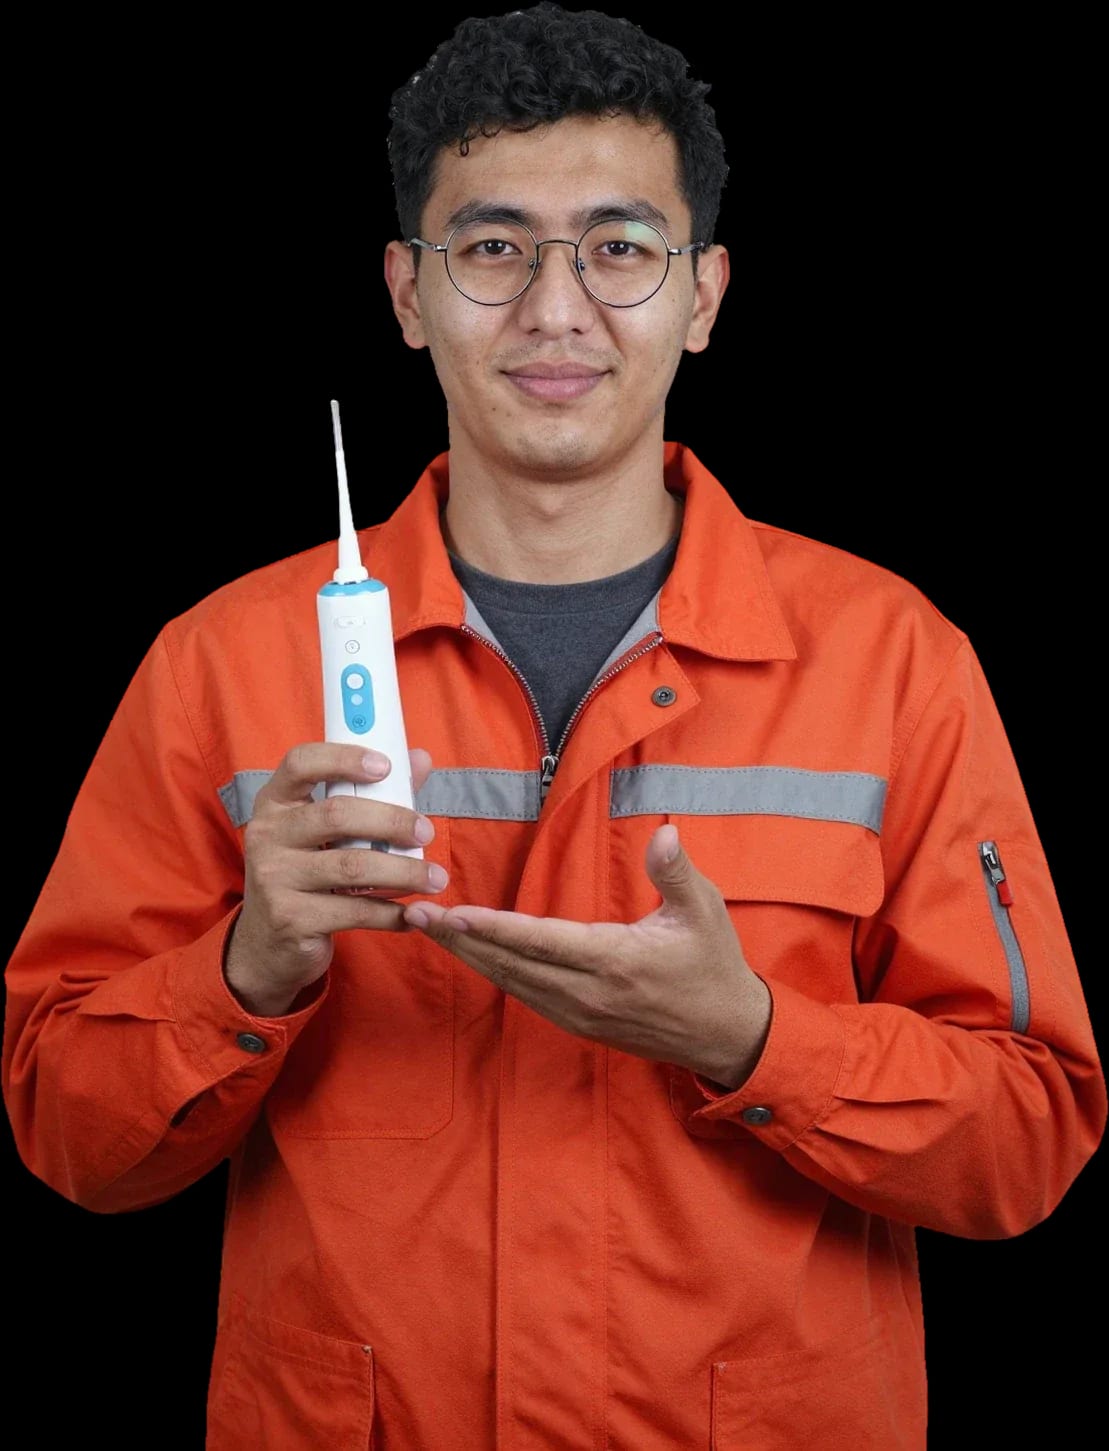
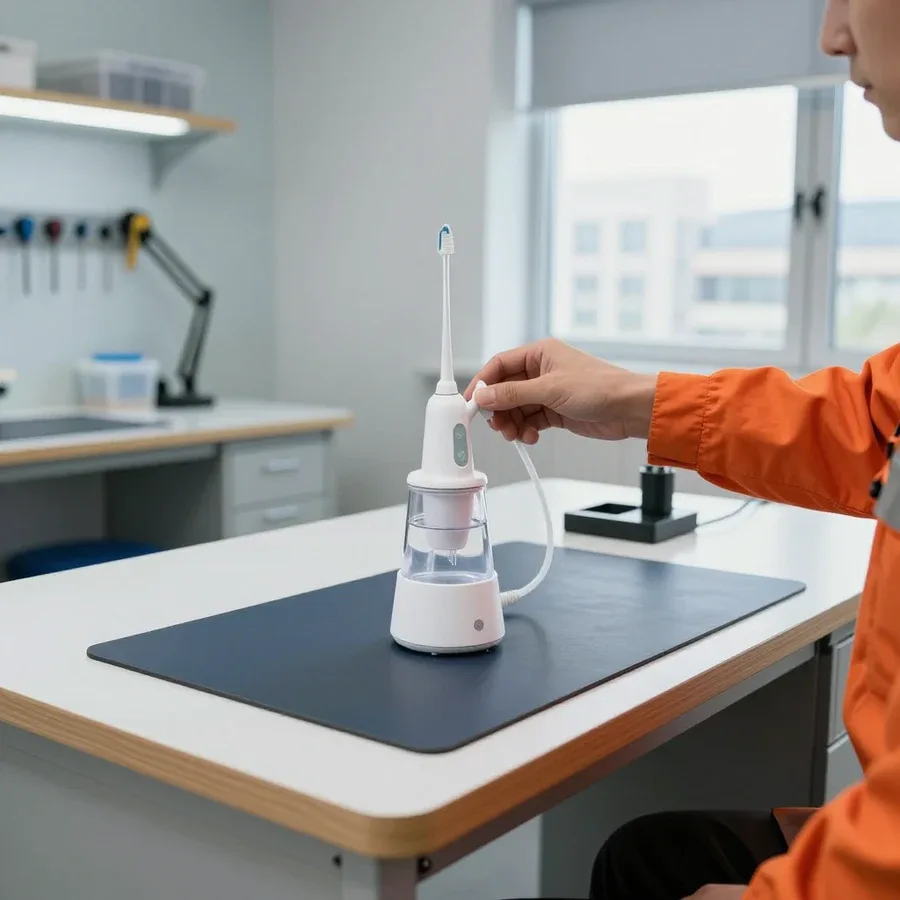
Tech Service repairs irrigators in Astana: our technician arrives at your home within 60 minutes or takes the device to the service center. Diagnostics are free, we provide a 1-year warranty on labor and parts, and our technicians have 4 to 20 years of experience. We quote the price after diagnostics and you can pay via Kaspi QR, Kaspi Red, bank card, cash, or bank transfer for companies.
Why your irrigator stopped working and what it means
The symptom matters more than the model name: it helps the technician narrow down the faulty components right away. Let's look at three common complaints and what's behind them.
The irrigator doesn't pump water or hums but no water comes out
Most often the pump or the water supply valve is to blame: the motor hums but water doesn't reach the nozzle. The pump is responsible for water supply and pressure, the shut-off element controls the flow to the nozzle, and failure of either gives the same symptom. The motor itself may be fine: it runs but no pressure builds up. In our practice, such complaints more often come from portable models with a tank on the body, where the passage gets clogged with scale from hard water. Scale narrows the passage, the flow weakens gradually, and the owner notices the problem when the stream is almost gone. If you hear humming but see no stream, don't run the device dry—it finishes off the pump; during free diagnostics the technician checks the shut-off element and the pump one by one.
The irrigator doesn't hold a charge or won't turn on
Fast discharge points to battery wear, while no reaction to the button at all points to the control board or the mode switch. The board controls the modes and the power button, so it's checked first when the device is silent with a charged battery. The battery wears out over months of daily use, but the button fails suddenly—and here the cause is often not the power supply. After a drop, button failure is more often related to board contacts than to the battery, so troubleshooting starts with the electronics, not with replacing the battery. We disassemble the body and test the power circuit to avoid replacing a working component. Oxidized contacts after moisture exposure give the same symptom as a dead battery—the technician distinguishes these cases by the indicator's behavior.
The irrigator leaks from the body or at the base of the nozzle
A leak at the nozzle is usually the seal or the connector, while a leak from the body is the sealant, gaskets, or a crack in the tank. Seals and gaskets ensure the tightness of the body and nozzle, and their wear causes drops exactly at the joints. The internal hose also loses elasticity and cracks at the outlet. A leak at the base of the nozzle doesn't always require a technician—sometimes it's enough to replace the seal, but a crack in the body can't be assessed without disassembly. Water that gets inside eventually reaches the board, so it's better not to delay with a leak. A microcrack in the tank expands with each fill, and drops appear at the seam. The technician identifies the source by traces of dried salts—they remain where moisture escaped.
How irrigator repair with a technician works
The work goes step by step: from recording the symptom to checking the pressure after reassembly. We show the stages so you understand what the service includes and at what point replacements are agreed upon.
How free diagnostics starts
Our diagnostics are free and start with the symptom: the specialist asks how the device behaves, then disassembles the body and troubleshoots the components. Complaints like "doesn't pump water," "hums but no water comes out," "leaks at the base of the nozzle," and "doesn't hold a charge" point to different chains—pump, supply valve, control board, or battery. First, the complaint and the conditions under which it appears are recorded: which nozzle, which pressure mode, immediately after turning on or a minute into operation. Then the body is removed and the components are inspected—tightness of connections, condition of the valve, board contacts, battery capacity. The "doesn't pump" symptom and the "leaks" symptom lead to different components, so the complaint is recorded before opening the body, and only then disassembly begins—this makes troubleshooting faster and more accurate.
Disassembly, troubleshooting, and replacement of components
After the inspection, the technician tells you which part needs replacing — the pump, battery, valve, or control board — and agrees on the work before starting. The inspection traces the water supply chain step by step: intake from the tank, valve, pump, channels to the nozzle, control board, and power. The pump is checked for pressure and play, the valve for shutting off flow, the battery for holding charge under load, and the board for moisture and oxidized contacts. The worn part is shown to the owner with an explanation of why it's causing the symptom. Replacing a part without checking neighboring components often brings the problem back, so the inspection covers the whole water supply chain, not just one part — otherwise the next component will fail within a week.
Leak check and pressure testing
The work wraps up with a leak check after reassembly and testing of water supply and pressure — the device should hold water and pulse like it did before the breakdown. The housing is reassembled, the tank filled, and water run through all nozzle modes: joints are checked for leaks, jet strength and pulse rhythm are assessed, and the pump is listened to under load. The nozzle base and seals get special attention — that's where leaks most often show up after disassembly. A water supply test is part of every service: if pressure isn't checked during reassembly, weak pulsing will show up once you're home. As a result, the device is returned with verified leak-tightness and working pressure, and a 1-year warranty on labor and parts covers the replaced components.
At-home repair or at the service center in Astana
Some breakdowns are fixed on the spot, others need workshop conditions. Here's where each situation is handled and how quickly a technician arrives.
What a technician can fix at your home
We fix most breakdowns at your home: replace seals, clean scale from the device, restore the valve and power button, and install a new battery in portable models. The visiting technician arrives with tools for typical components — screwdrivers, pullers, a tester, and a flushing kit. Replacing the O-ring at the nozzle base takes just minutes, and clearing salt deposits from the channels restores normal pressure without replacing parts. The water supply valve and button are consumables that most often fail with hard water. The at-home format is convenient because you don't have to take the device anywhere or wait for return delivery. In our experience, leaks and weak pressure are fixed at home on the first visit. If disassembly reveals damage to the board or pump, we tell you honestly and offer service center repair.
When the irrigator goes to the service center
The device is taken to the service center when the control board or pump needs replacing, or complex soldering is required — that needs workshop conditions and load testing. The board handles modes and power, the pump handles pressure in the circuit; both are tested on a bench with a pressure gauge, not by eye. Soldering contacts and replacing chips in mid-air is awkward and risky: a stable workspace and lighting reduce the chance of damaging neighboring components. After replacing the board, the technician runs the device through all modes to make sure water supply is stable. The board and pump are the most expensive components, so they're replaced only after a confirmed inspection, not just in case. We don't suggest replacing a component that's working: diagnostics show the real cause, and the decision is based on that. It's better to bring complex electronics to the workshop than to try fixing them in your kitchen.
How fast a technician arrives in Astana
A technician arrives at your door within 60 minutes anywhere in the city — that's our standard arrival time, not the exception. Residents of new neighborhoods and the right bank get a specialist just as fast as the city center: routes are planned by requests, not by how far the district is. Diagnostics on site are free, so when the technician arrives, they immediately identify the cause and tell you where and how the issue can be fixed. The more precisely you describe the symptom when you call — not pumping water, humming, leaking at the nozzle, not holding a charge — the faster the technician will bring the right parts and fix the problem in one visit. Over the phone we confirm the model and the nature of the fault so we don't have to come back for a part. In our experience, half of all visits end with an on-site fix precisely because the specialist comes prepared.
Warranty, diagnostics, and terms of service
The main fear for any owner is that the irrigator gets fixed and then breaks again. Below we explain how the warranty, free diagnostics, and payment work so the decision is transparent at every step.
What the 1-year warranty covers
We provide a 1-year warranty on labor and parts — if the unit we replaced fails again, we take care of it under warranty. This commitment covers the pump, the valves, and the control board: replacement of any of these components is covered, not just cosmetic work. The warranty applies to the work performed and the part supplied, so it's important to keep a record of which unit was replaced — that record speeds up any claim. In our experience, repeat visits are more often linked to related wear nearby rather than the part itself: a new membrane on a worn housing holds up worse, and that shows up in the pressure test right after assembly. Before you accept the device back, ask exactly what was written in the warranty — a wording that names the specific unit saves time on a repeat visit.
Why diagnostics are free and when the price is quoted
Diagnostics are free, and the technician quotes the price after them — when it's already clear which unit needs replacing and what work is required. First comes the inspection: the technician checks the power supply, pump, valves, and housing seals to separate a clog from an electronics failure. Then comes approval — you hear the list of work and the total, and only after your decision does the repair begin. That way you pay for a confirmed fault, not a guess: first the inspection, then approval of the work and the price. In my view, this is the main difference from the 'replace everything at once' approach: if the nozzle is clogged, there's no need to replace the pump, and diagnostics reveal that difference. If the price after inspection seems high, compare it with the list of units — usually it's made up of parts, not labor.
How you can pay for the repair
You can pay via Kaspi QR, Kaspi Red (instalments), bank card, cash, or bank transfer for companies — you choose what's convenient, there are no restrictions on the type of payment. Cash, card, transfer — the technician will agree on the format on site so you don't have to look for an ATM after the visit. The payment format doesn't affect the warranty: it applies equally no matter how you paid for the work. The payment method is recorded together with the list of replaced units, so on a repeat visit you just need to give the date of the visit and the device model. In our experience, owners often ask if they can pay in part — we answer honestly: you choose the method, but the warranty obligations don't change because of it. Ask the technician before work begins how it's easiest for you to pay — that removes any extra questions at the end of the visit.
Repair or buy new
The decision to repair or replace depends on the unit, not on the age of the device. We break down the logic part by part — without prices and without generic advice.
When repair makes sense
Repair makes sense when a single component fails — the battery, valve, seals, or button — while the housing and electronics are intact. In our experience, irrigators usually come in with one localized issue: a worn seal at the nozzle, a stuck water supply valve, or a dead battery after a couple of years of daily use. The power button is another common case: it wears out from frequent pressing, but replacing it doesn't require touching the hydraulics. The housing stays sealed, and the control board shows no signs of moisture or oxidation. We check exactly these areas during free diagnostics so we don't replace anything unnecessary. If the device holds pressure and doesn't leak after the component is replaced, it keeps working — there's no point in replacing the whole unit over one part.
When replacement is more cost-effective than repair
Replacement is more cost-effective when the pump and board fail at the same time, or the housing is cracked — then restoration involves several expensive components at once. The pump is the heart of the hydraulics: if it hums but doesn't pump, and the electronics also fail to supply power, the work goes in two directions. A cracked housing adds a third front — sealing can't be restored by simply tightening a gasket. You should evaluate not by the number of faults but by how many key parts need replacement: one — repair, several — consider the alternative. During diagnostics, the technician disassembles the device and shows which components actually need attention and which are still working — so the decision is based on facts, not guesswork. If both the pump and electronics need replacement at the same time, a new unit is often the smarter choice.
Component comparison
| Component | Symptom | What is done | Decision tendency |
|---|
| Seals and gaskets | leak at the nozzle | replace the seal | repair |
| Water supply valve | no water flow | replace the valve | repair |
| Battery | discharges quickly | replace the battery | repair |
| Pump | hums but doesn't pump | replace the pump | repair if the board is intact |
| Control board | won't turn on | repair or replace the board | assessed based on other components |
Which irrigators we repair and how to care for them
We service portable and stationary models from various brands. We break down what most often fails in each type and show how routine care extends the device's life and reduces the risk of repeat failures.
Portable and stationary models we service
We service portable and stationary irrigators, including models from B.Well, Aquapulsar, Waterpik, Xiaomi, and Oral-B. Portable units with a built-in reservoir and battery come in more often: their battery wears out, the pump gets clogged, and the nozzle connector loosens. Stationary models connected to the water supply or standing on a shelf with a separate tank fail differently — the supply valve, hose, and rubber seals under pressure give out first. At Tech Service, diagnostics are based on the device type: for portable units, we check the power circuit and motor; for stationary ones, the tightness of connections and valve operation. On models with electronic control, the board and pressure sensors are tested separately. Irrigator repair at Tech Service starts with free diagnostics, and based on the results, the technician provides a cost estimate. Portable units more often suffer from battery and pump issues, while stationary ones — from valve, hose, and seal problems, so diagnostics are tailored to the device type.
Cleaning scale and clogs
Scale and debris in the filter and nozzle reduce pressure and pulsation, so clean them regularly, not just when the device weakens. The water intake screen in the tank gets clogged with mineral deposits and slime from hard water — the stream becomes weak, and the motor hums louder than usual. The nozzle builds up the same scale inside, and the fine pulsation channels stop working properly. Clean the filter with warm water and a mild detergent, rinse the toothbrush nozzle under pressure, and clear the channels with a toothpick without sharp edges. A clogged water intake screen makes the pump work under overload — regular rinsing extends its life and delays the need for a technician. If the pressure doesn't recover after cleaning, the cause is deeper — in the pump or valve, and then you can't do without disassembly.
Battery care and nozzle replacement
- Full charge without deep discharge: don't let the portable irrigator run down to zero; this way the battery holds its capacity longer.
- Rinse after each use: run clean water through the nozzle so scale doesn't settle in the connector with the seal.
- Replace the nozzle as it wears: change a cracked or loose tip before it starts leaking at the base.
- Store without water in the tank: drain the remainder so stagnant water doesn't leave sediment on the intake screen.
- Check the seal: leaking at the base of the nozzle is a reason to replace the gasket, not to wait until a service visit.
Keeping oral irrigators working properly
The bottom line on the irrigator comes down to five points: from an accurate description of the symptom to prevention that delays the next failure and extends the device's service life.
- The symptom matters more than the model: a complaint like "not pumping," "leaking," or "not holding a charge" immediately narrows down the components and speeds up diagnostics.
- Diagnostics are included in the work: troubleshooting is done before approval, so you pay for a confirmed fault, not a guess.
- The format depends on the component: consumables and the valve are fixed on-site, while the board and pump are more often taken to the service center.
- Warranty removes the fear of repeat failure: labor and replaced parts remain protected after service.
- Prevention is cheaper than restoration: regular cleaning and nozzle replacement delay pump wear and leaks.